Linocut Printmaking: Happy New Year 2022
January 6, 2021
Introduction
The thing I like most about making art is not knowing what the end result will be. For example, making music was basically the only thing I really cared about from the age of 16 to 35. The process of experimenting with a multitrack recorder, especially in the early years, was a fascinating experience. What happens if I do this? What about that? Oh, that gives me and idea, let’s see what this does!!! For those twenty years, it was a magical hobby and I couldn’t finish one project fast enough so that I could move onto the next.
Then, something unexpected happened: I kind of lost interest in making music. At first, I thought it was something along the lines of writer’s block or that I’d simply run out of ideas. In a sense, maybe the latter was true, but over the years I think it’s more accurate to say that twenty years of experience took all the mystery out of making music. There was no more mystery. I knew what the end result would be, before I even began, and getting there only amounted to work.While it may not give me the same highs that recording music gave me, linocut printmaking definitely reminds me of that process. From conceiving of the idea, through the execution of each step and ultimately to the final project, it’s proven to be full of surprises, good and bad.
In the end, I was happy to share it with a handful of people. Keep reading for more information on the process or skip to the image gallery for a more visual experience.
Developing The Piece
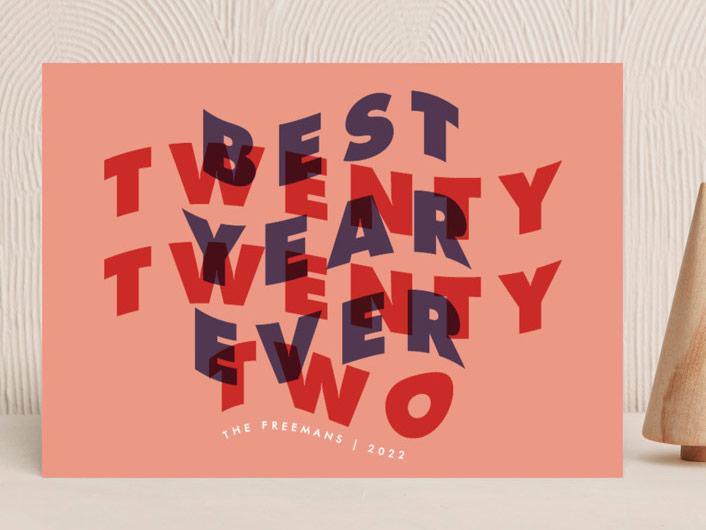
Like the birthday card from 2021, I looked for inspiration online for this piece and thought this piece by Catherine Culvernor was something interesting and easy that I could execute. The first step was recreating the wavy text in Illustrator, which was a bit of a challenge given my skill level in Illustrator. After that I needed to reverse the image and print it to size for my soft cut blocks.
Creating the Printing Plates
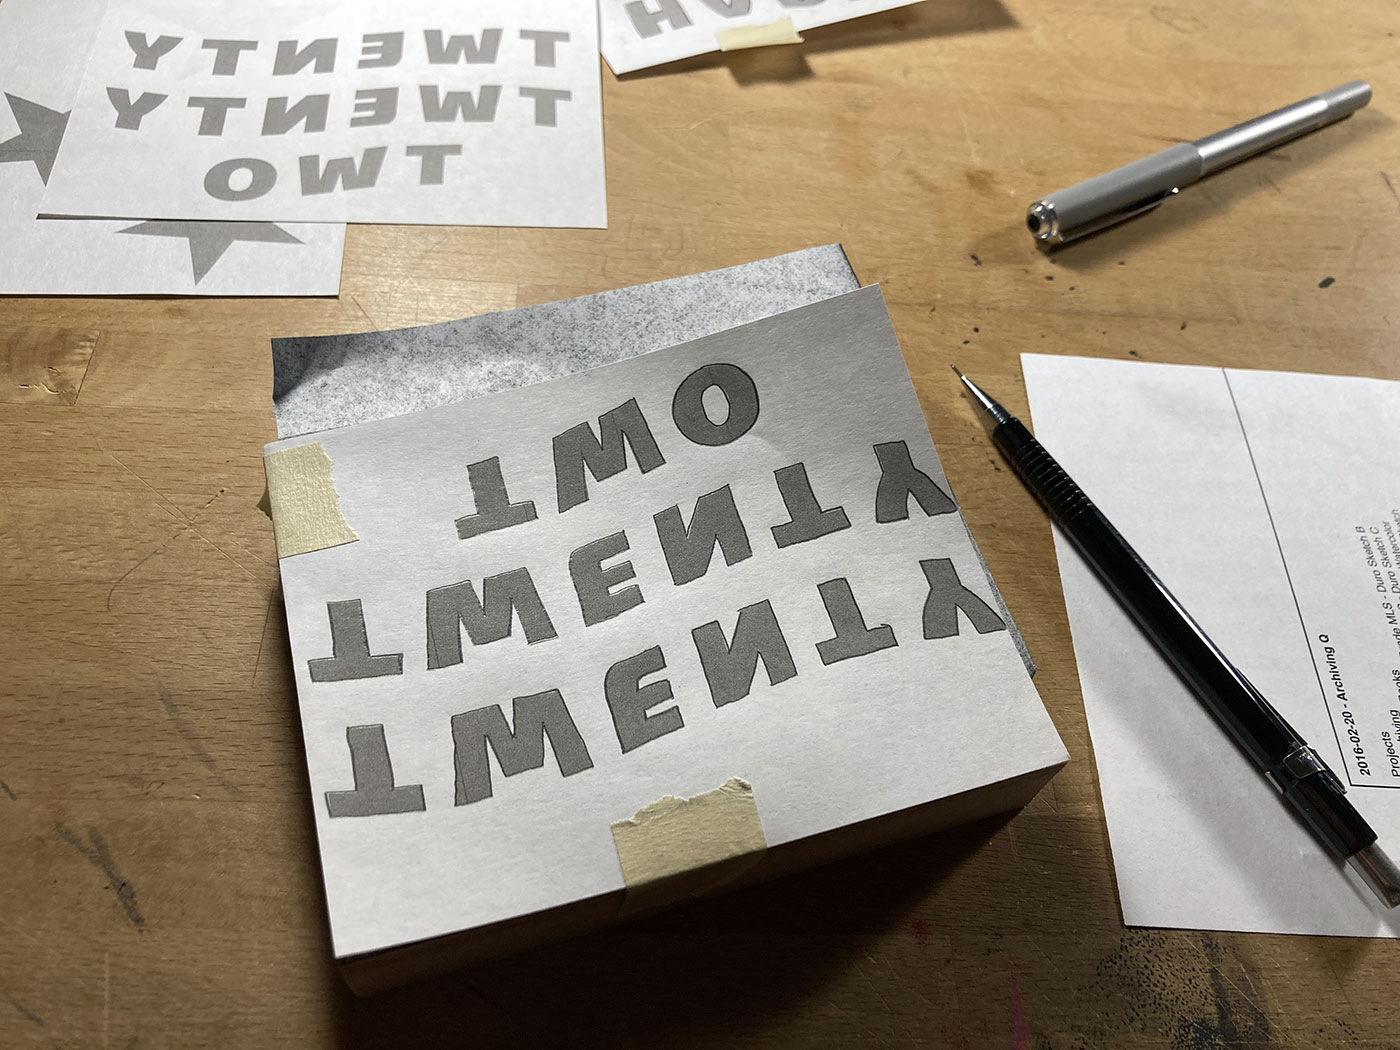
This was the first time I tried using soft cut blocks, as opposed to traditional linoleum blocks or sheets, in a print, and it immediately threw me a curve ball. Usually, I’ll place a piece of carbon paper on the linoleum block and on top of that I place the reverse print-out of the image I want to produce. Then, I trace the image using a pen and the image is transferred to the linoleum indicating what I need to cut-out.
Unbeknownst to me, carbon paper will not adhere to the surface of a soft cut block, so there was a bit of panic and anger when I found this out. The best I could achieve was a faint impression of what I was tracing on the paper, and I tried using a fine tipped Sharpie marker to quickly mark that down before it disappeared, but even the Sharpie marker didn’t work well on the soft cut because it wouldn’t dry and smeared as I worked-on cutting it out. Not to mention trying to line a faint impression wasn’t giving me the level of accuracy I wanted.
Luckily, I had two linocut blocks on hand, because I didn’t want to work with linoleum sheeting again. The latter tends to be warped because it comes from rolled-up sheets, and to use it requires you to warm it with a hair dryer and then place something heavy on top to keep it flat as it cools down. Even then, they just keep wanting to curl up again. This was the reason I was giving the soft cut a try. Unfortunately, it appears to have it’s own short-comings.
Printing Plate #1
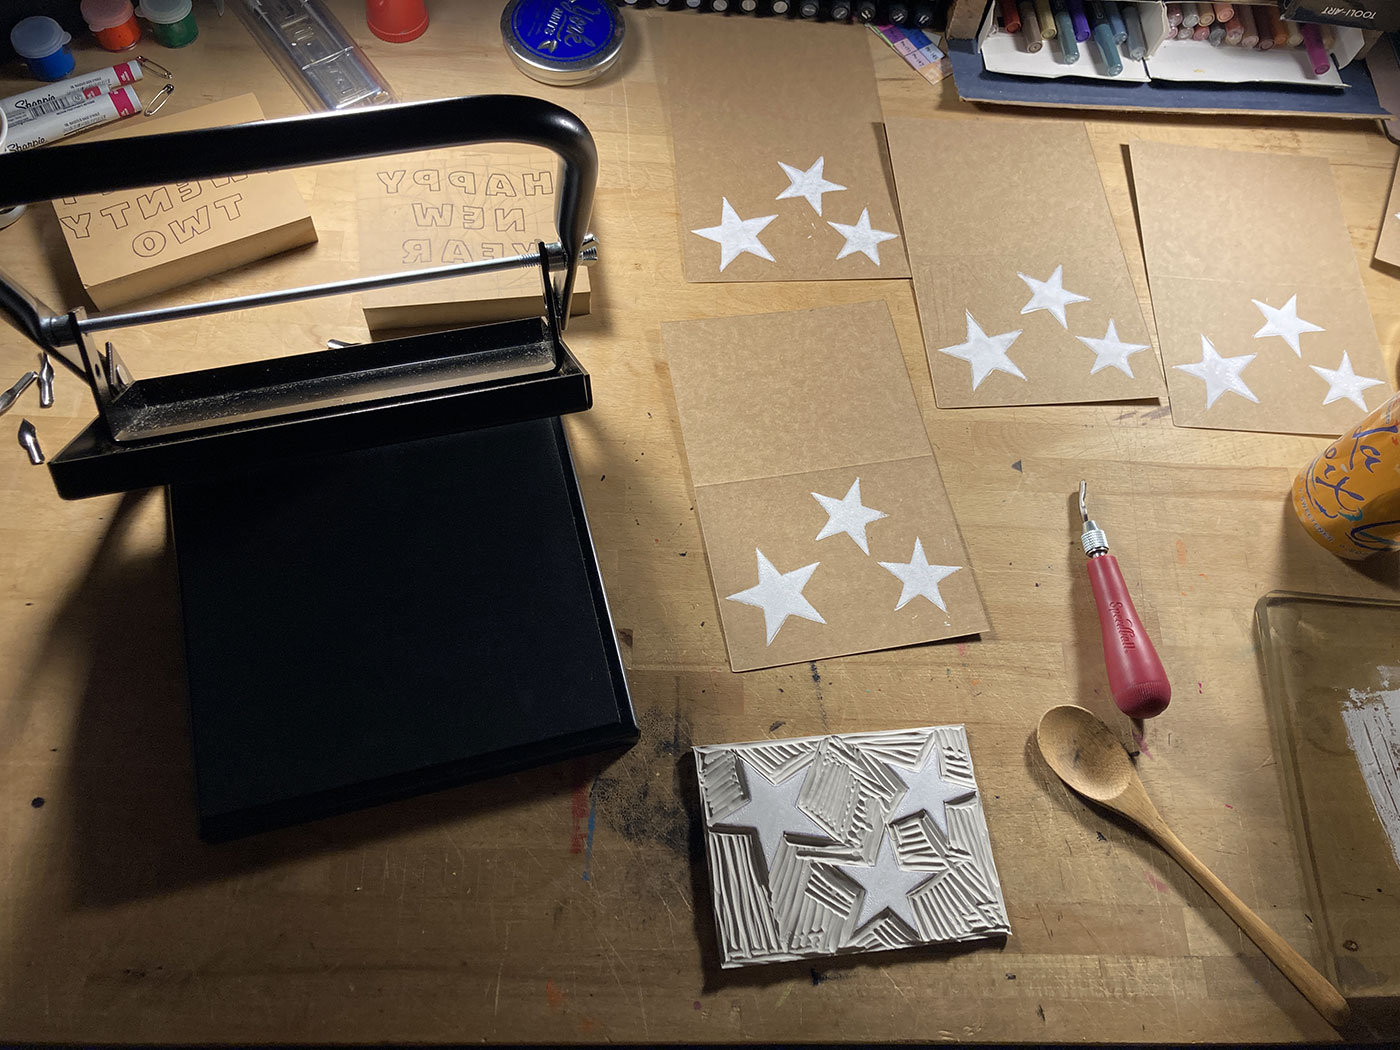
Because I only had two linoleum blocks and the first of the three plates (three white stars) was relatively simple, I decided to make the most out of the soft cut blocks. While the soft cut has its cons, the biggest pro for me is how easily it cuts. The saying “like a hot knife through warm butter” comes to mind. Despite my frustration on the evening, I decided to go ahead and print-out the first layer of white stars. For Christmas, I was gifted a simple printing press and it blew me away. Printing a plate usually involves a lot rubbing and rubbing and rubbing using a wooden spoon or a baren, but the press only required about a two second press to produce an even print.
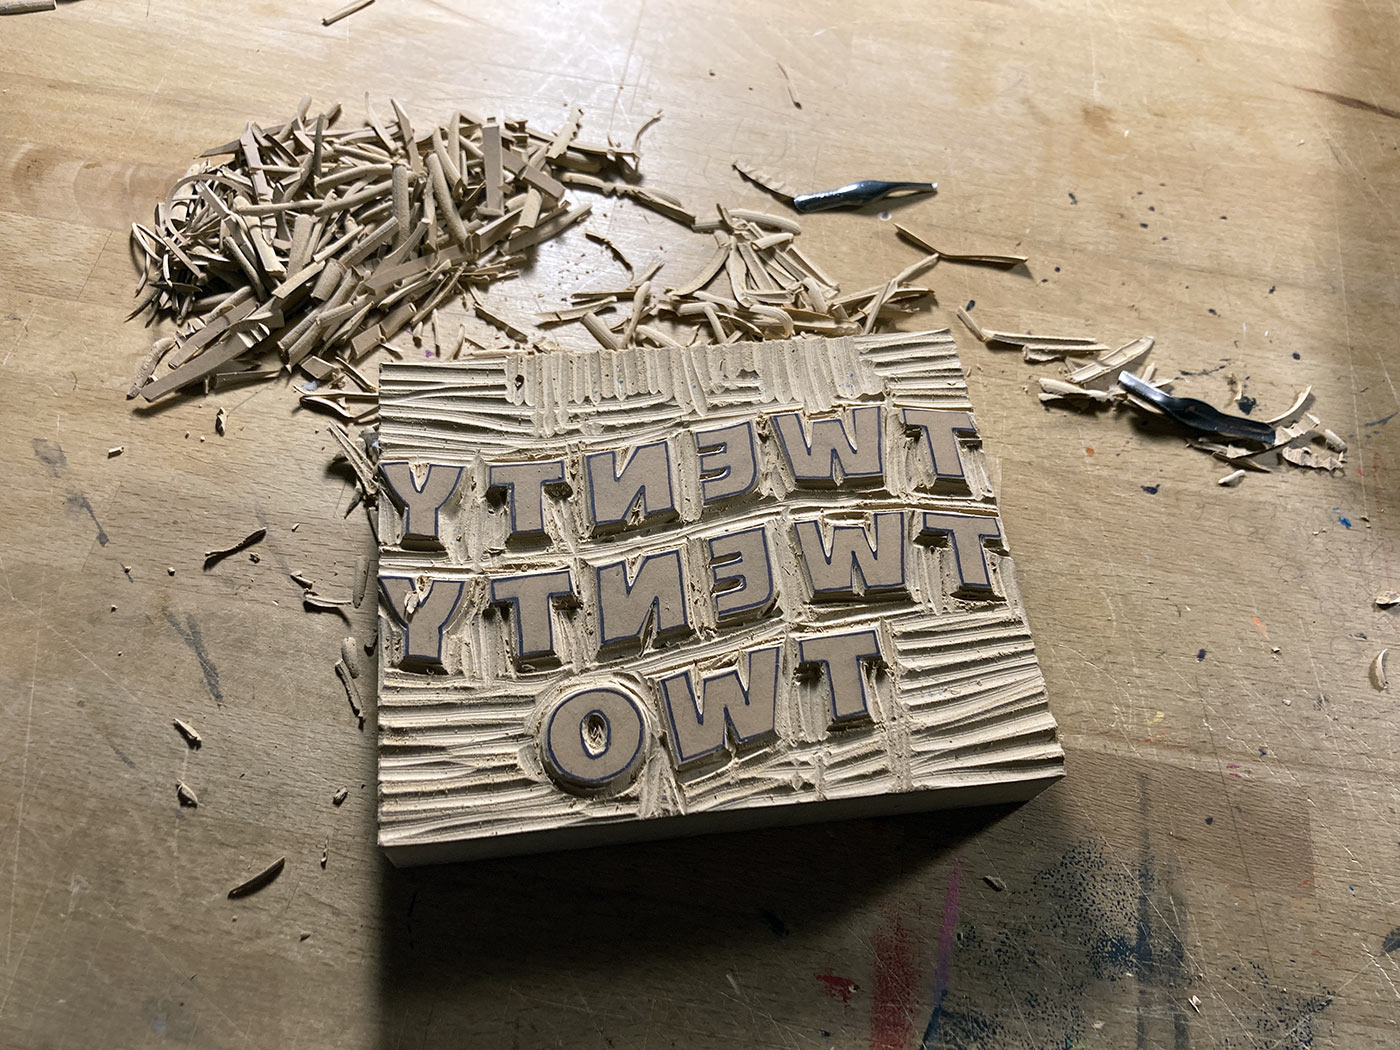
Printing Plate #2
On the next day, I cut-out the next two plates from the linoleum blocks and printed the second plate (“Twenty Twenty Two”) in black ink. Again, the printing press sped-up the process, but it did require a bit more rubbing using the wooden spoon to ensure the image transferred well. Another thing I learned today was that the silicone mat I was using for rolling out the ink with the brayer was not meant for this purpose. I’d looked for something besides a piece of glass for this part of the process because I’d broken a piece of glass while cleaning it during a previous print and did not want to deal with that again. It finally dawned on me that the ink wasn’t adhering to the mat and was instead clumping-up on the brayer, resulting in a muddy print and using way too much ink for each print. I switched to a piece of glass towards the end and had to admit it worked a lot better, so that was a valuable lesson moving forward. At the end of this step, as I left the cards to dry until tomorrow, I was feeling really optimistic.
Printing Plate #3
And, this is where the real frustration of being inexperienced in an art form reared its ugly head. My original concept was white stars on the bottom layer, black lettering on top of that and finally a gold layer on top. It only took a single to with the gold ink for plate #3 (“Happy New Year”) to realize this was not going to work, at all. Most importantly, the gold ink was not different enough in appearance from the brown card stock, so you couldn’t read the letters. Also, the gold ink wasn’t opaque enough so the black lettering below it showed through. A learning experience is a welcome thing and sometimes results in pleasant surprises, but I’d just made 1 of 36 prints unusable and I didn’t want to have to go back and print more.
All I have at this point are primary colors (red, yellow, blue) and a set of fluorescent inks. The latter didn’t seem appropriate and there was no way I was making anything with a black and yellow scheme (people who know me will know why that’s out of the question). This left blue or red, and I figured red went better with the card stock. This made me uneasy because I didn’t have a lot of red ink on hand, and while it worked better when it came to its visibility over the black lettering and brown card stock underneath, it still wasn’t want I’d hoped for in overall appearance.
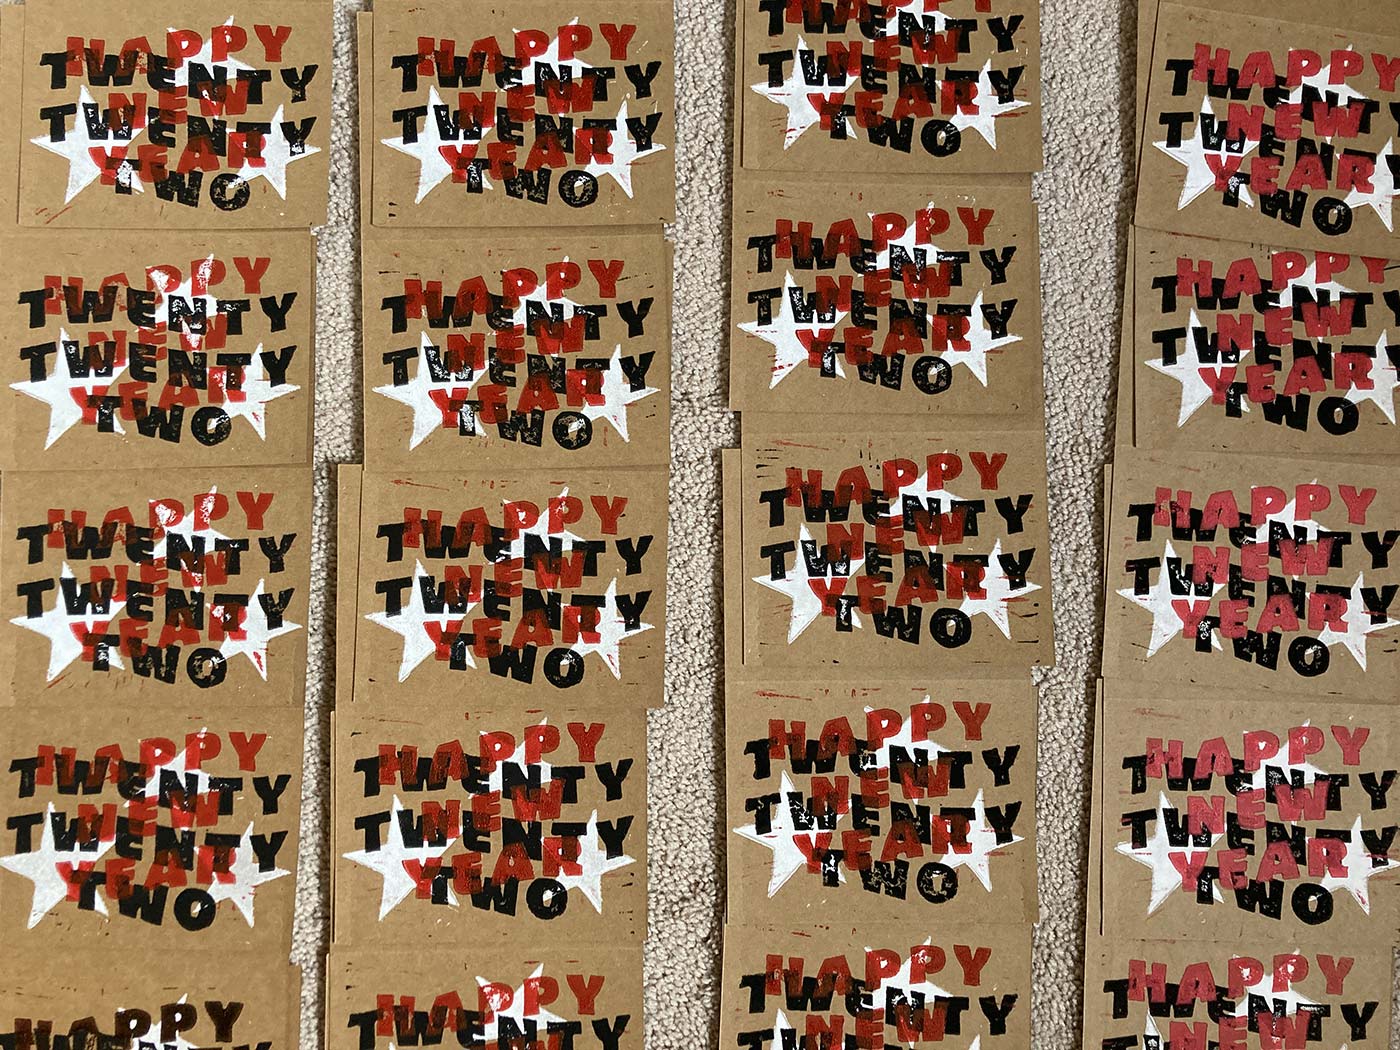
After about 25 prints, I started to fear that I was going to run out of red ink, so I decided to add a little white ink to the mix and was shocked at how much better it worked! The white ink added the opaqueness the red ink needed to completely block out the black lettering beneath it and also made it pop-out from the card stock better. Again, this is one of those “Ah-ha!” moments that makes working with a relatively unknown art form truly enjoyable… I only wish I’d tried it earlier.
Packaging + Conclusion
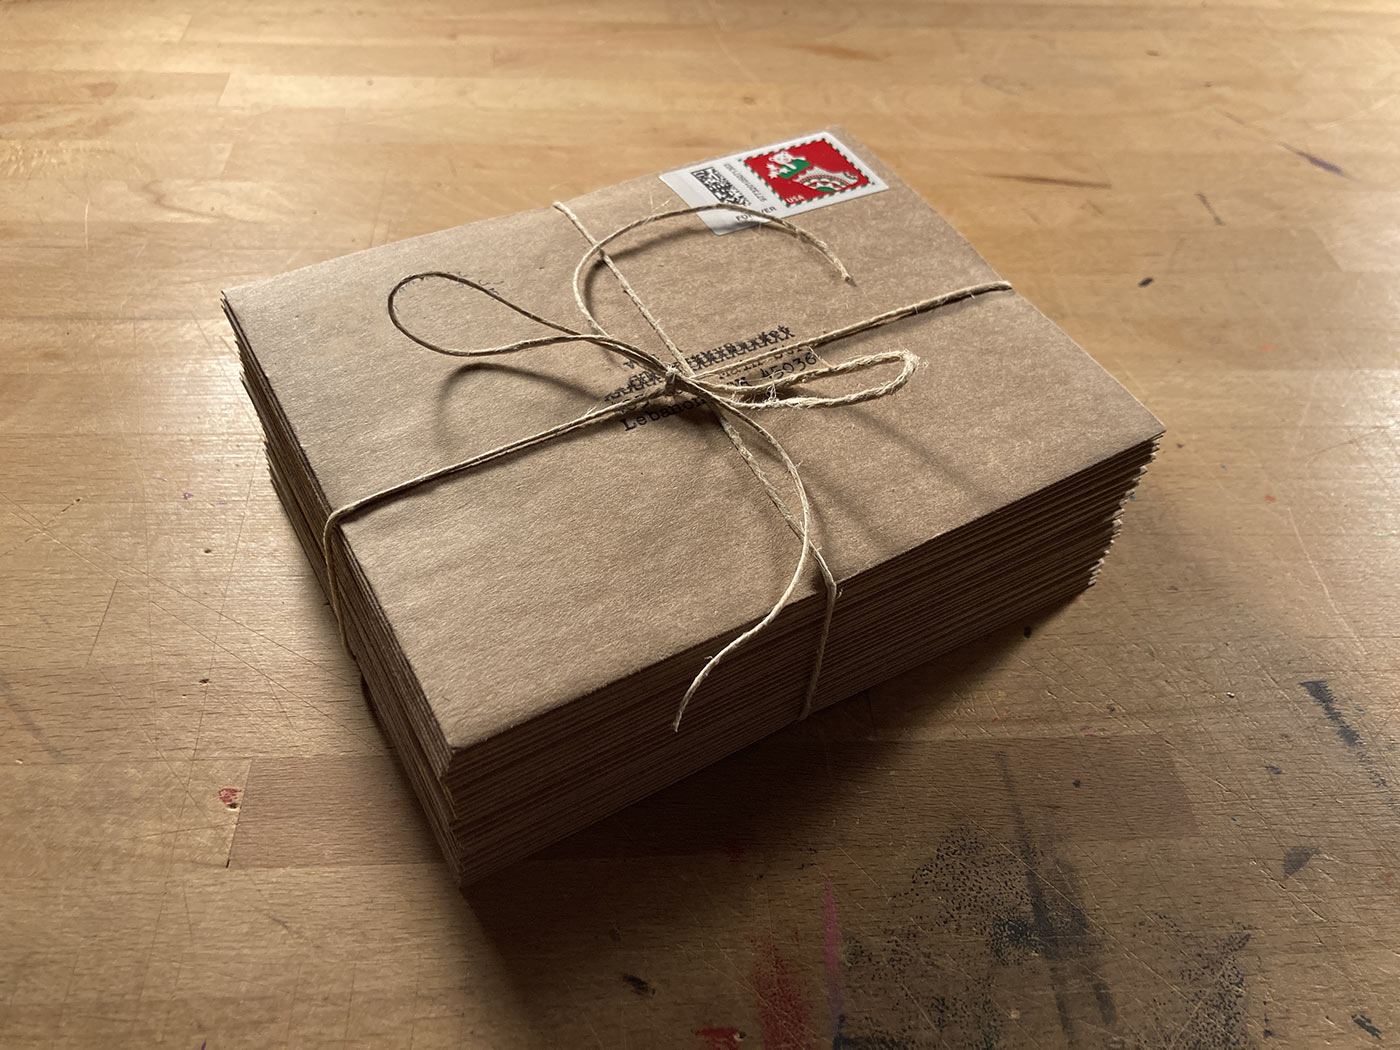
All that was left at this point was inscribing each card, printing-out the envelopes and shipping them off. I’d have rather typed-out the messaging, but it would have warped the card and made it more difficult to print upon, so I had to settle on hand-writing the inscriptions. The envelopes were typed-out using a typewriter which gave it more of a hipster vibe.
All things considered, I’m happy with how the project turned-out. Like I said, part of the enjoyment I get from making art is the mystery when it comes to how it will all turn-out. This project was challenging as hell, despite the level of planning I’d put into it. But I learned a lot that will definitely be put to use when I get started on my Happy Birthday 2022 print which will begin immediately given today is already somebody’s birthday. Sometimes, I think I should change my middle name to “Belated”. Anyway, thanks for taking the time to read all about it.
Image Gallery
- Inspiration Because I'm not really confident in my graphic design skills, I decided to search online for some inspiration. This design was interesting to me and looked like something my linocut skills could reproduce.
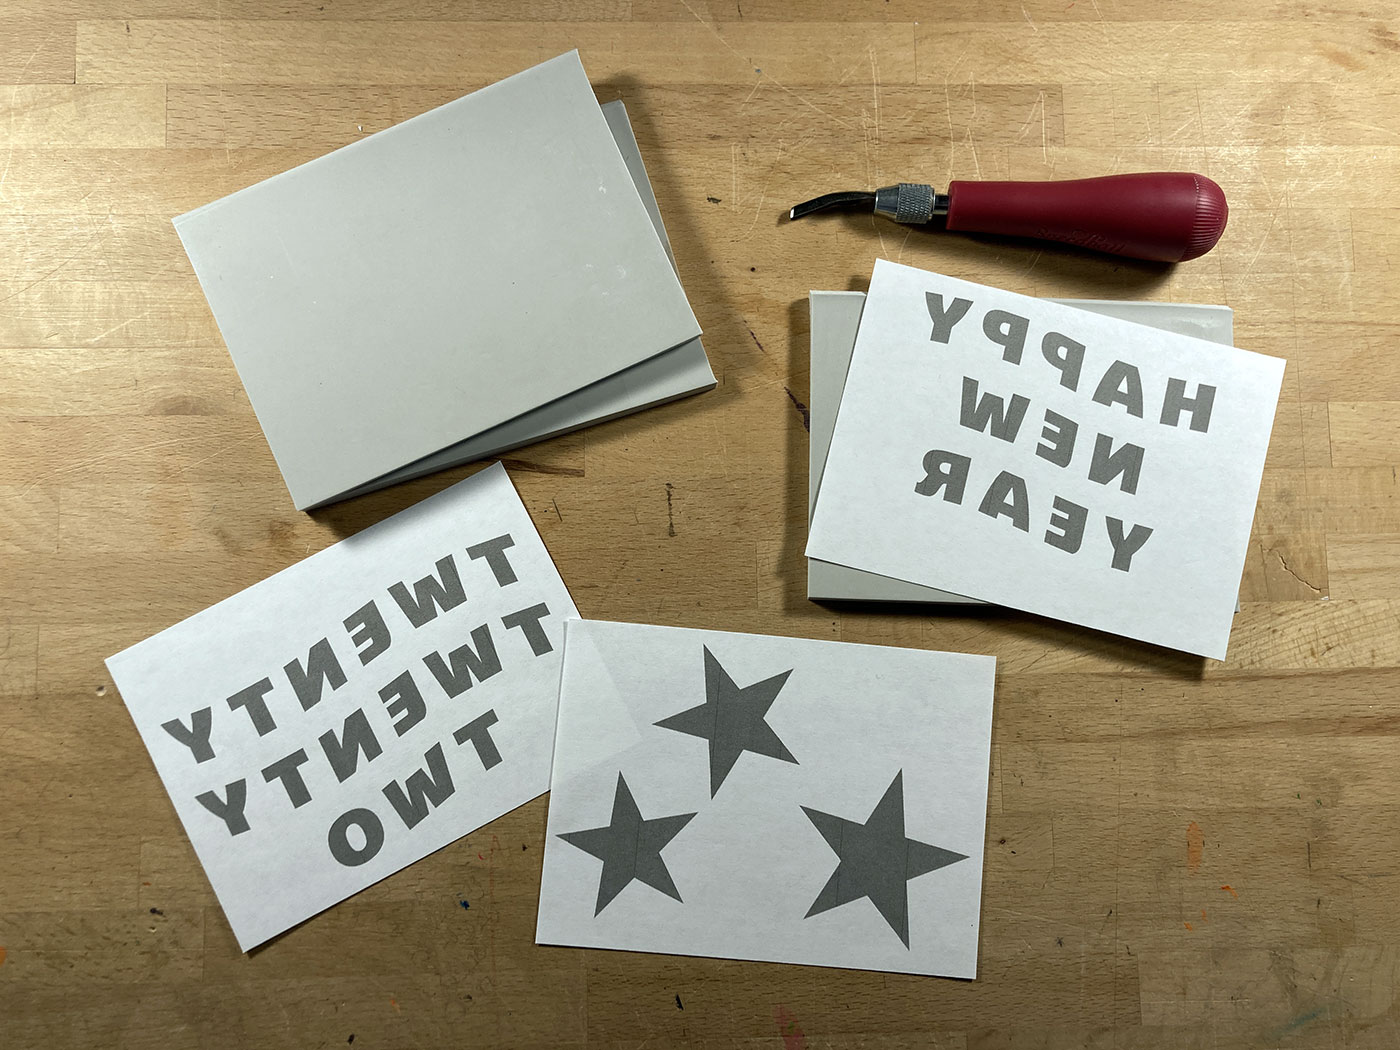
- Ready to Transfer Images These are the sized and reverse print-outs of each plate, along with the sized soft cut plates I planned to use for the print.
- Transferring the Reverse Image the the Plate Here you see a linoleum block with a piece of carbon paper between the reverse print-out on top. This transfers the design to the linoleum indicating what to cut and what to leave.
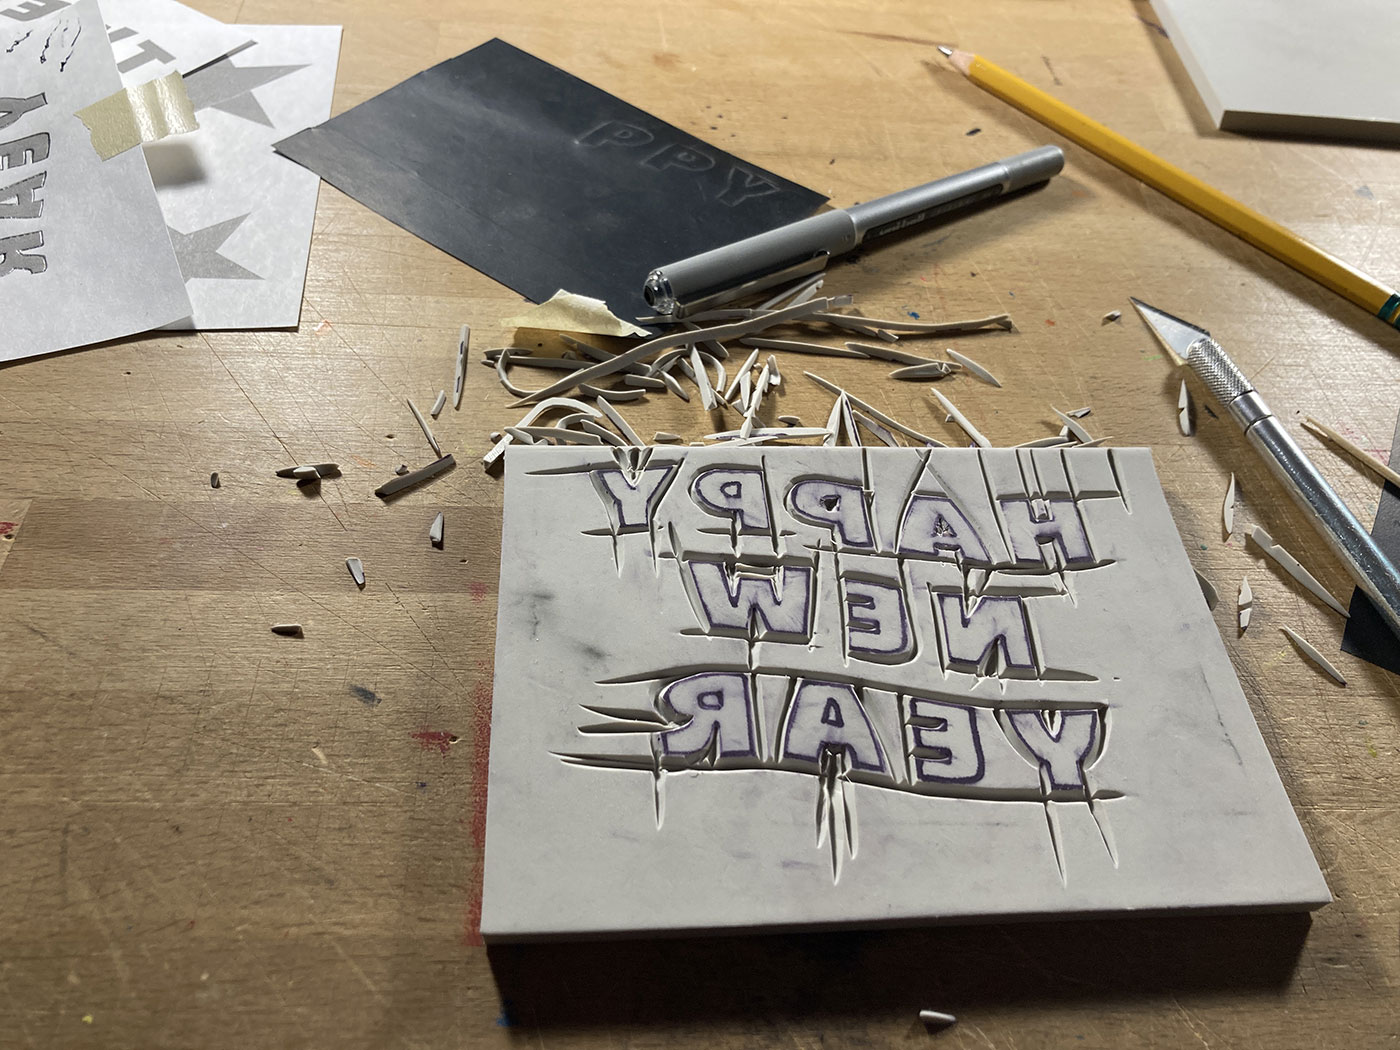
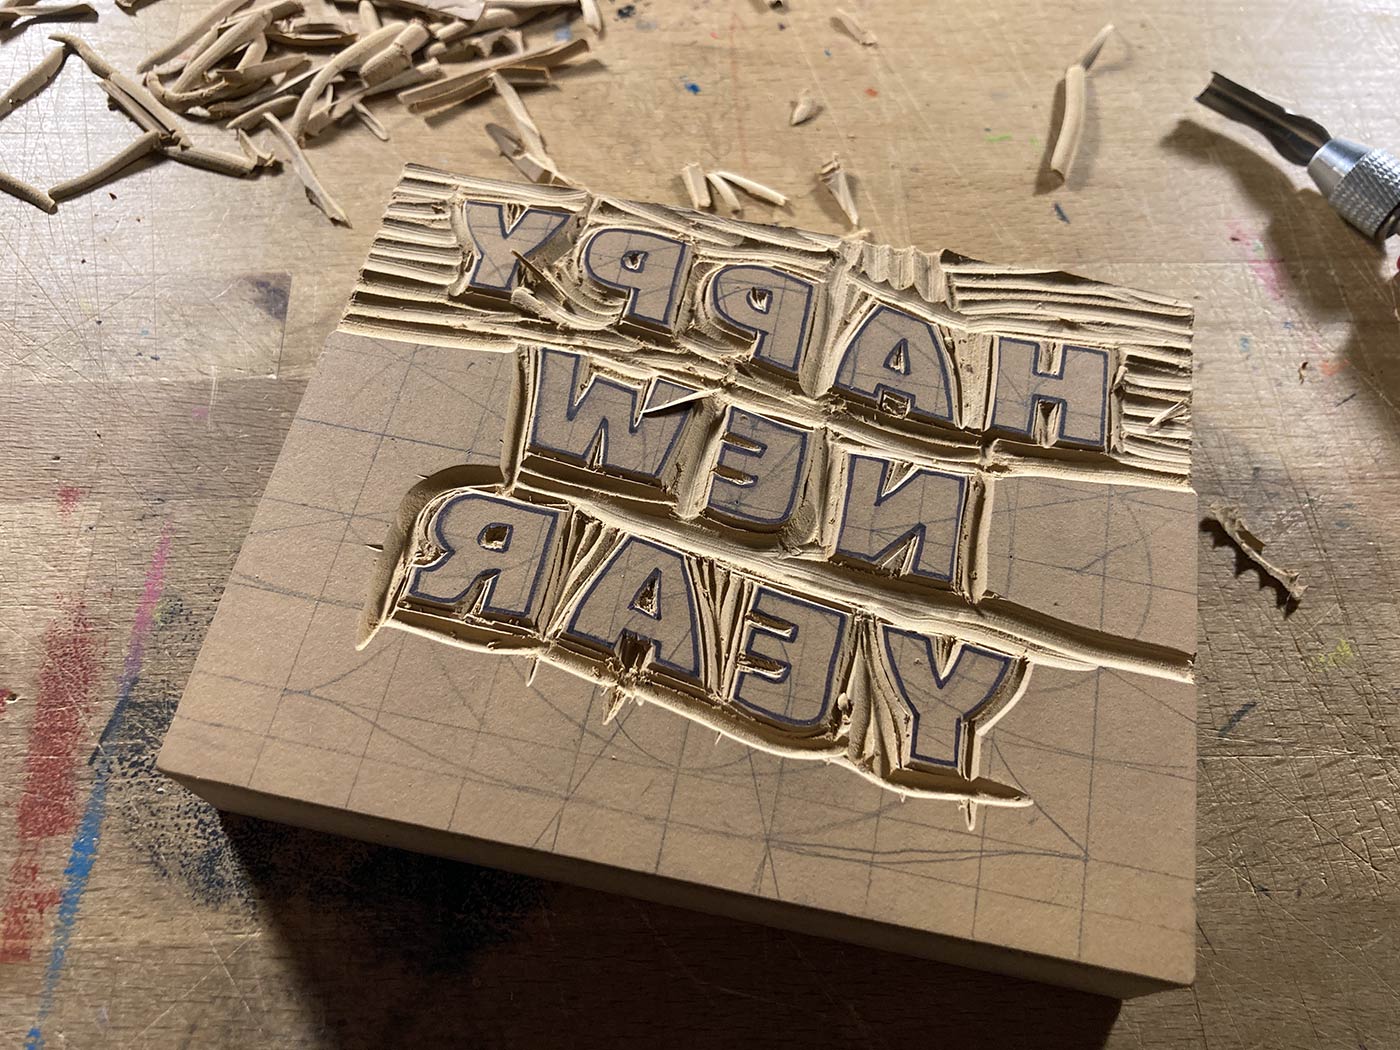
- First Attempt Using Soft Cut, Plate #3 The first plate I worked-on was Plate #3 ("Happy New Year") and this was where I discovered the carbon paper wouldn't adhere to the soft cut blocks. The transfer DID leave a faint impression of the lines, so I attempted to make it work, but wasn't happy with the result at this point and abandoned the idea.
- Plates Ready for Cutting Luckily, I had two linoleum blocks in my supply bin, so I reserved those for the more intricate plates. I was able to make the soft core block work for Plate #1 (three white stars) because it was relatively simple.
- Plate #1 Cut-Out and Ready to Print It's too bad the soft core doesn't work as well as the linoleum when it comes to transferring designs because it's a dream to cut-out.
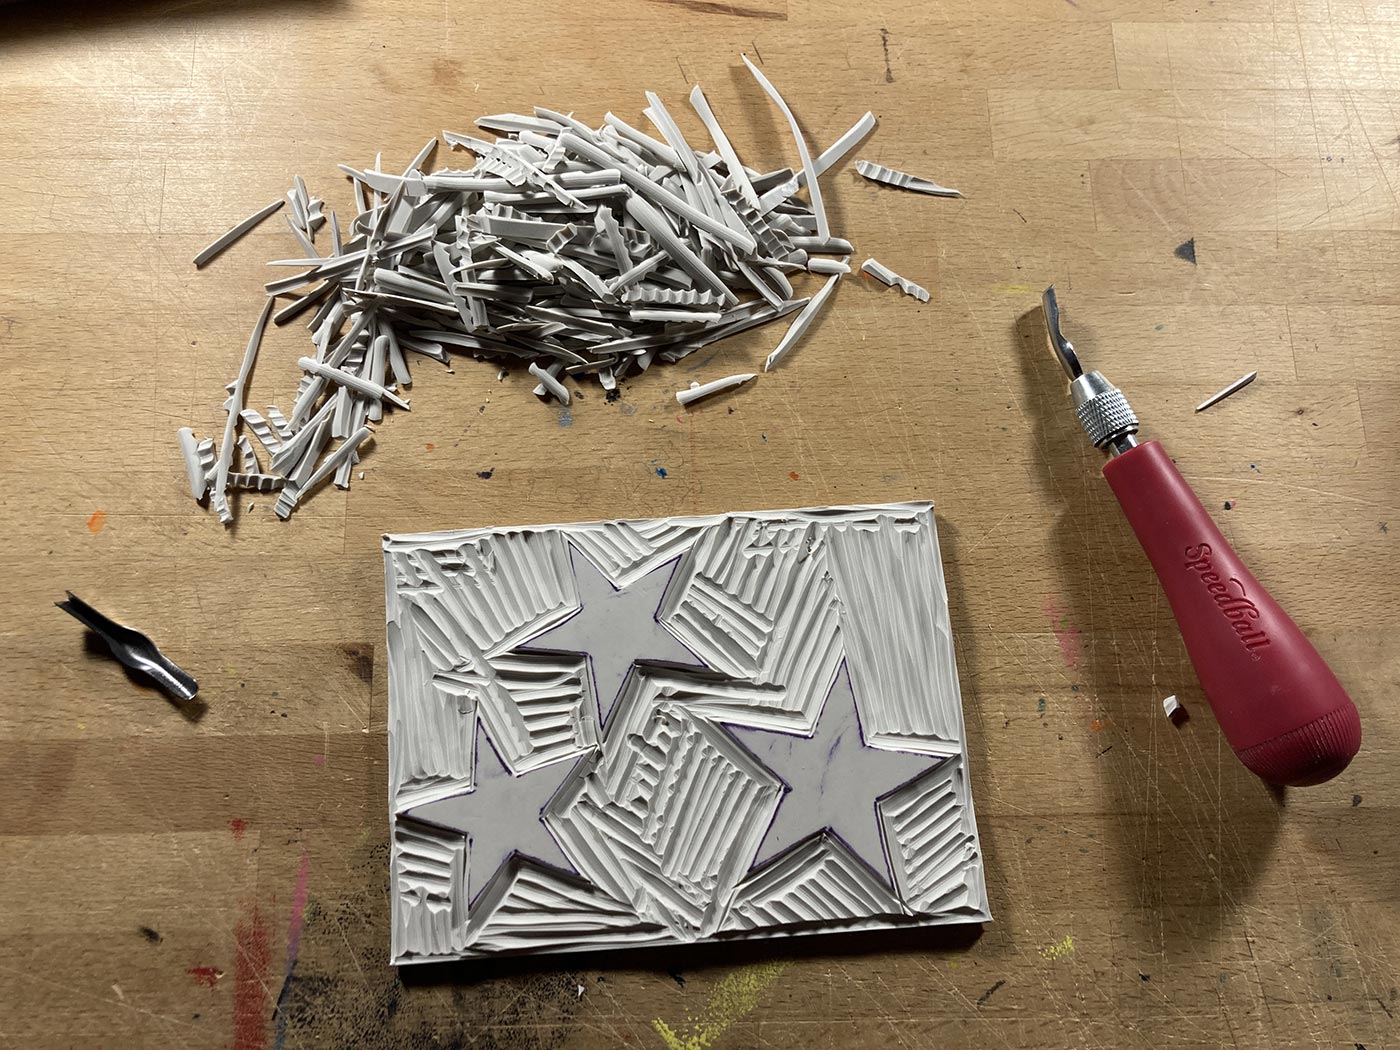
- Printing Plate #1 Here you see the simple press from Speedball that I used for the first time on this project. This plate flew by given how well the press worked. I didn't have any need to rub-out the plate at all with the wooden spoon.
- Plate #2 Cut-Out and Ready to Print While the linoleum is a bit harder to cut-out, the challenge makes it more fun. For the first time, I managed to avoid cutting myself.
- Printing Plate #2 This plate required me to rub-out the print a bit to make sure the letters transferred properly, but other than that I was excited at the end of this day.
- The End of Day Two All 36 cards have the first two steps done and they just need to dry.
- Cutting-Out Plate #3 Decided to go ahead and cut-out the third plate so I could get right into printing tomorrow.
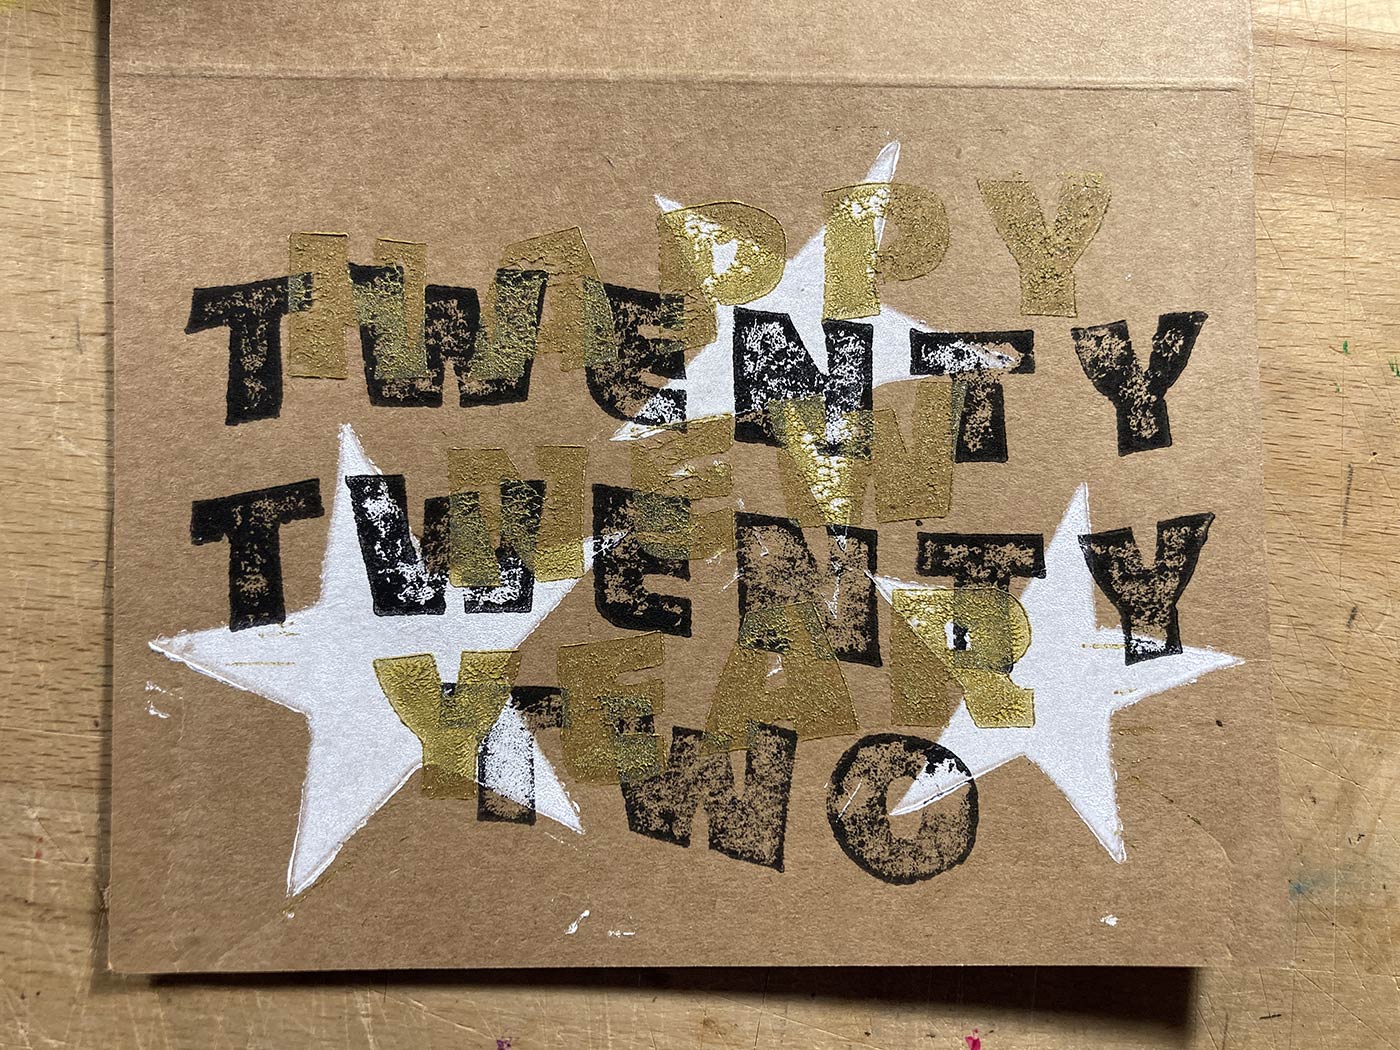
- Printing Plate #3: Gold Ink Isn't Going to Work This was a panicky moment. As you can see, the gold ink isn't opaque enough to cover the black ink beneath it and it also isn't different enough from the card stock to discern the lettering from the background.
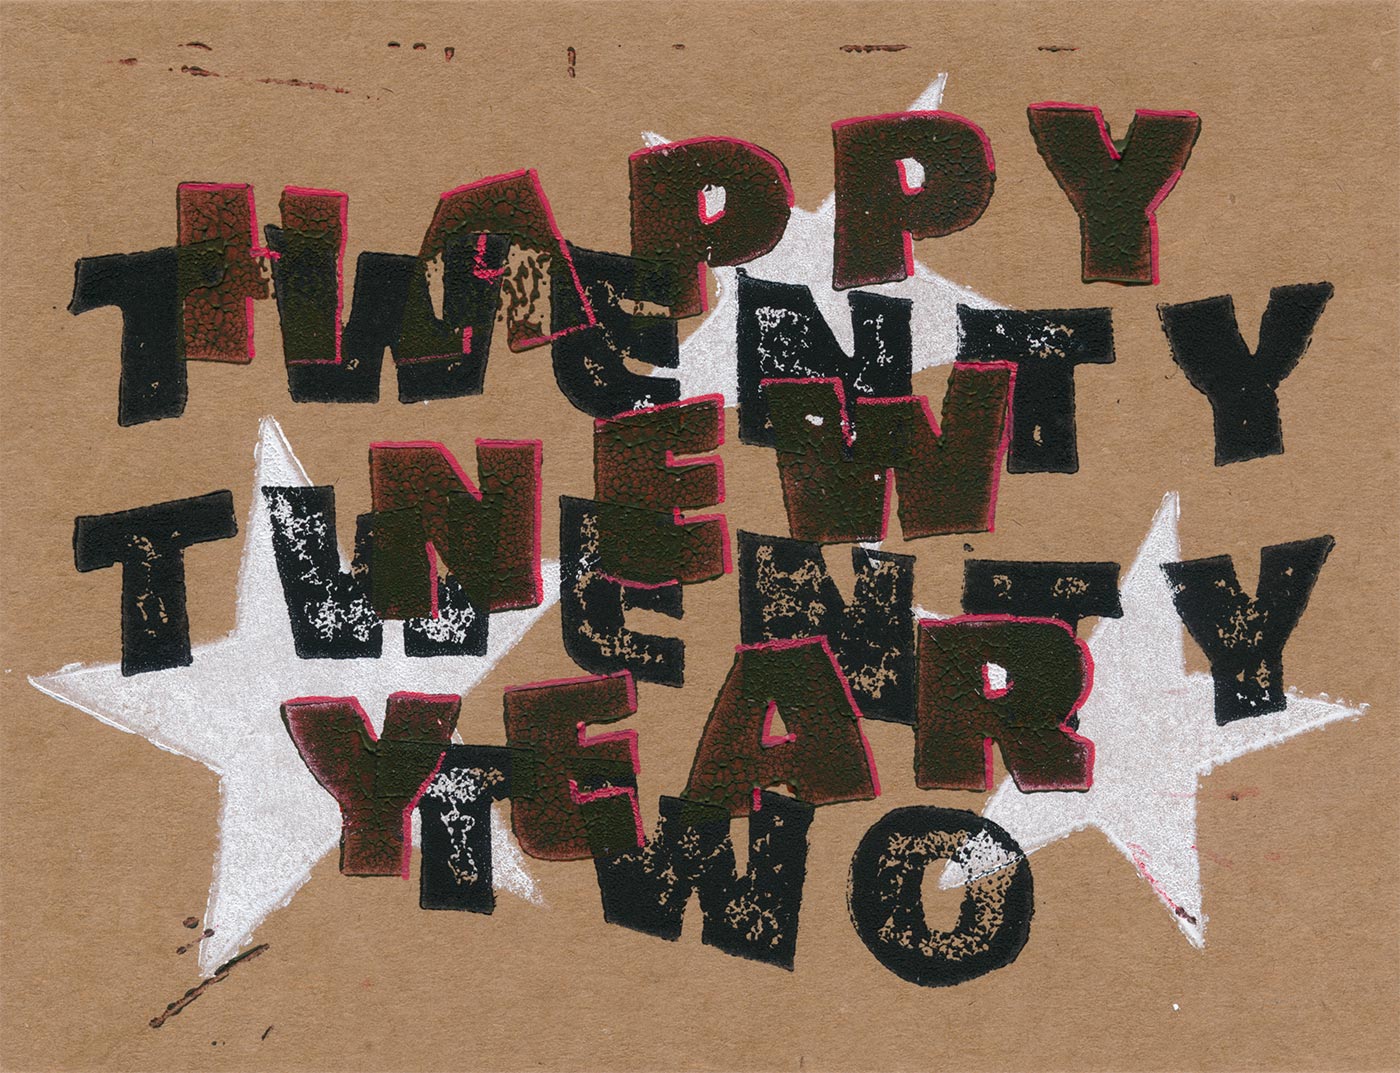
- Adding Black to the Red Attempt Maybe if some black ink was added to the red, it would be more opaque? No, it just became black. I rescued this print by adding red highlights using a acrylic paint pen and actually like how it turned-out, so I might use this going forward.
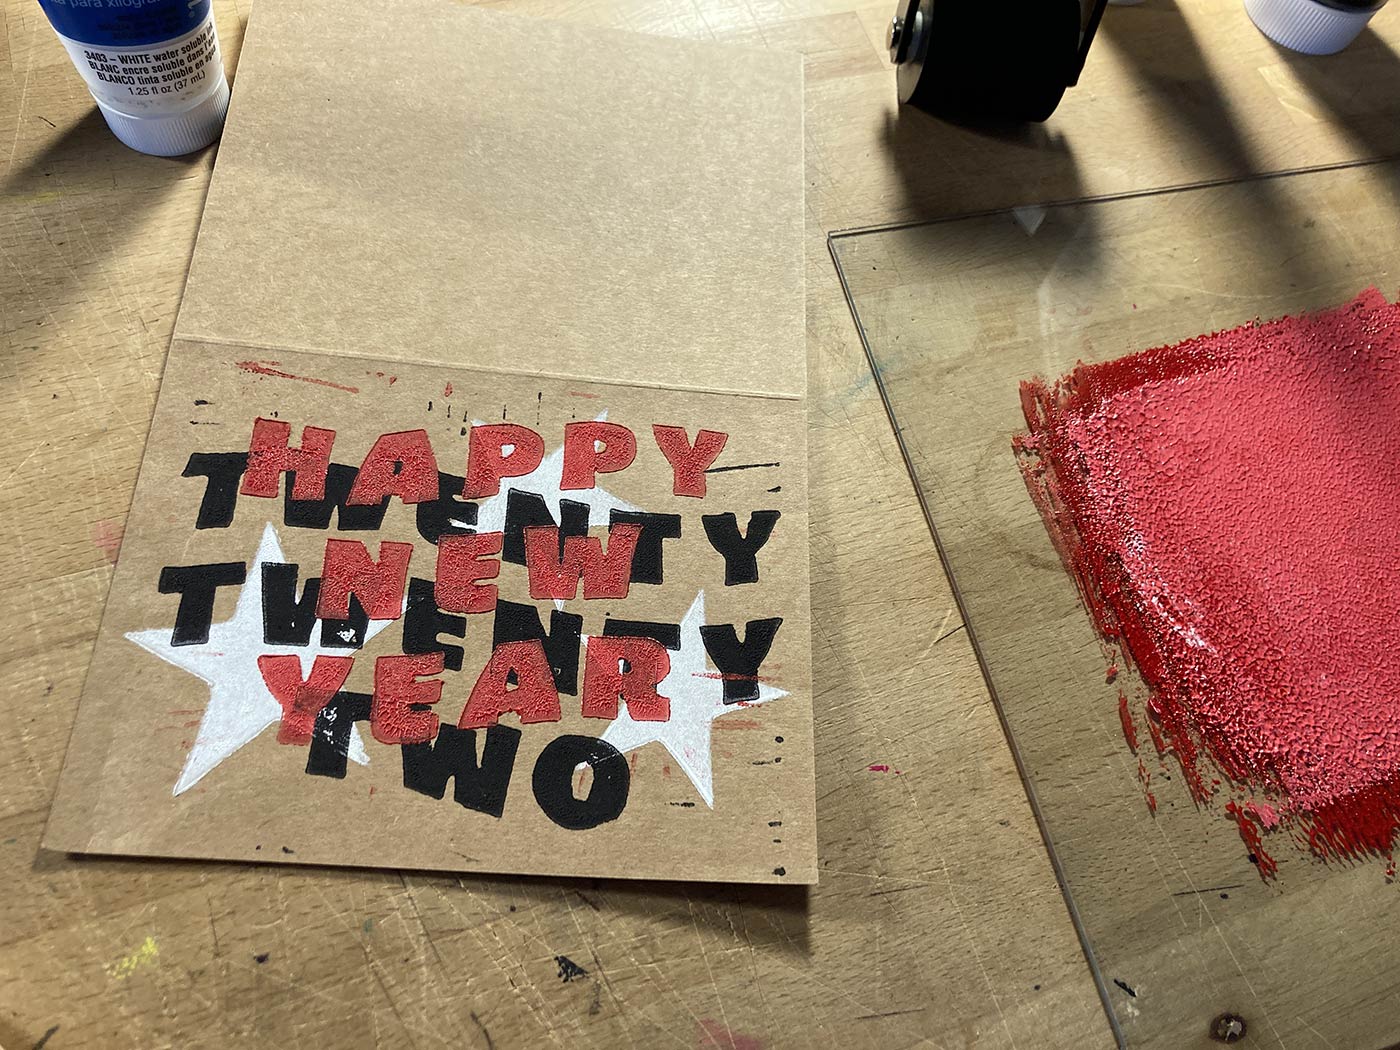
- The Pink to the Rescue This was the first print I made after adding a little white ink to the remaining red ink in an attempt to make sure I had enough to finish the project. It was a pleasant surprise to see how well it worked!
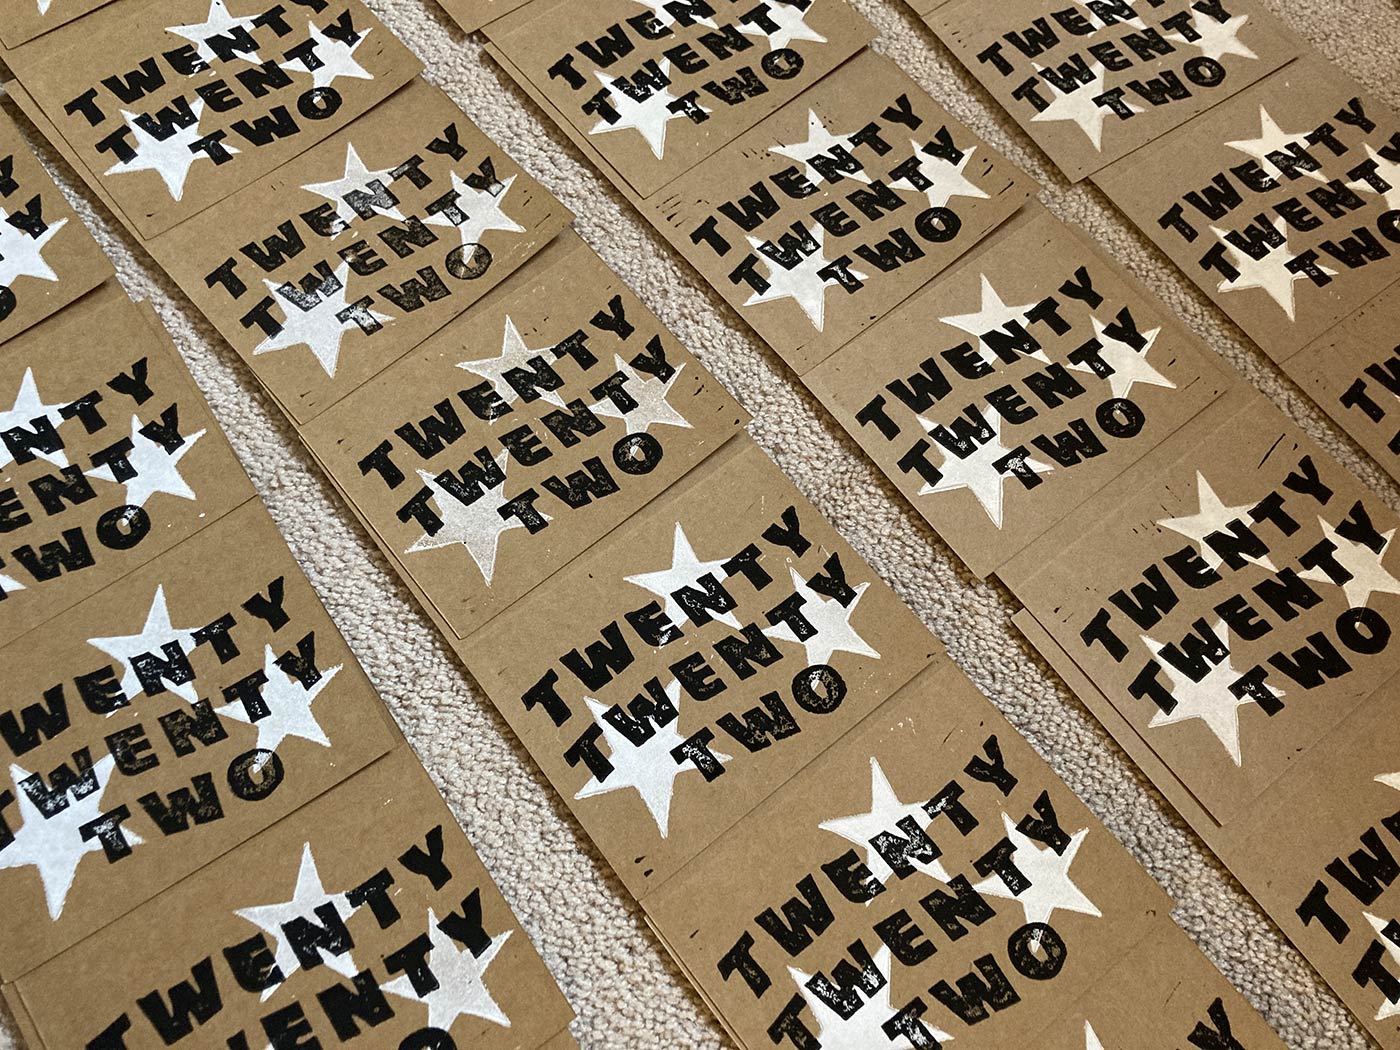
- Printing Is Finished All 36 prints are done and left to dry until tomorrow.
- Ready to Ship Here's the final stack of inscribed, sealed and addressed cards. What's next?!?
© 2026 60bpm