Linocut Printmaking: Happy New Year 2023
January 10, 2023
When I finished the Happy Birthday Print for 2022 early last year, I made a note on my calendar to start the Happy New Year 2023 print in late-November, so I could get it out as early as possible in the new year. While I started considering and planning the print around that time, I didn’t actually do much of anything tangible until well into the month of January. There’s something about it getting the plates started that scares me a little. Maybe it has something to do with the physical nature of the printmaking process and the permanence of it all. If you make an incorrect cut, there really isn’t a lot that you can do about it, unlike a piece of artwork which you can fix in Photoshop before sharing it online or making prints.
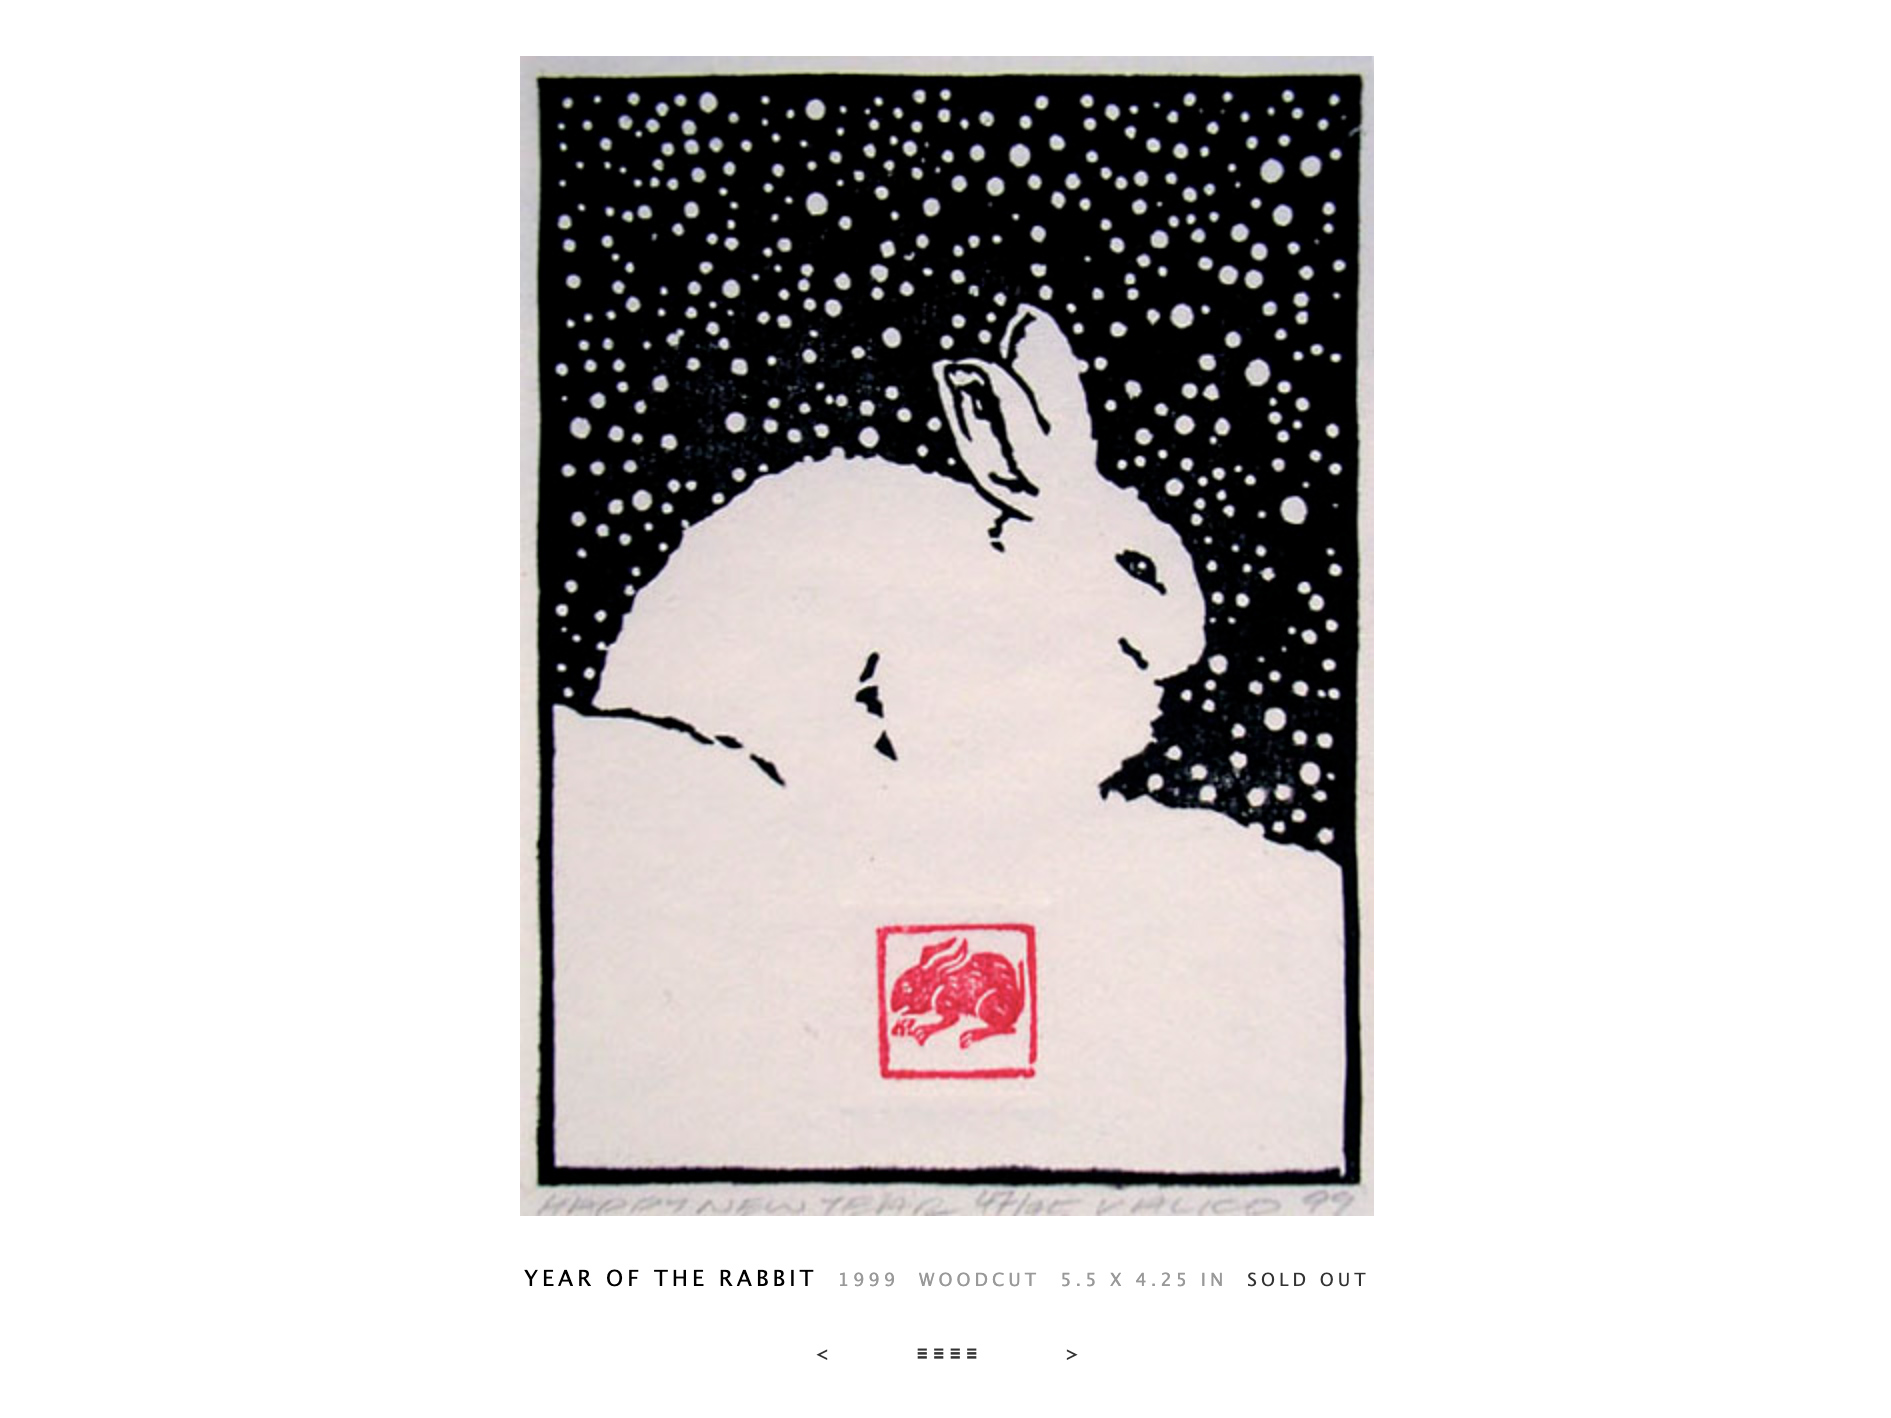
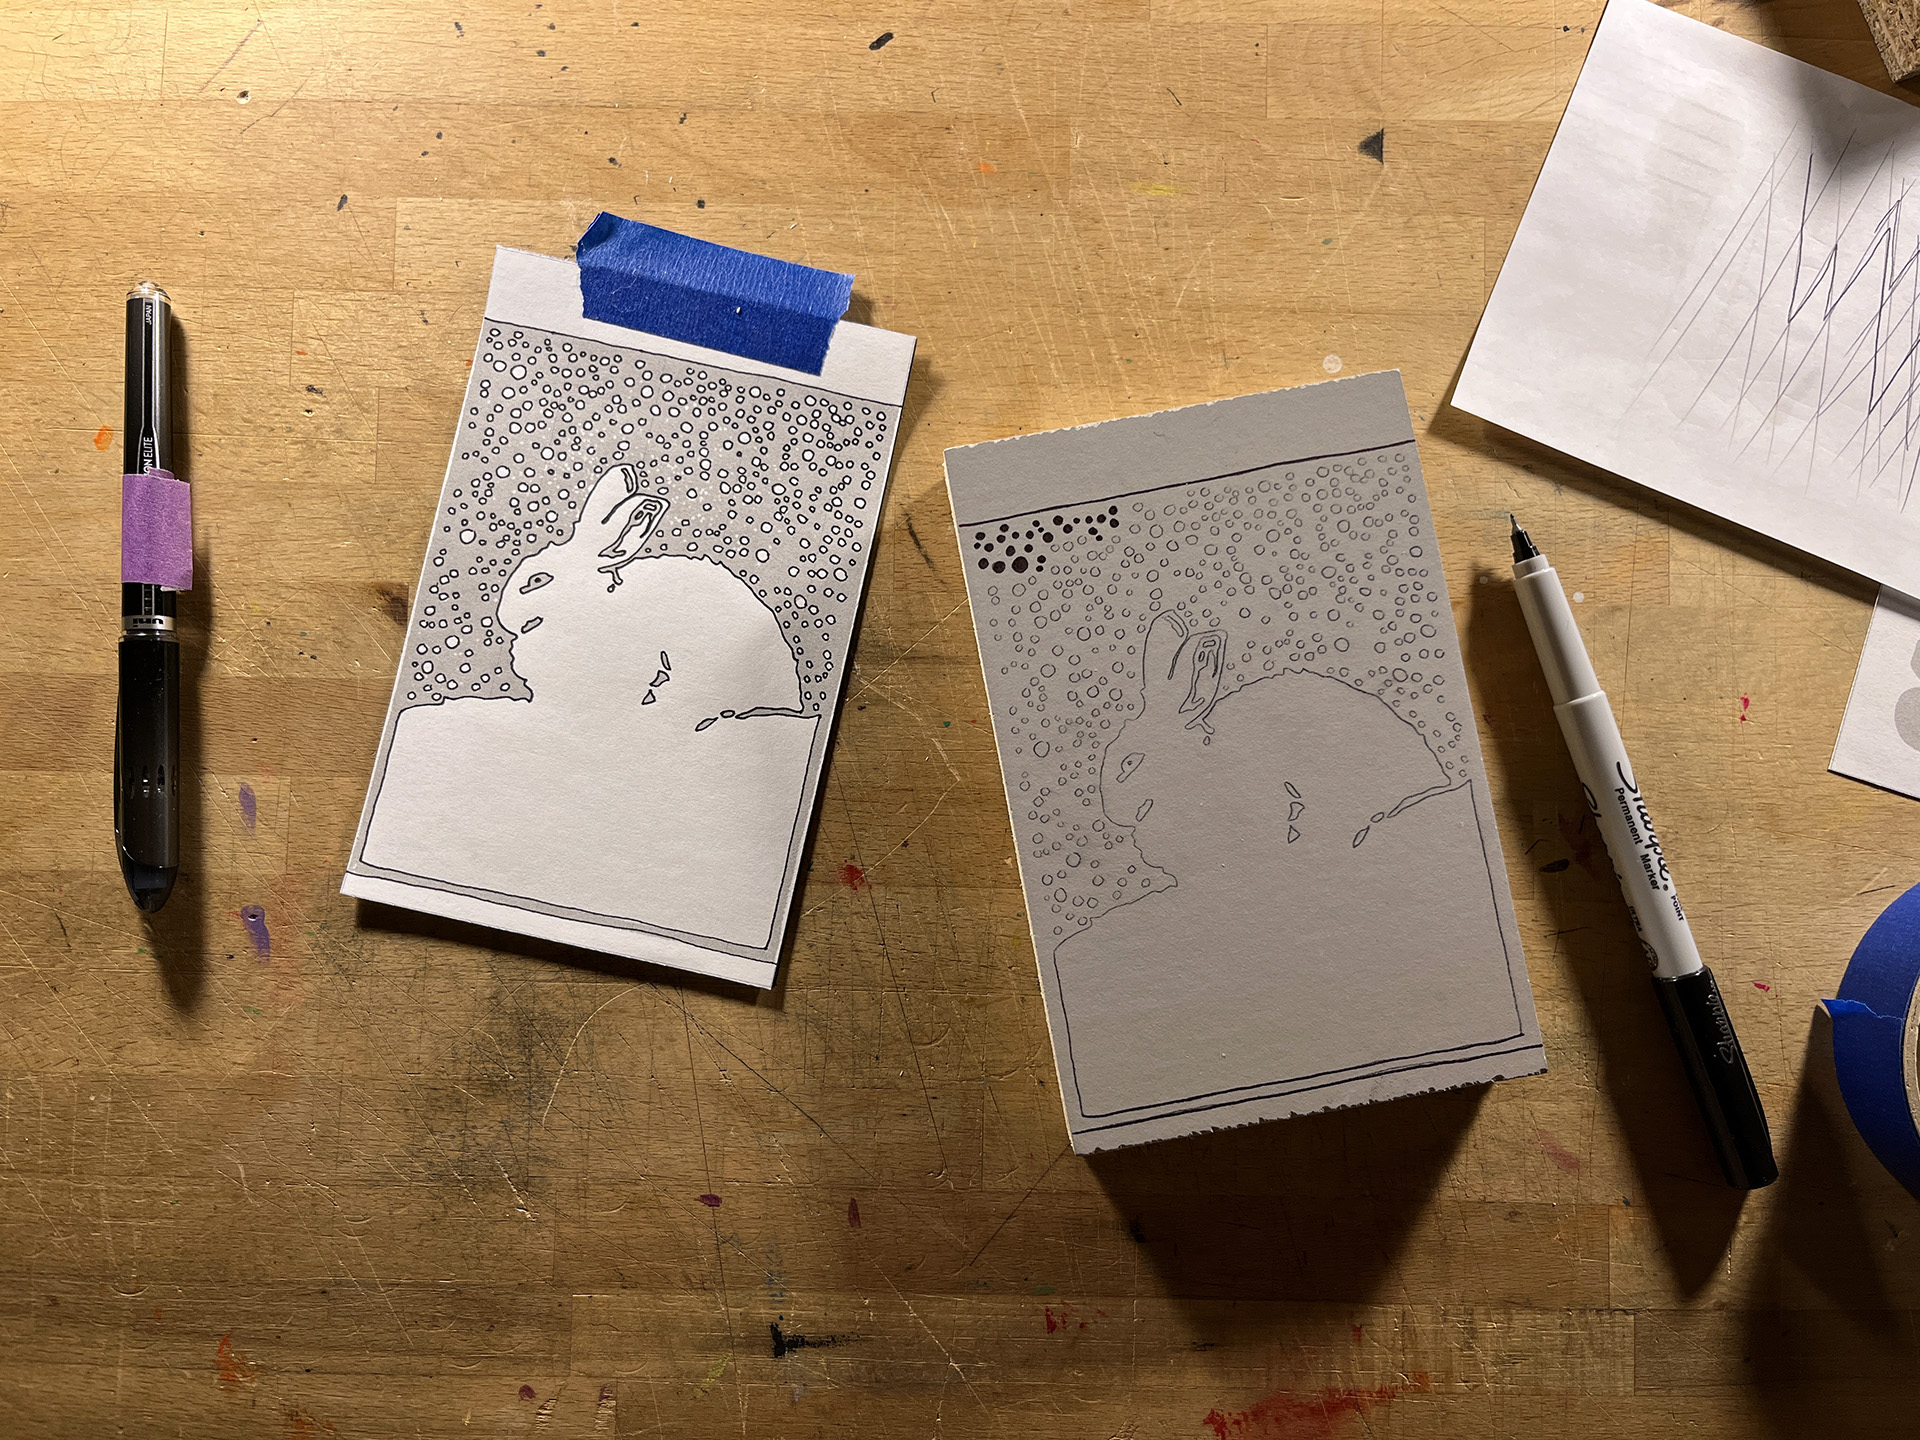
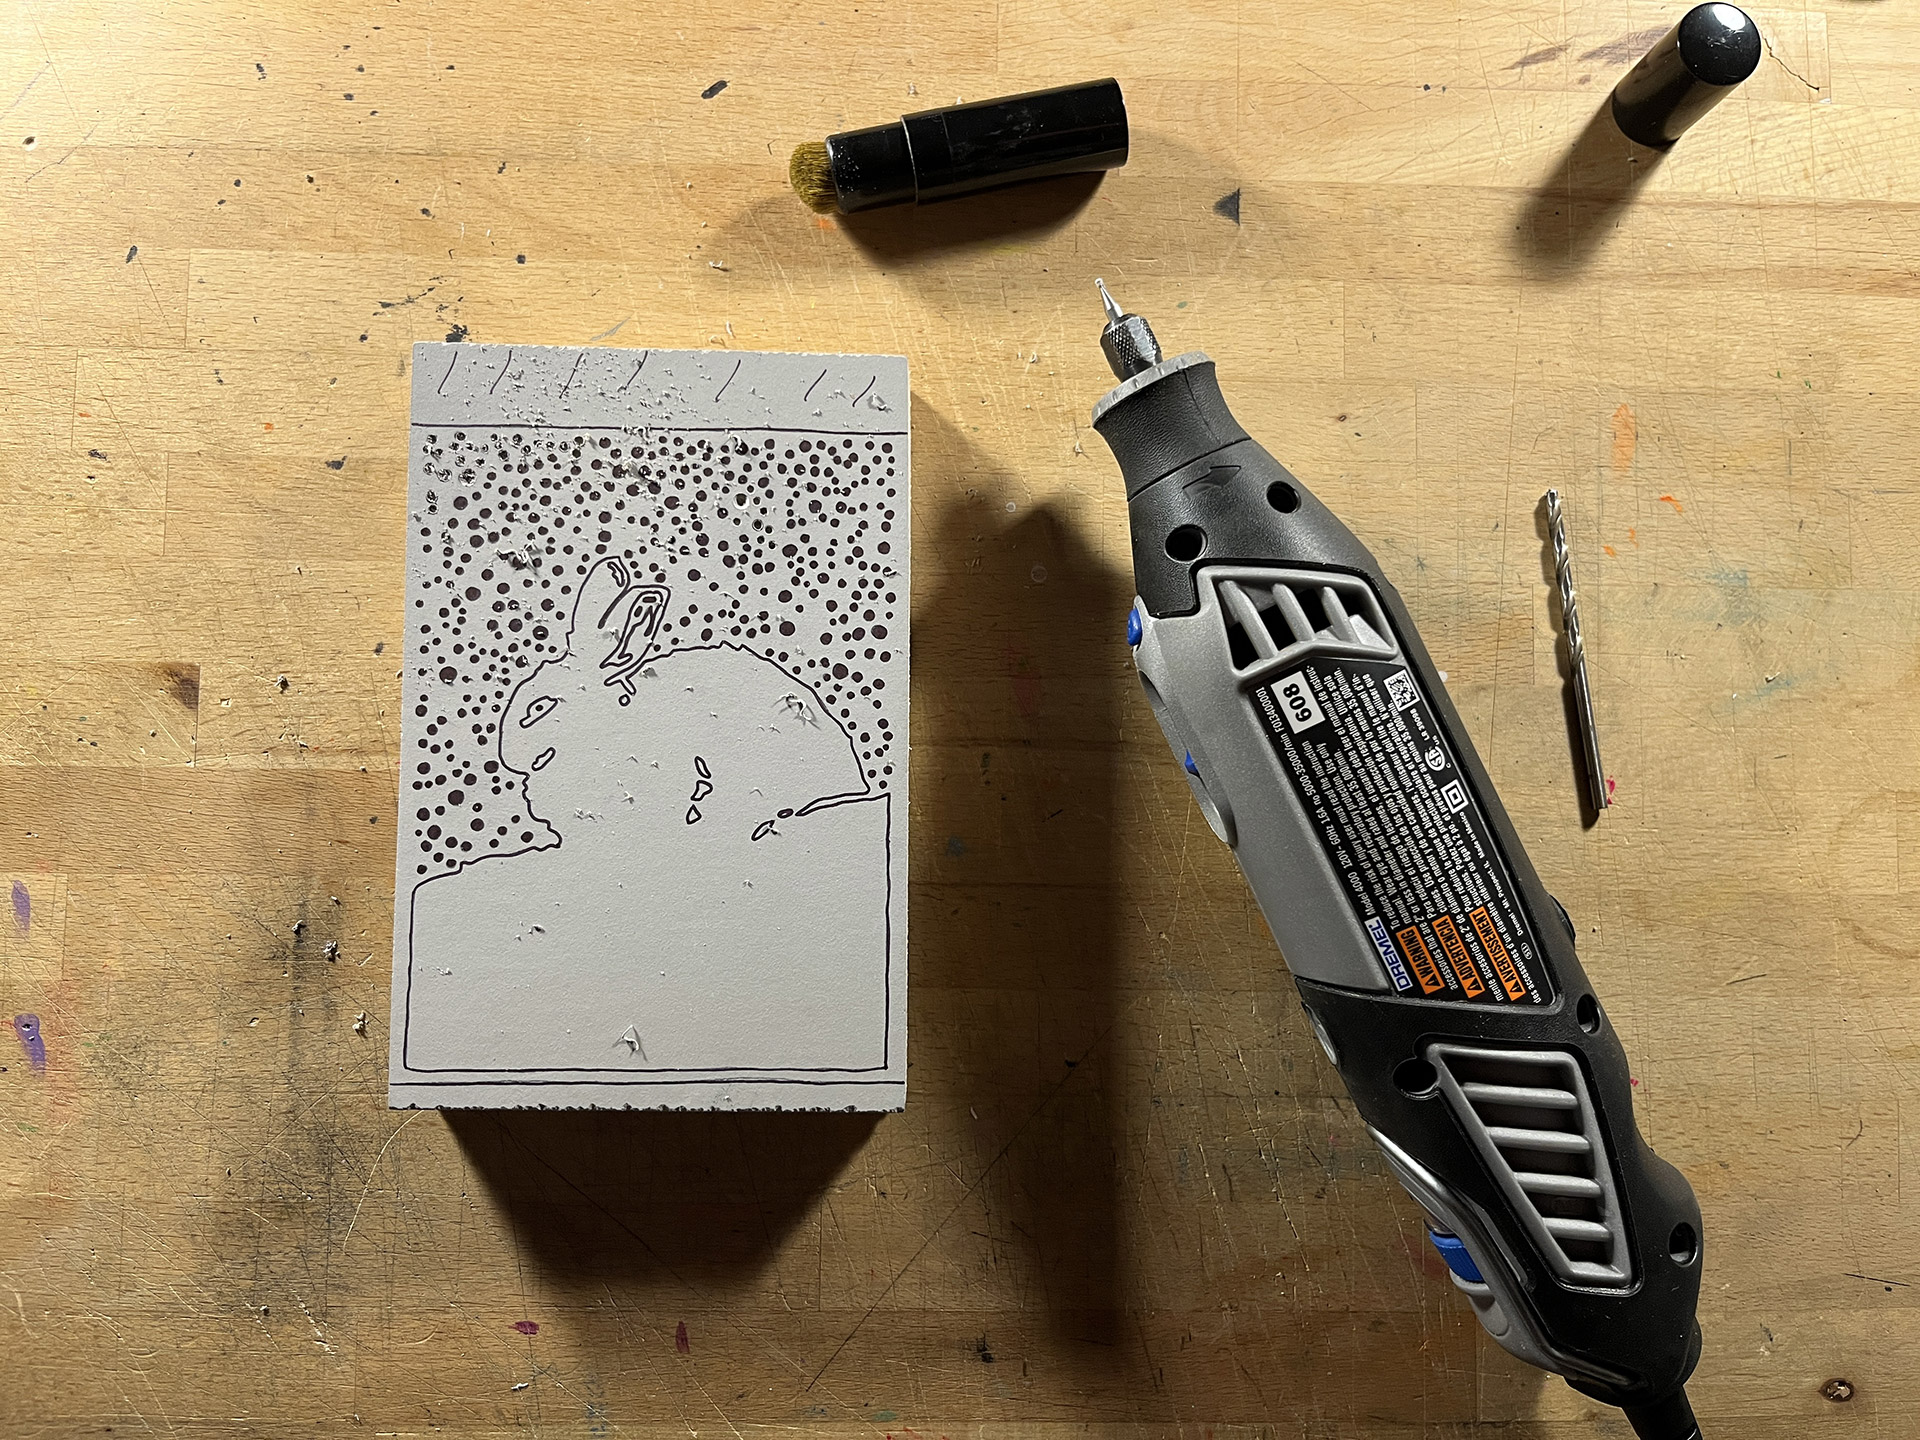
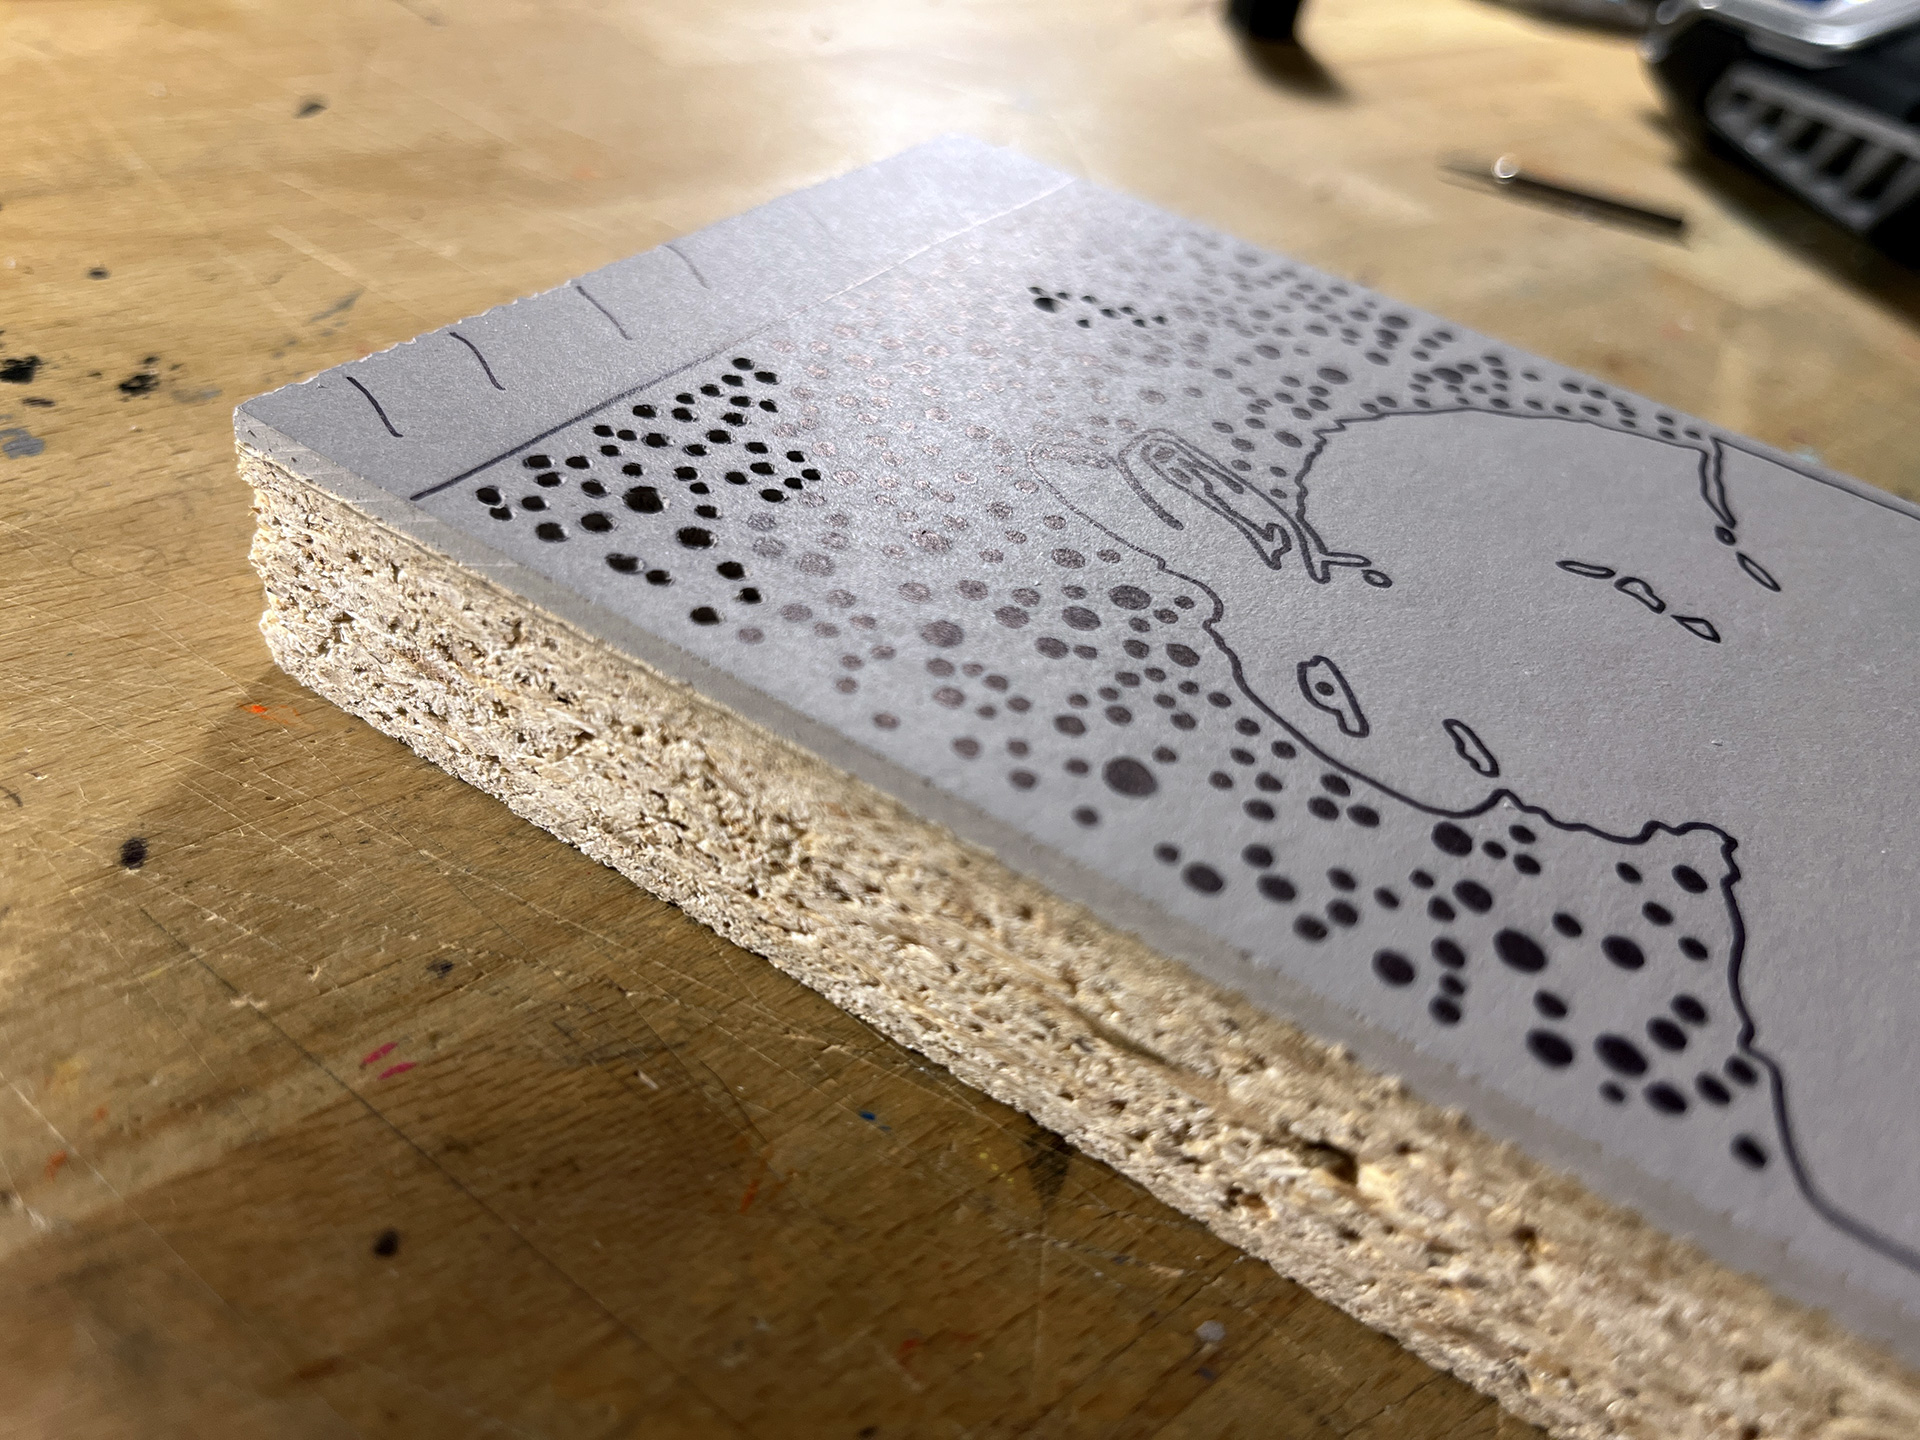
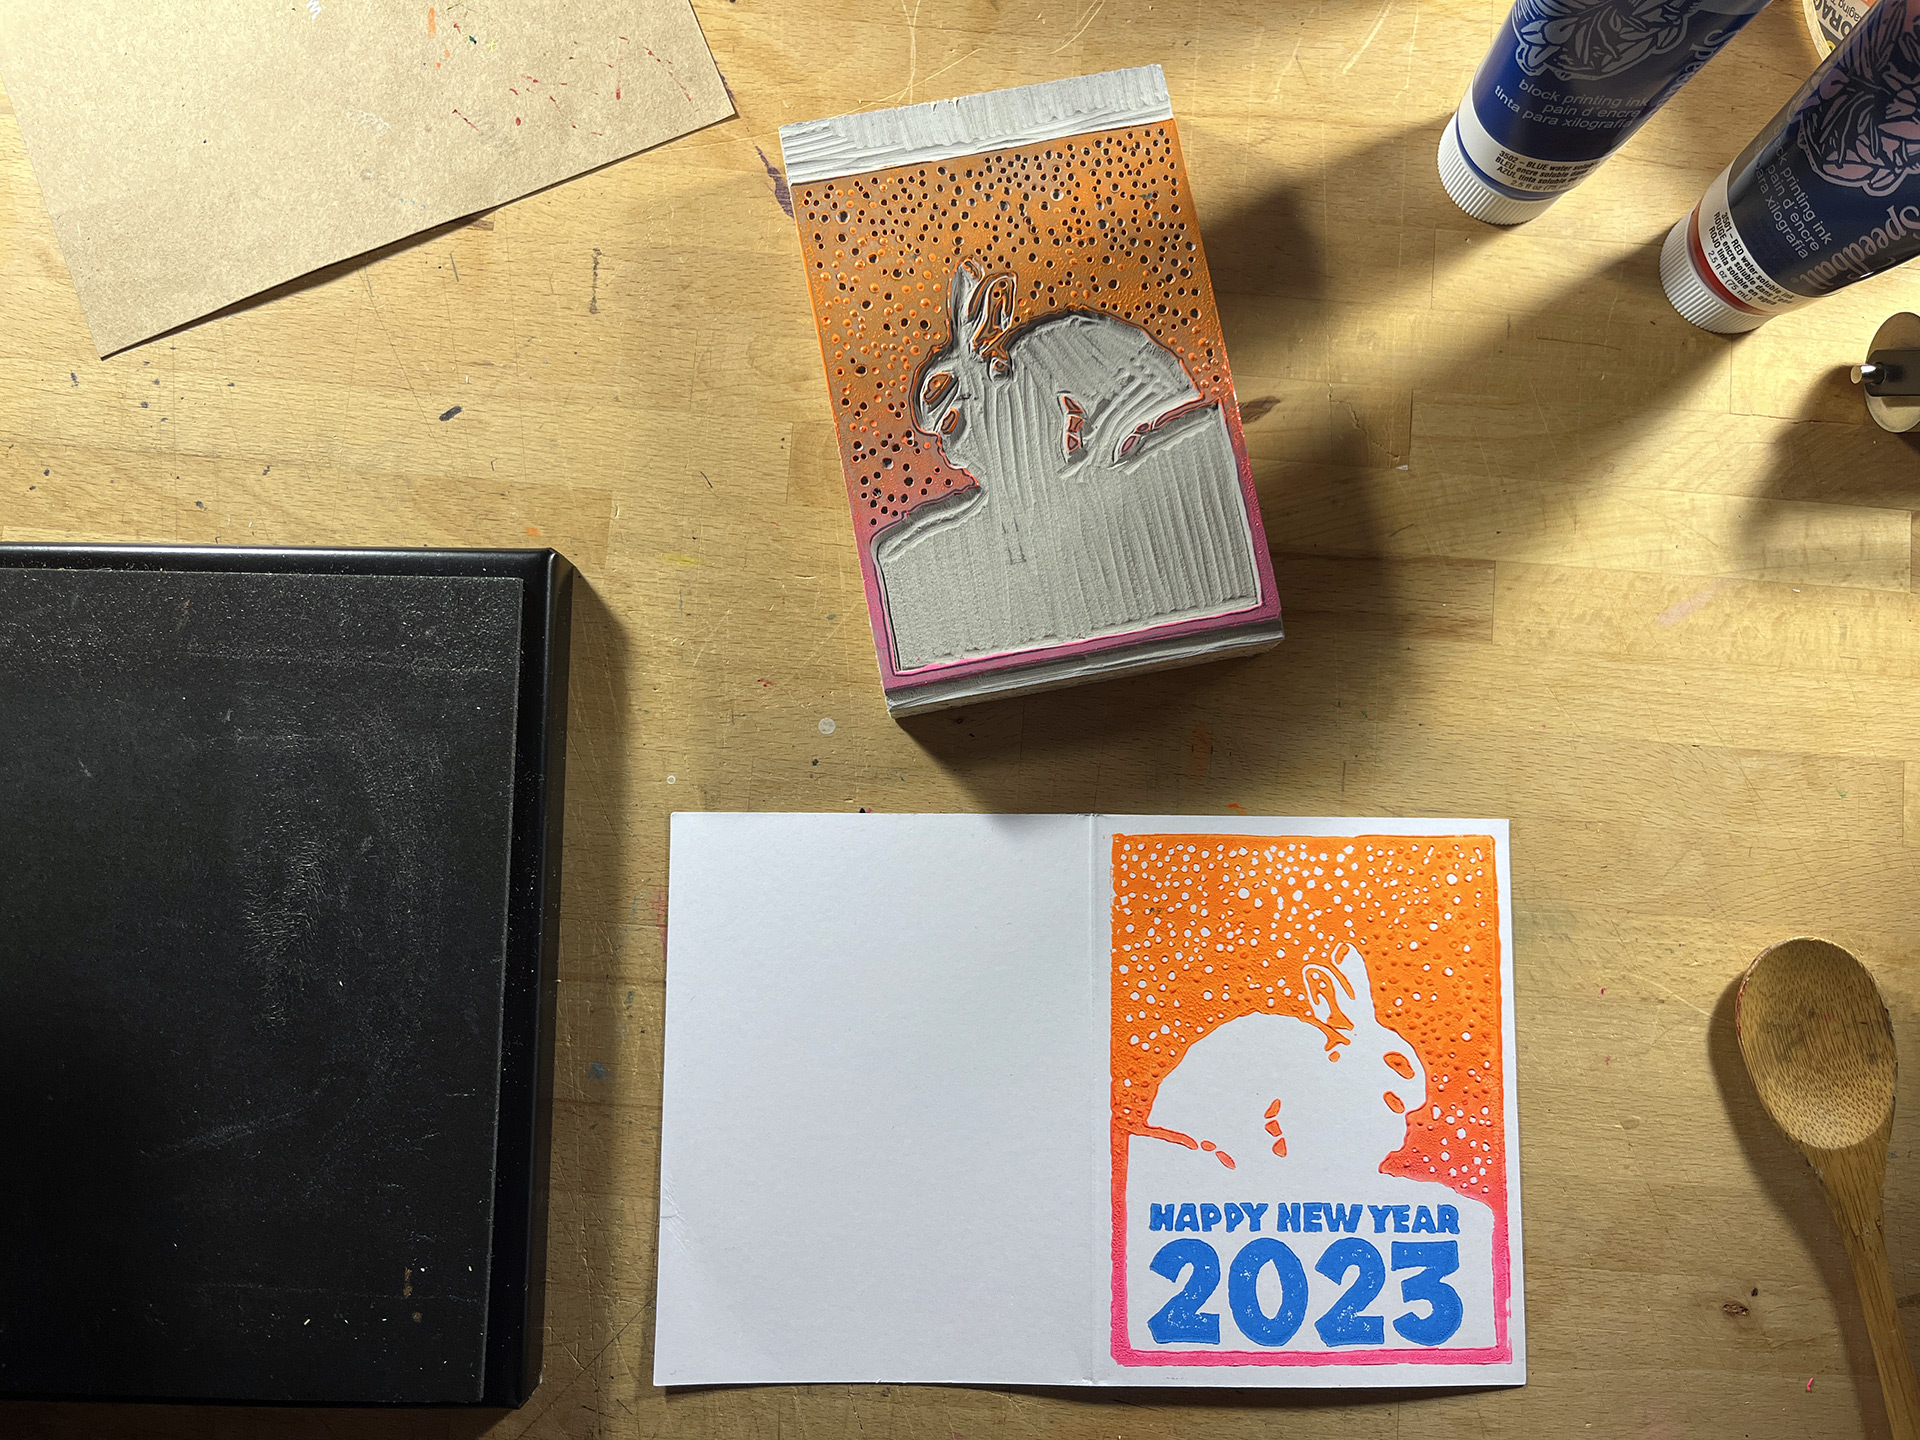
The artwork I decided to use for the print was one of a series of woodblock prints based on the Chinese horoscope by Andrew Walko that I found online. The year 2023 is the year of the rabbit and his design allowed for me to do a bit with the messaging. As usual, I bit off a bit more than I could chew with the design because, while it looks simplistic, once I printed-out the final design I realized the multitude of little circles were a bit beyond my ability. To get around this, I thought of using a power drill to achieve the effect, but ultimately decided to use my Dremel tool which gave me more control.
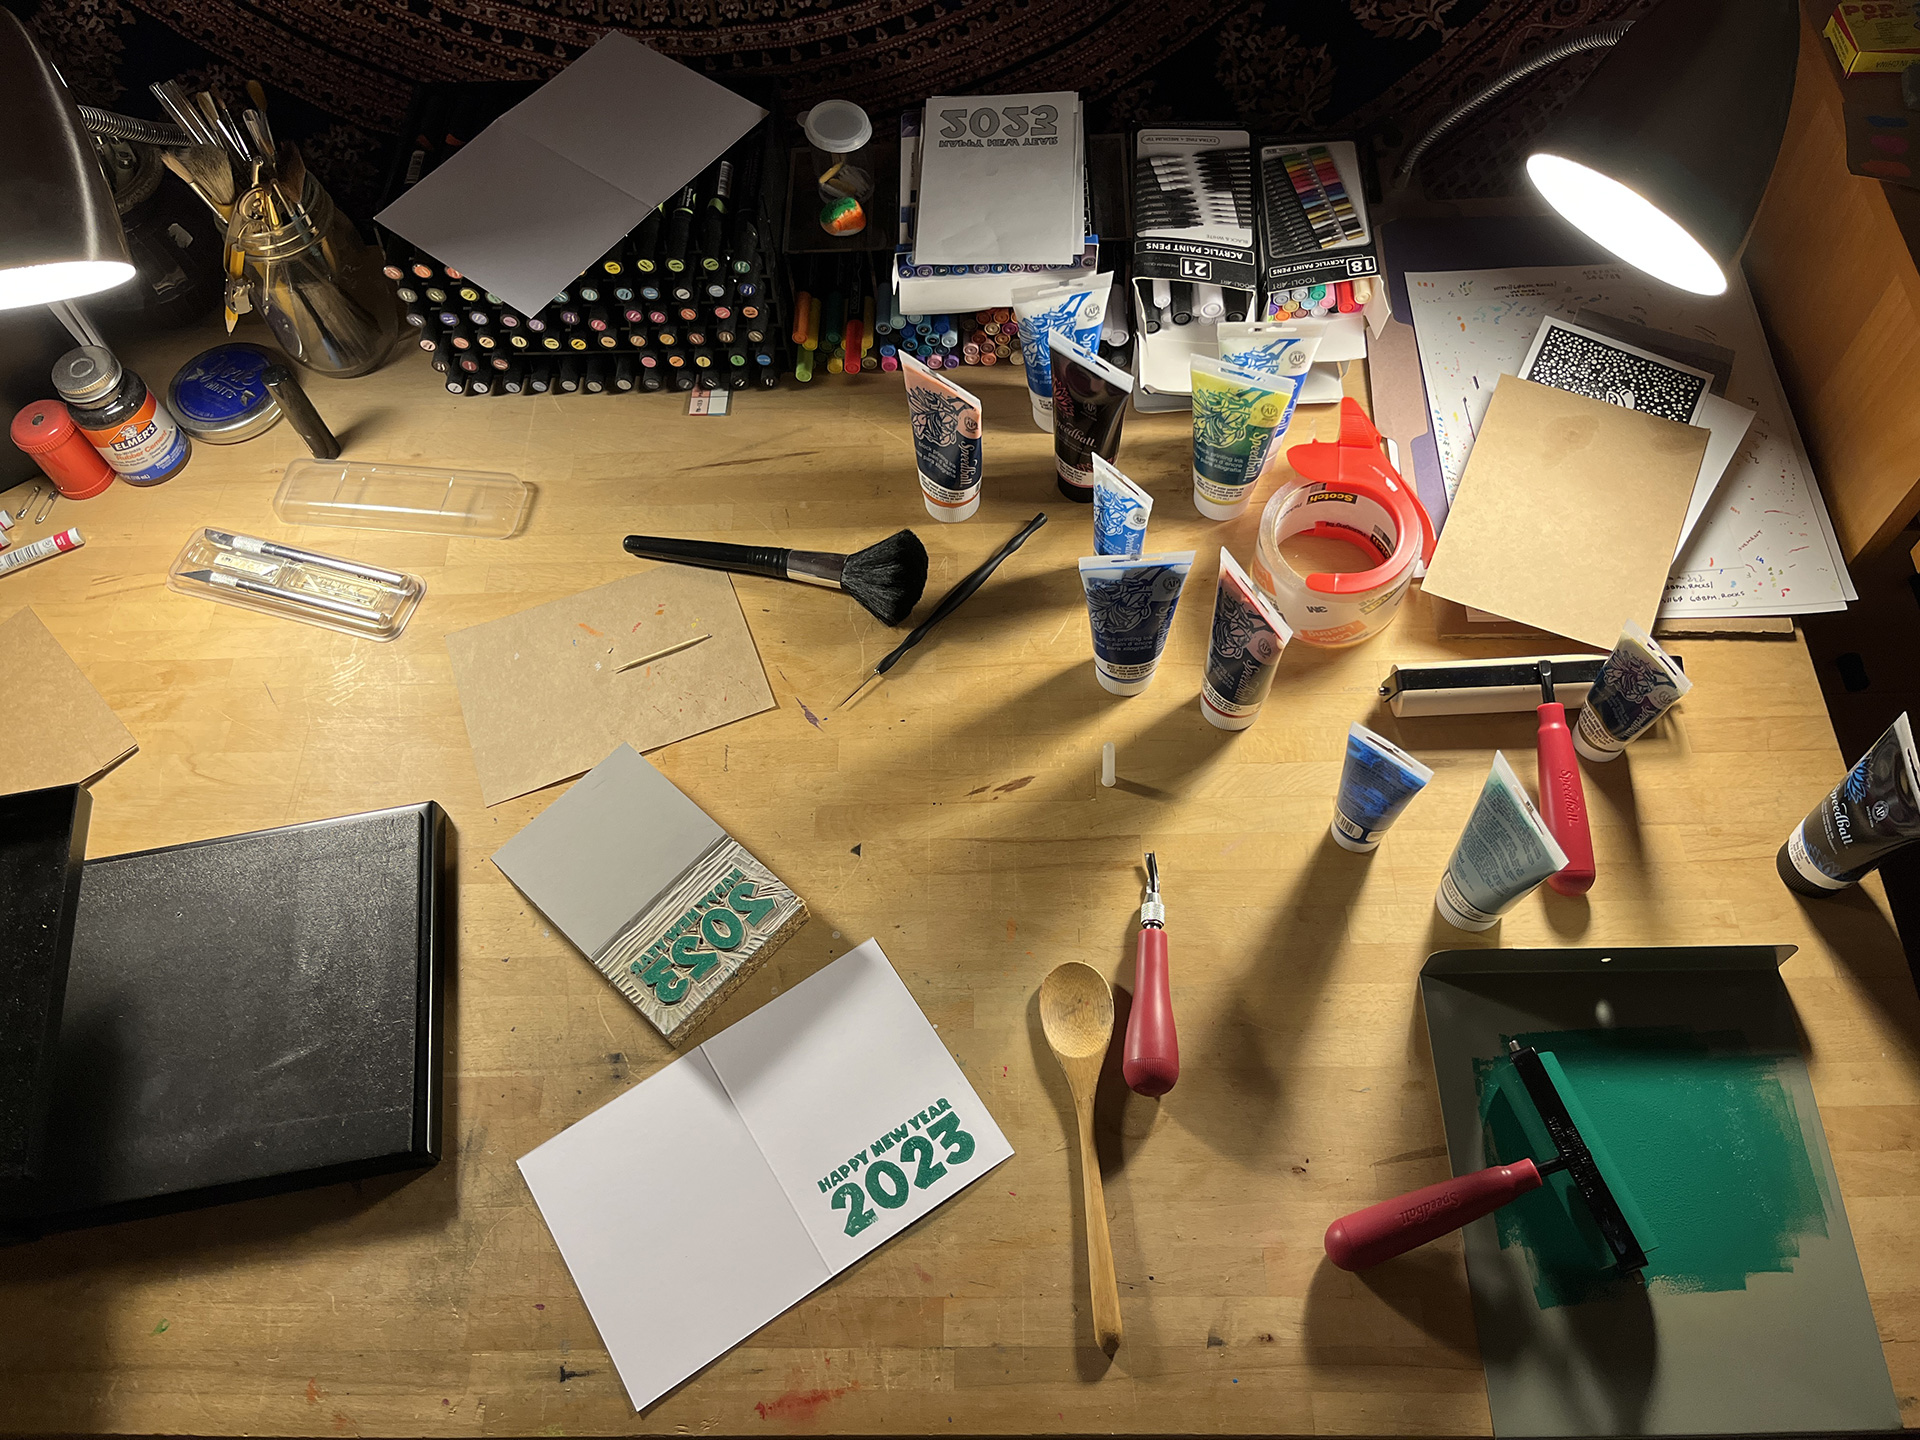
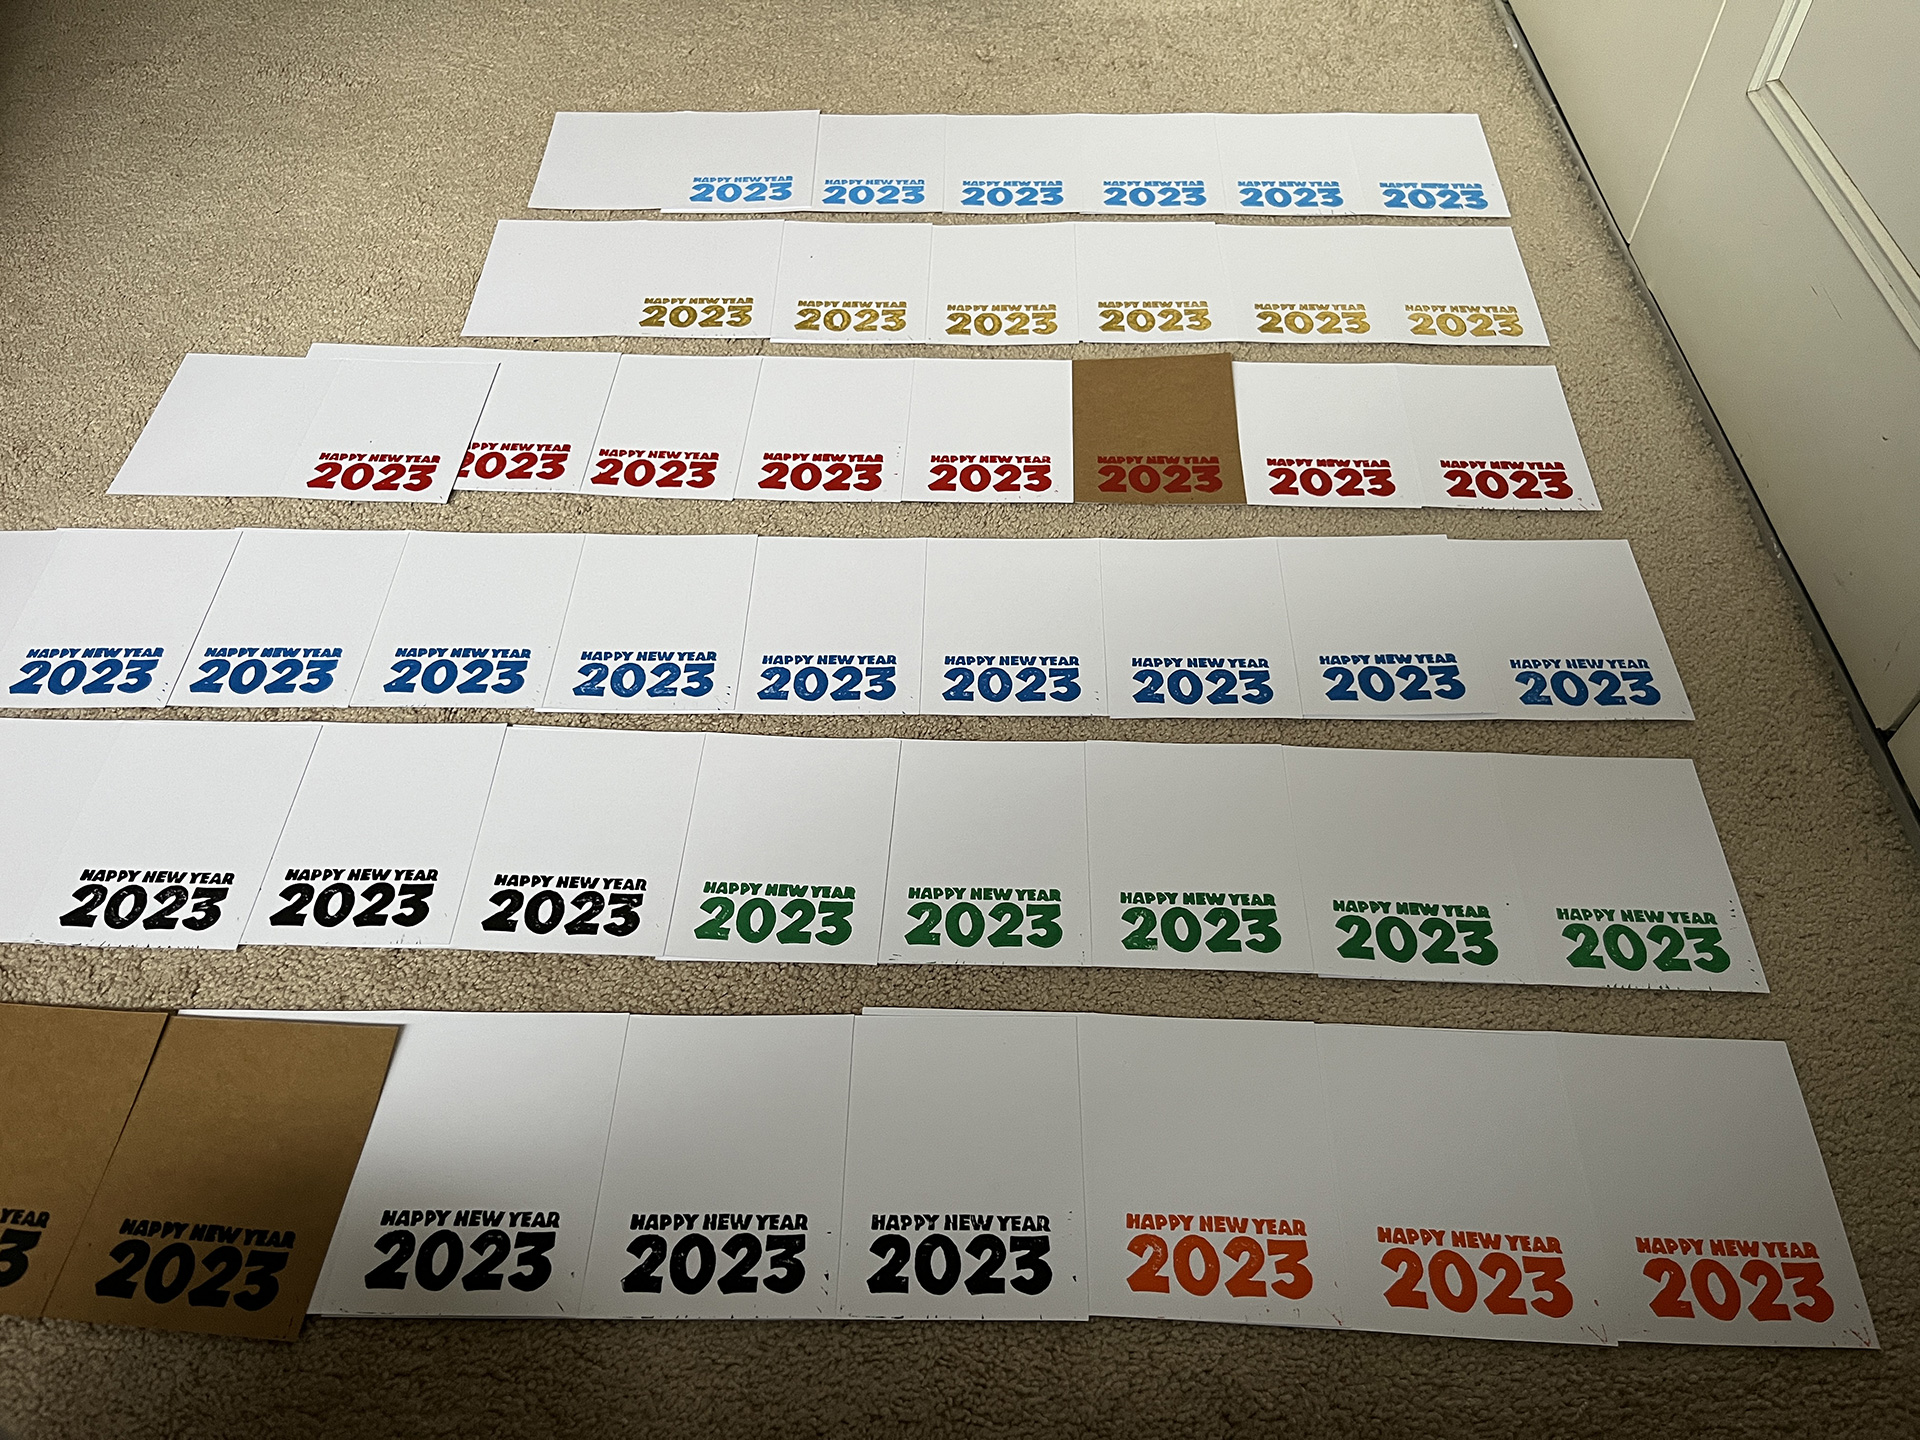
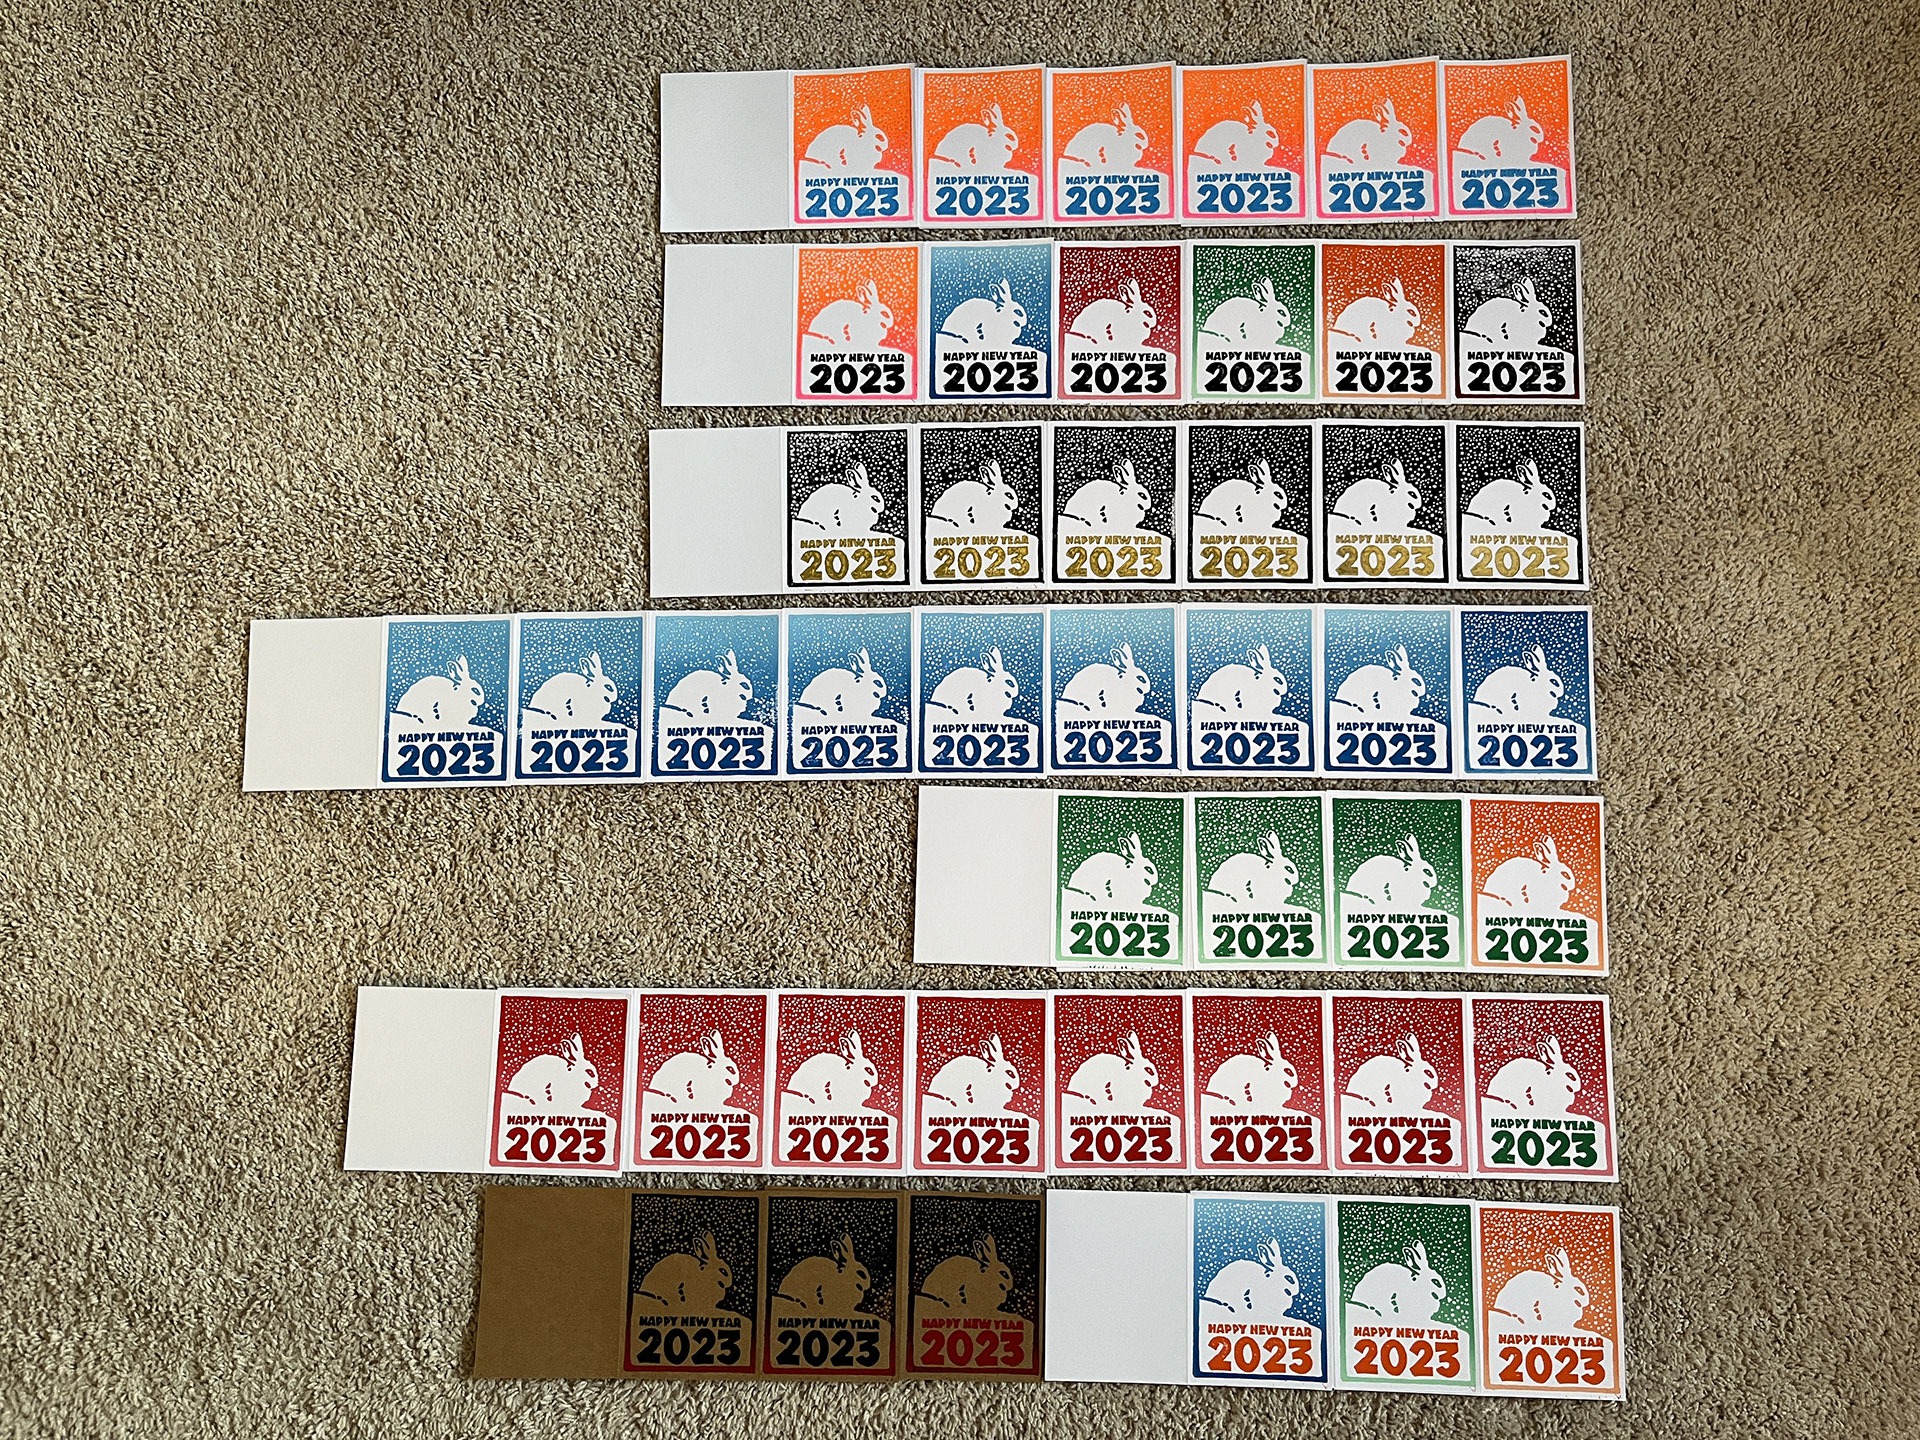
Once I finally got started on the cutting process, I remembered why I enjoy this art form so much. The task of cutting the plates requires an incredible amount of focus and precision, and, like I mentioned above, the ramifications of making a mistake make it both stressful and exhilarating. There was a bit of a delay between the finishing of the plates and the beginning of the printing process, as well, because I couldn’t decide on how to approach it. Should I do them all the same on the brown card stock or do a variety of colors on the white card stock? In the end, I decided to reverse what I did in 2022, printing the Happy New Year series in a variety of color on the white card stock, and reserving the brown card stock for the Happy Birthday series… though, I’m pretty sure I’ve changed my mind on that one.
The finished product turned-out great, and I realize I still have a lot to learn. But learning in this art form requires practice and I just don’t have that many projects in mind that utilize linocut printing. So it’s looking like it’ll take a bit of time to get better at this one.
Image Gallery
- Original Artwork by Andrew Walko The original artwork was found via a search, and I was eventually able to track-down the original artist as Andrew Walko and find a post on his web site.
- Lining A Plate Once the carbon paper transfers the design to the plate, it must be inked to prevent it from smudging away during the cutting process.
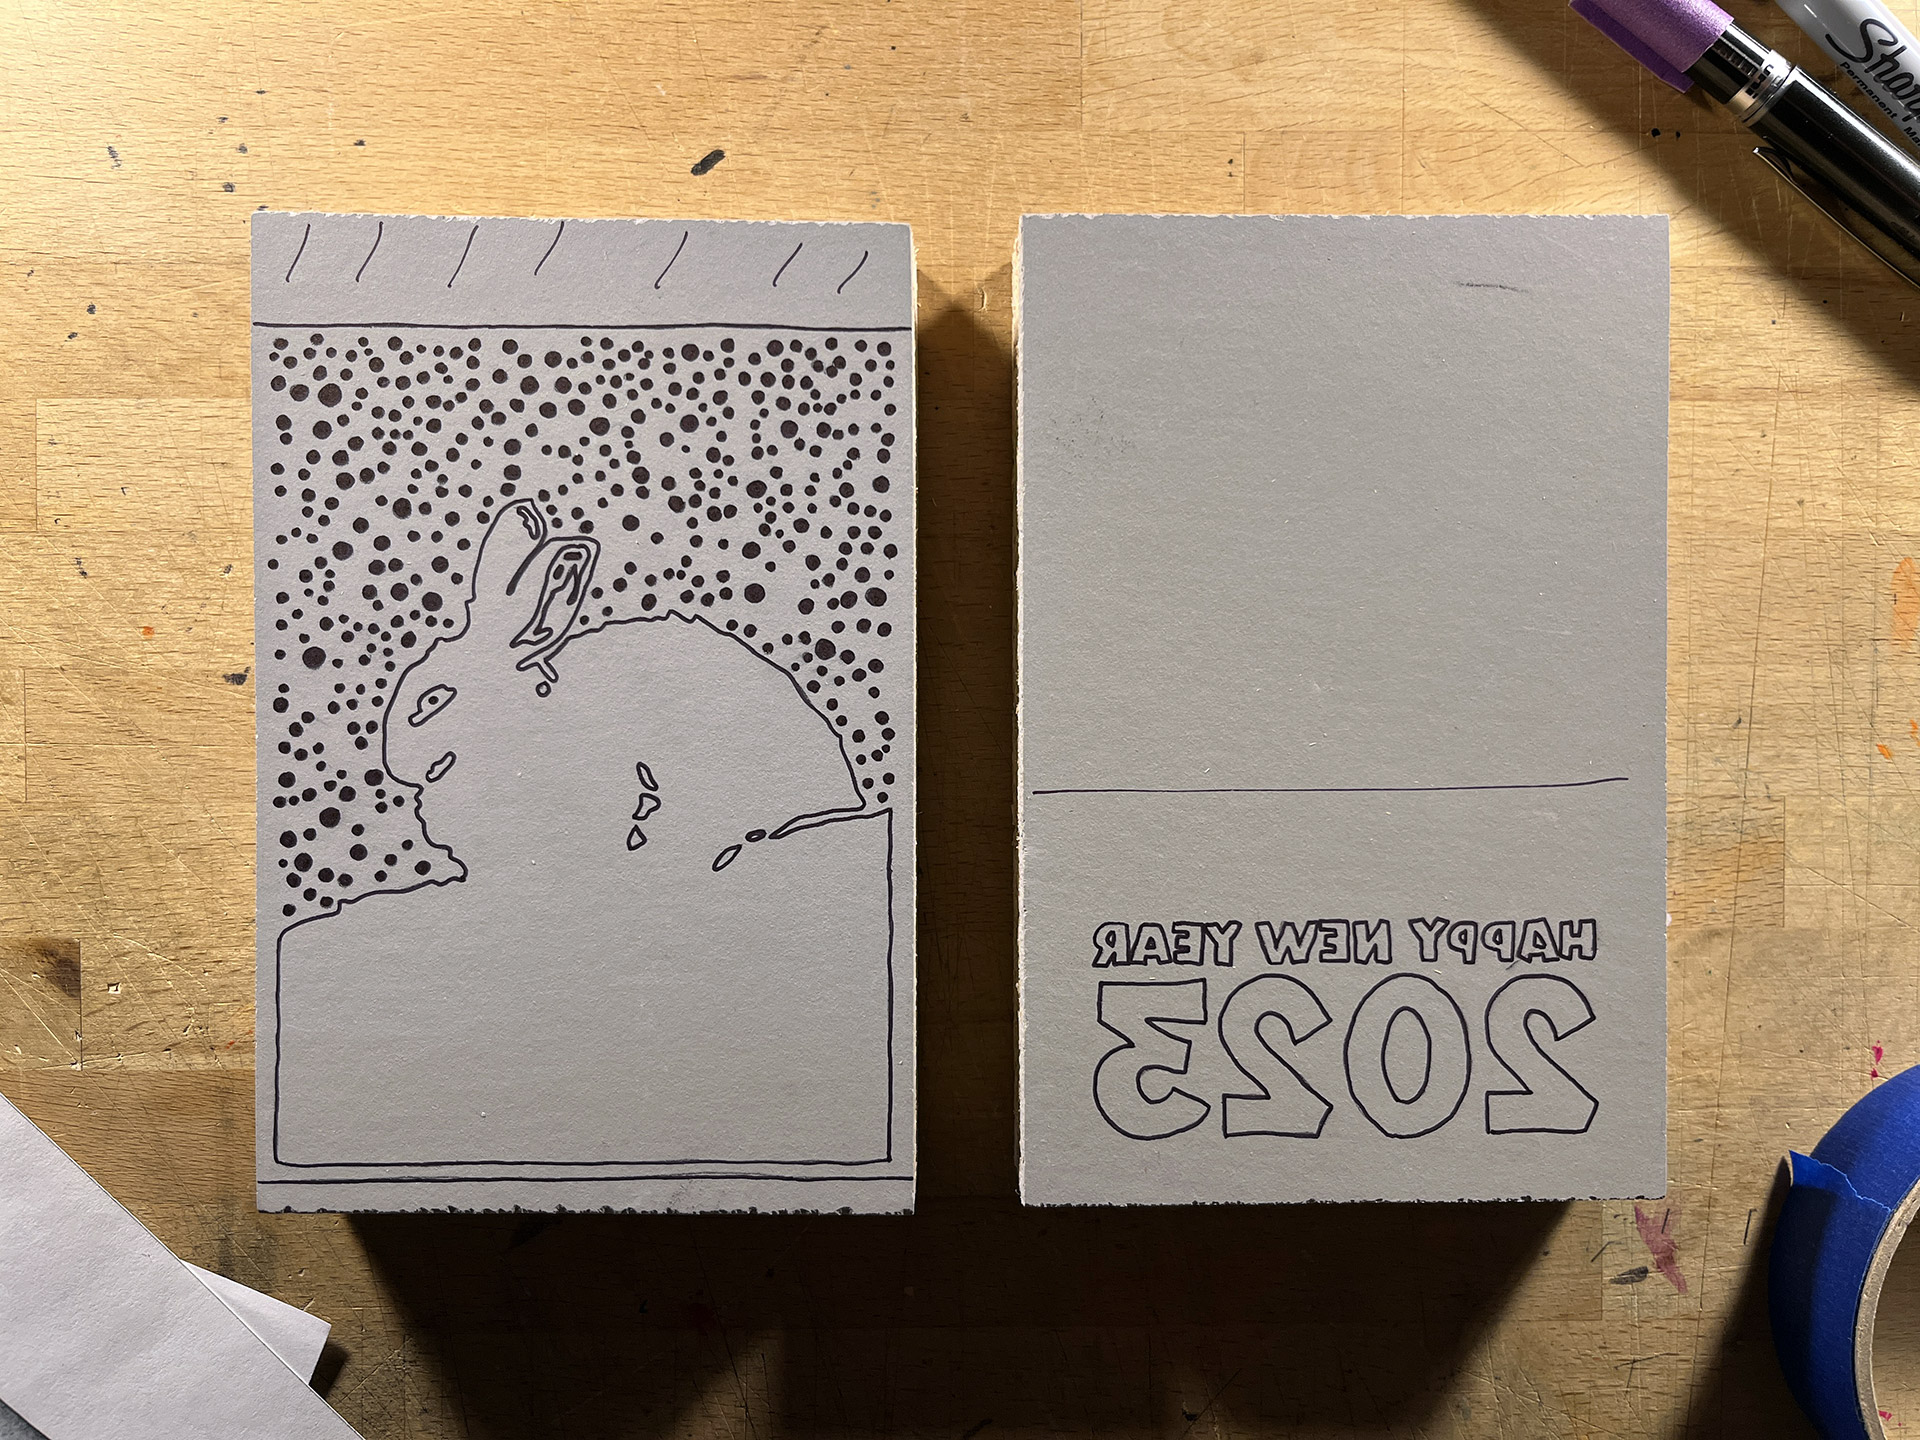
- Plates Ready For Cutting
- Dremel Tool Experiment Decided to try using my Dremel tool to achieve the circular cuts in this plate.
- Dremel Holes For the most part, the Dremel tool did a good job, but it was hard keeping the tool steady and avoid it skipping around.
- Plate #2 Finished
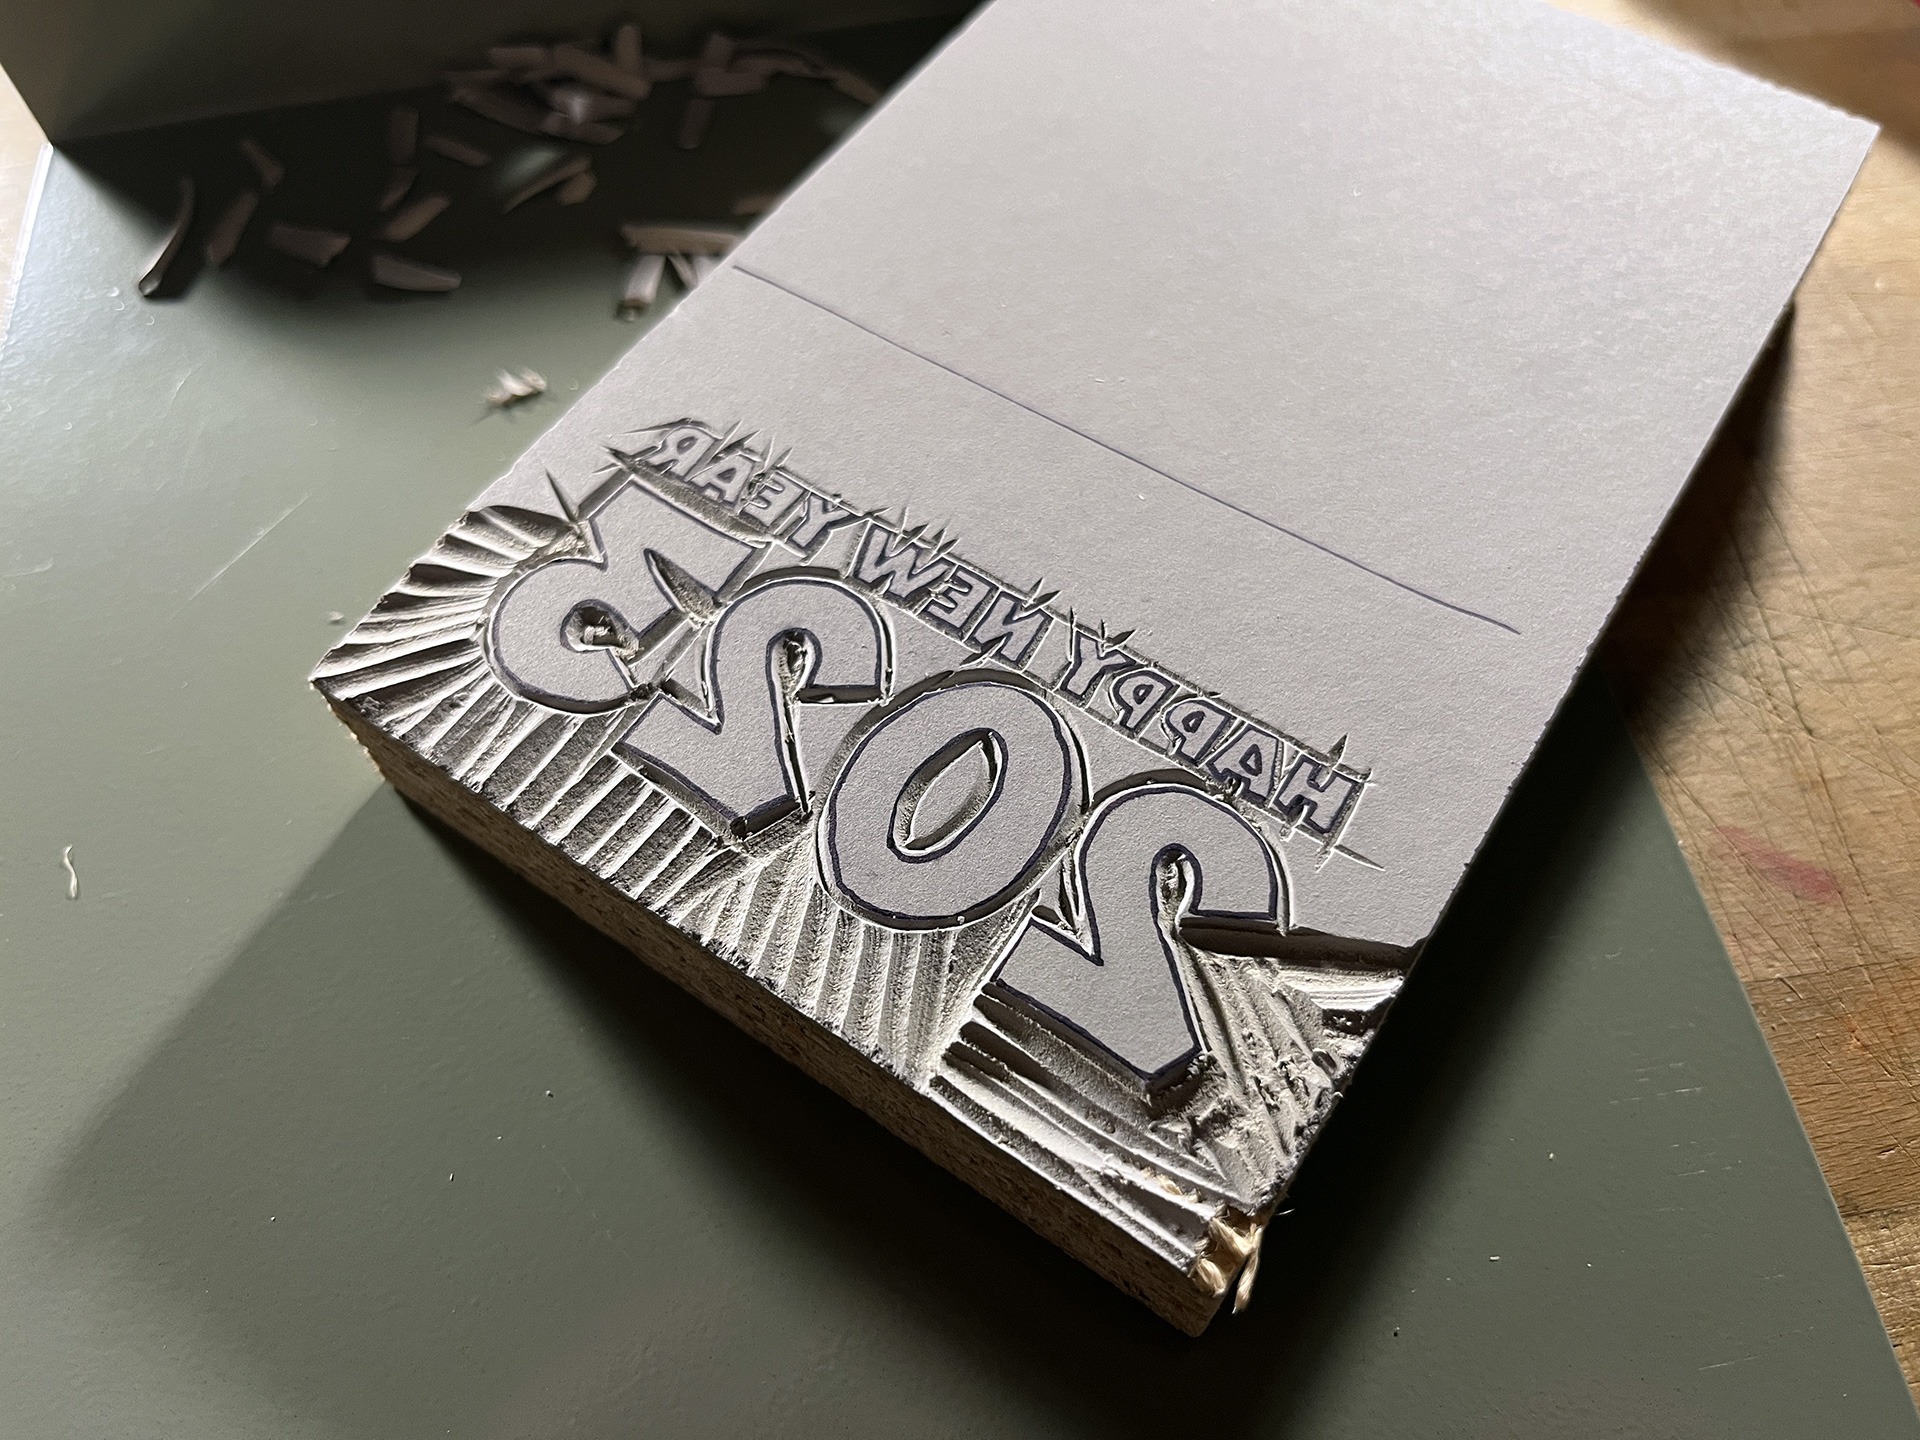
- Plate #1 Progress The smaller letters proved to be a bit of a challenge on this plate. I chose to not cut the unused top portion thinking it would help stabilize the plate and avoid creases in the card stock.
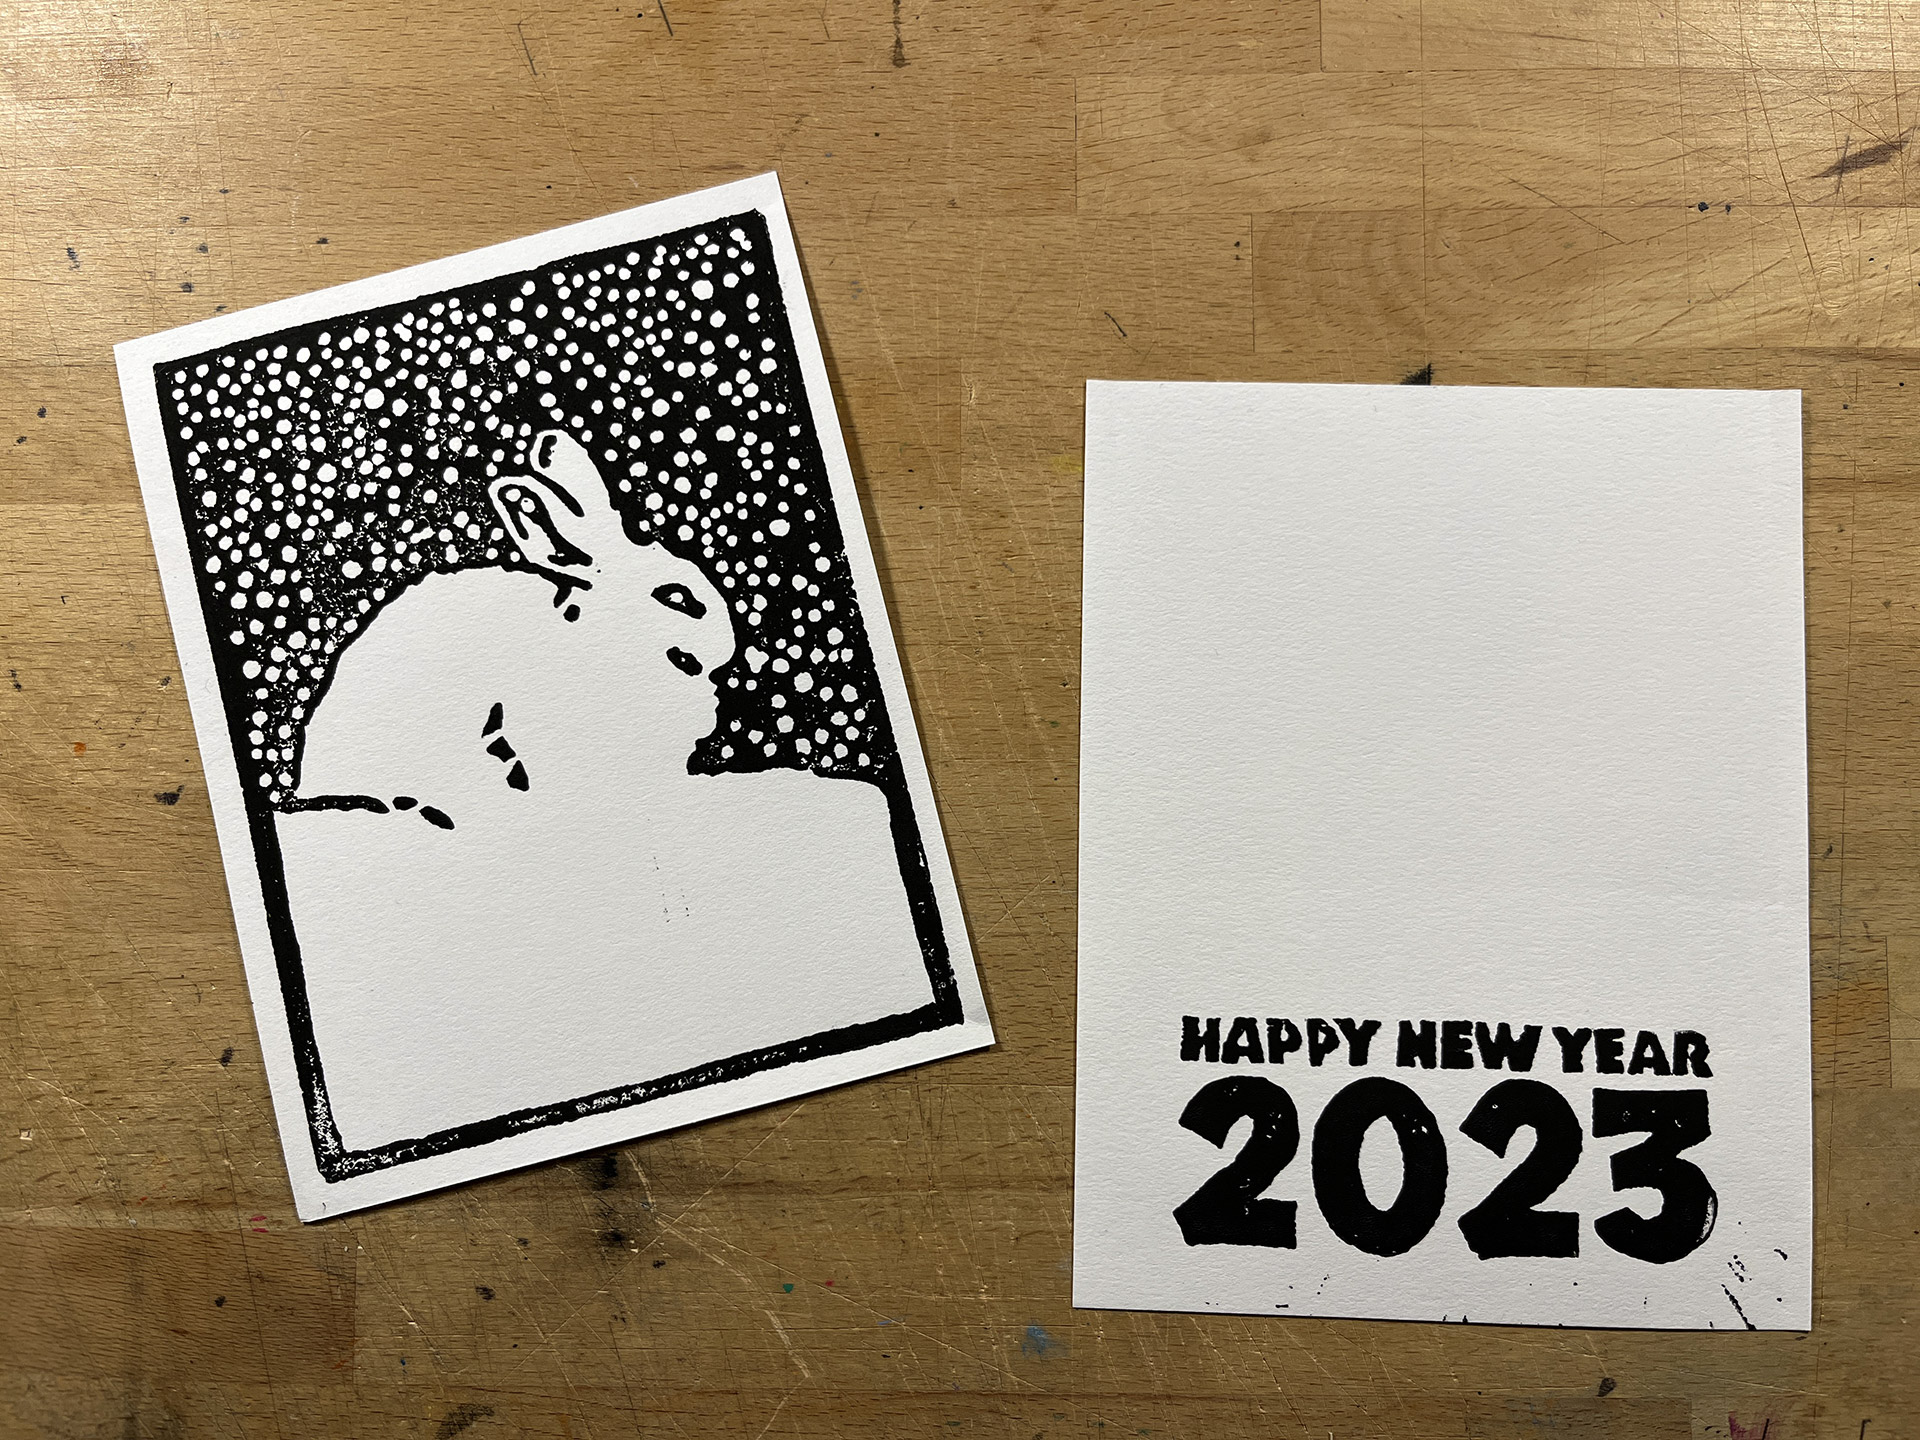
- Test Print Made a quick test of each print to help me determine if I needed to clean-up any cuts, but I didn't have to do much, to my surprise.
- Printing Plate #1
- Plate #1 Finished Did a variety of colors without any kind of gradient, thinking I would use one on the second plate.
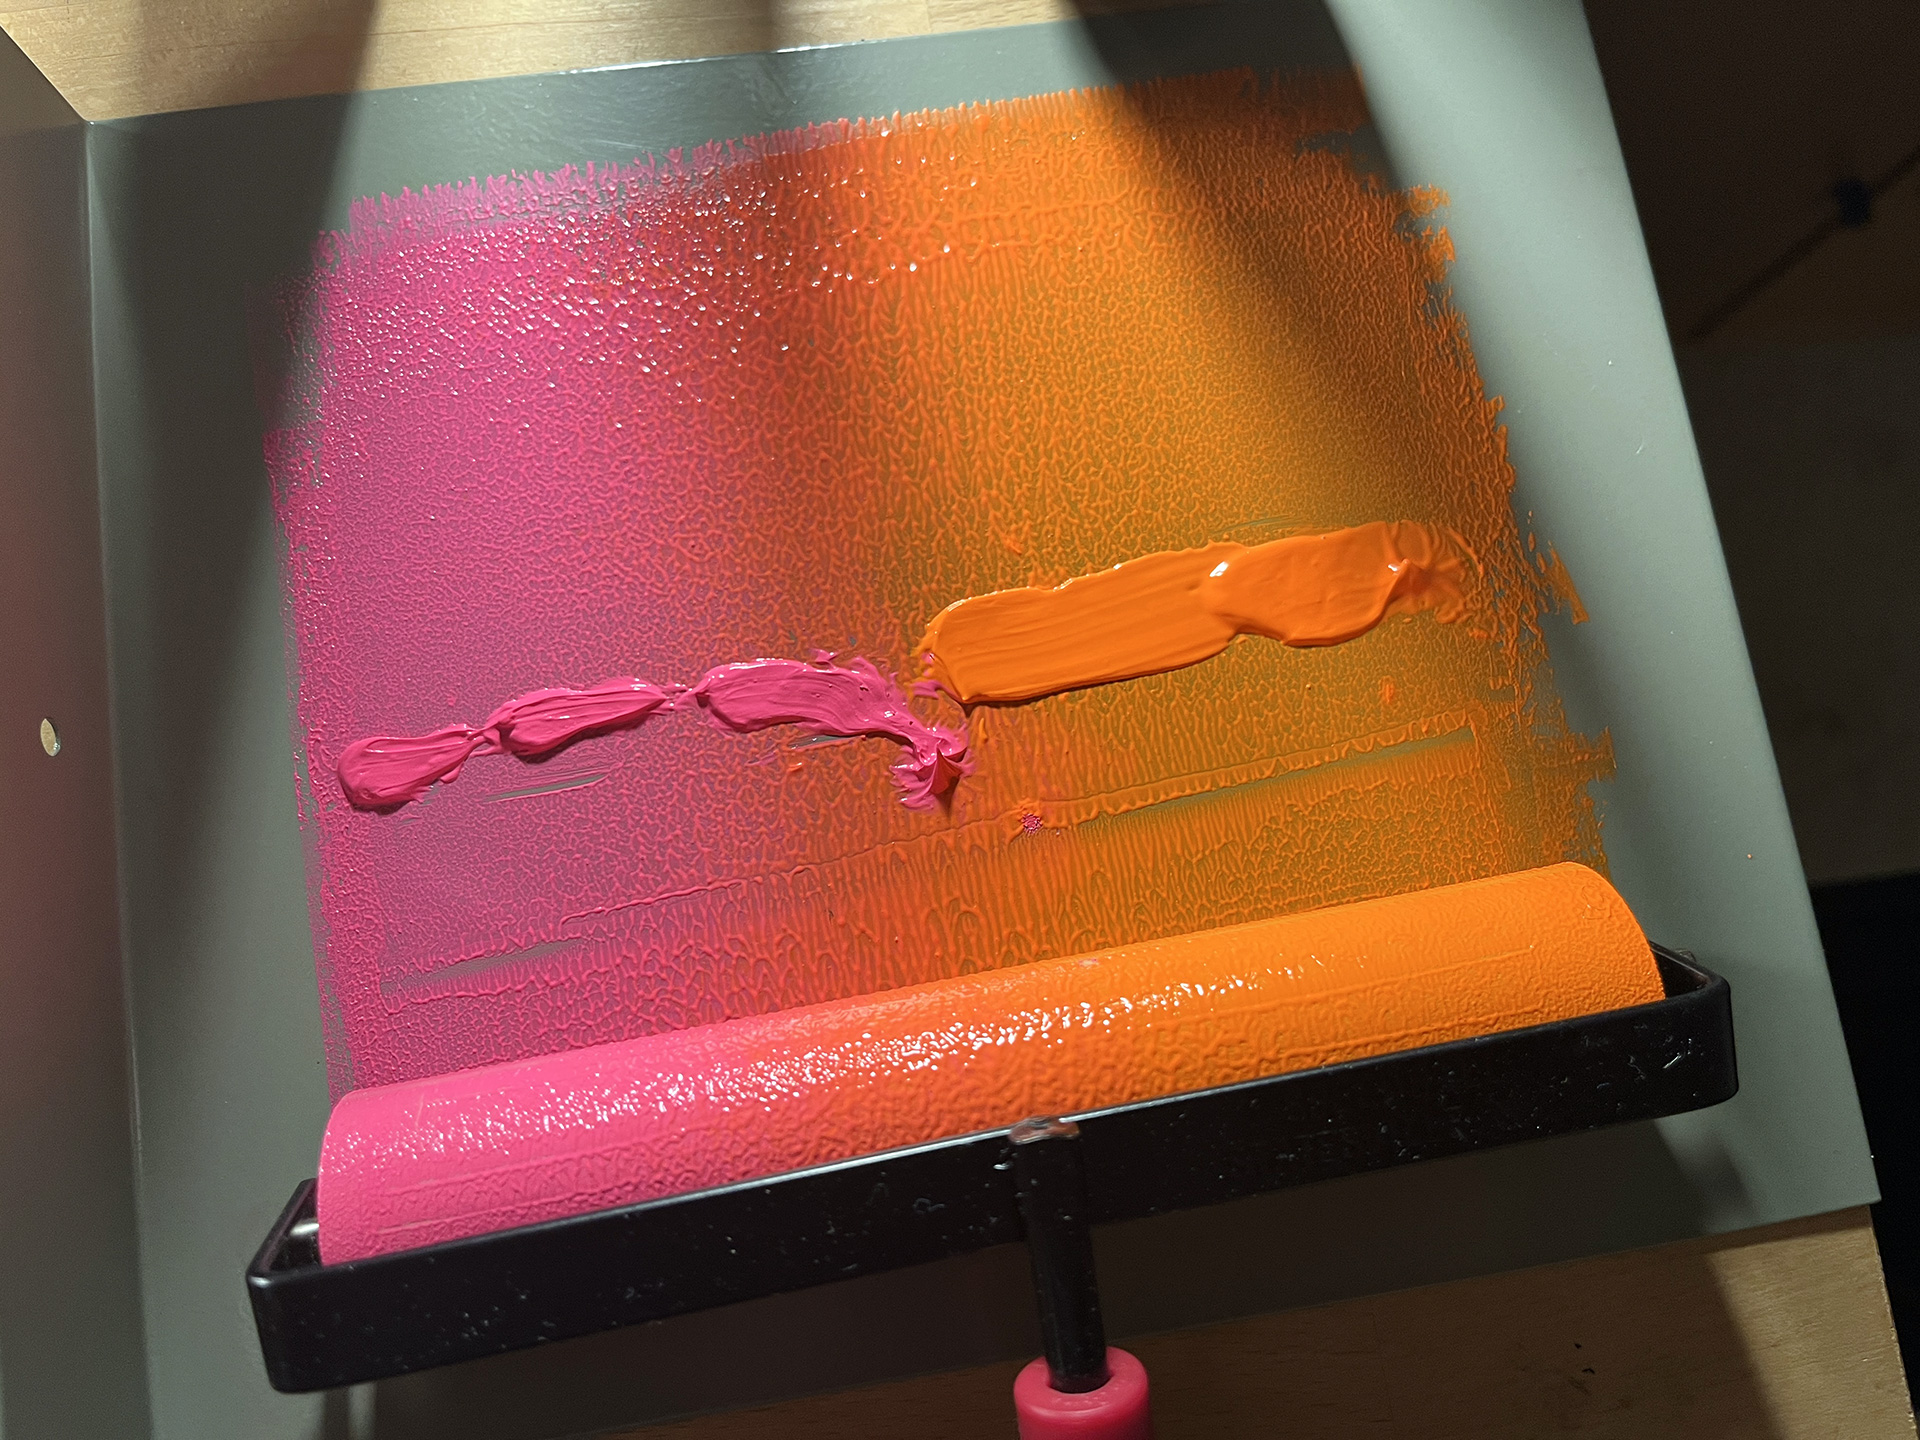
- Fluorescent Gradient The fluorescent prints used a pink to orang gradient.
- Print #1 Finished Mostly happy with this, though the fluorescent paint is watery and results in less precise prints.
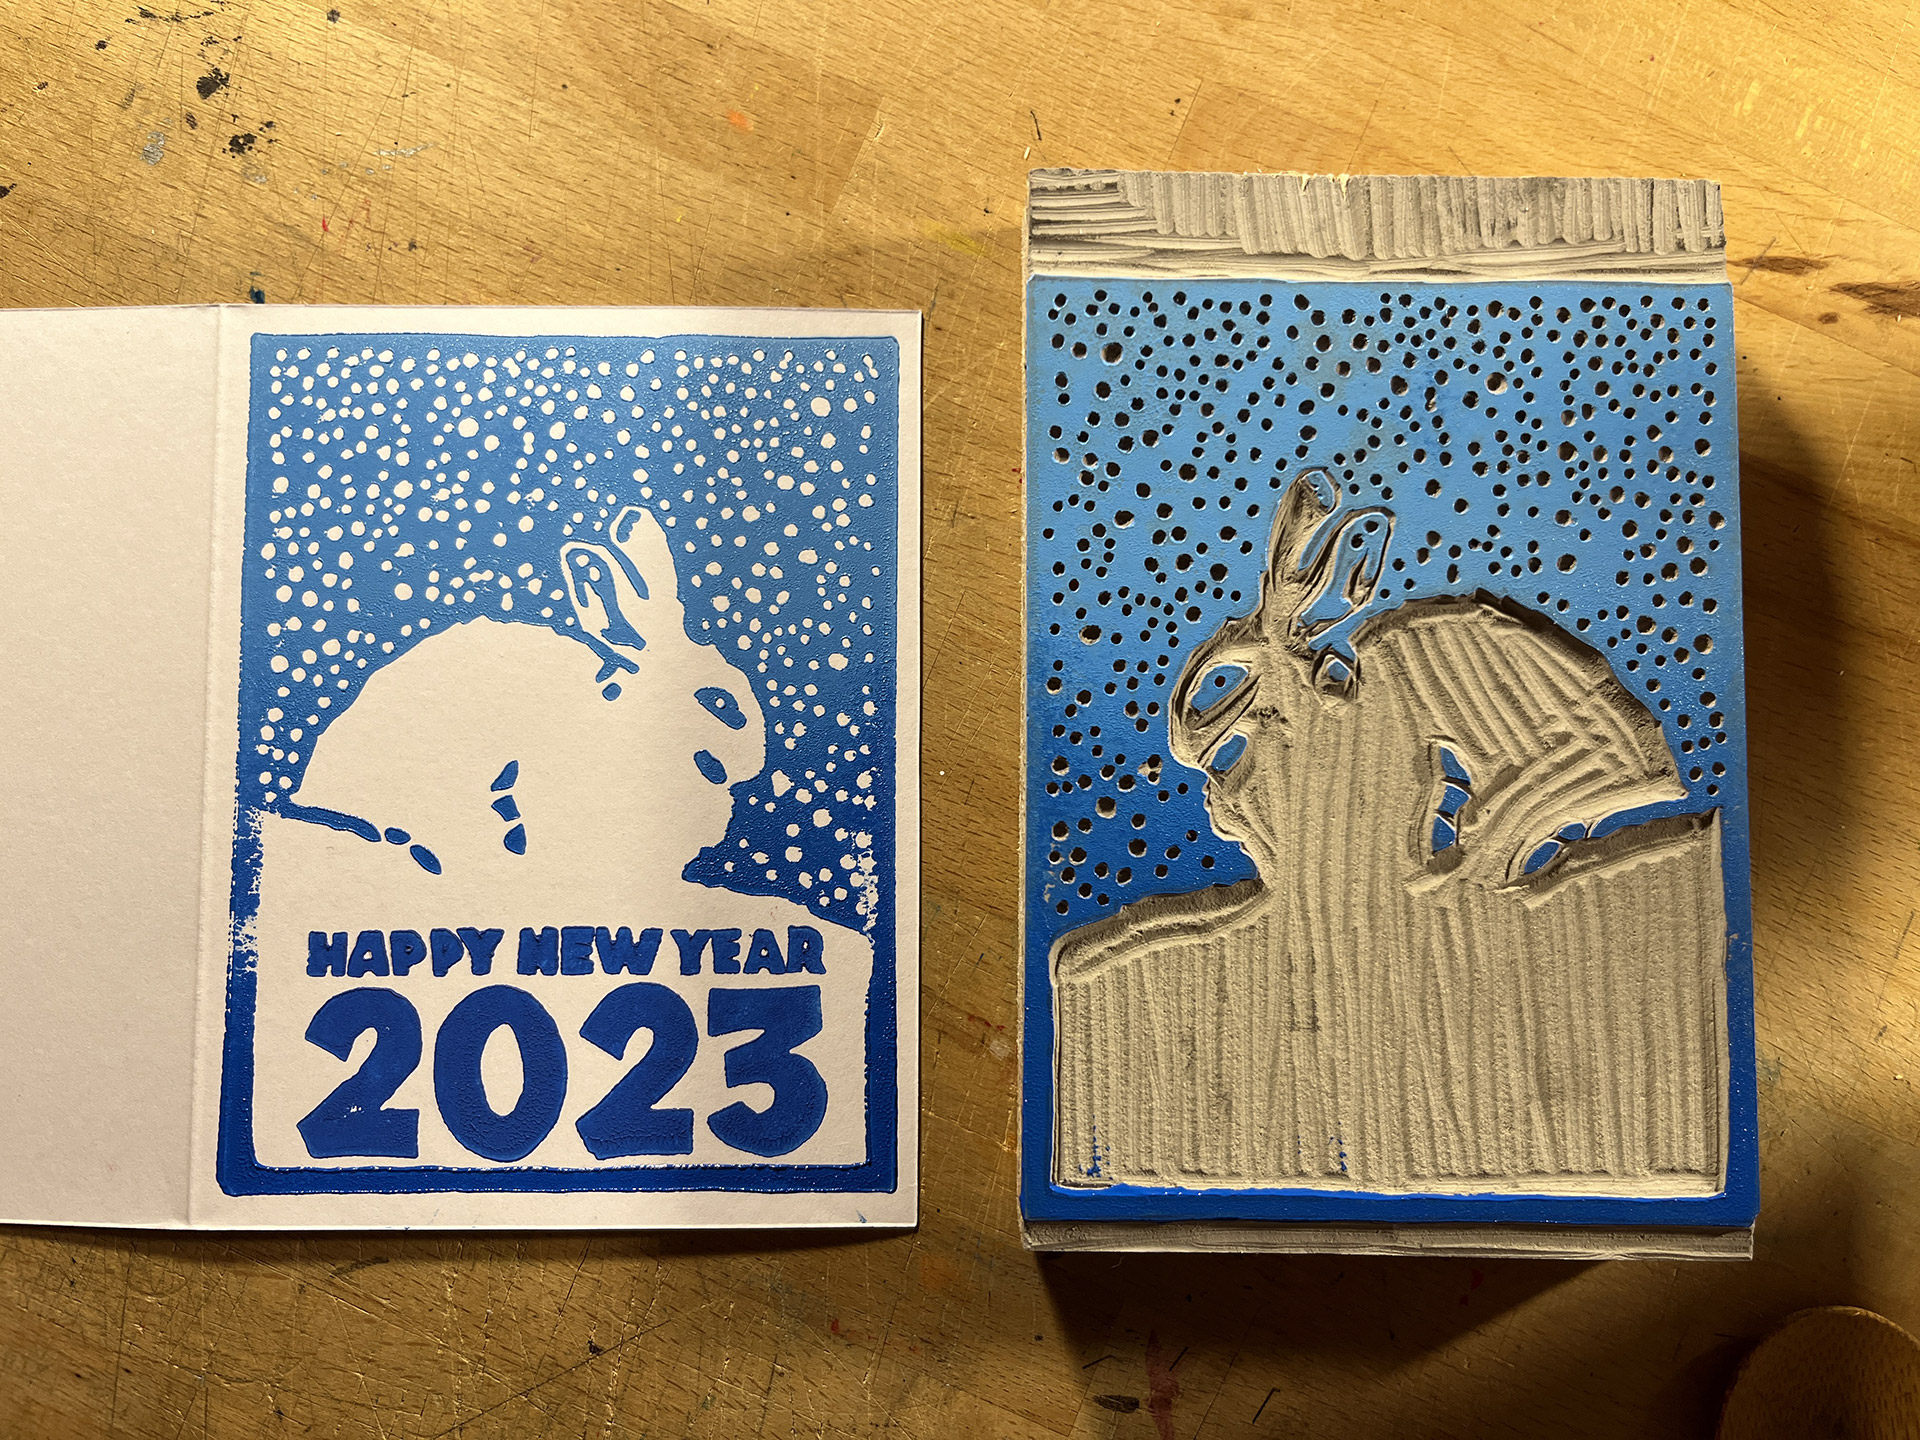
- Blue Example The blue scheme it what I had in mind during the entire process. Unfortunately, I didn't learn until after the blue prints that it was better to have the dark portion of the gradient on the top of the print.
- Prints Finished Really happy with how these turned-out. I was able to generate a lot of variety between the two plates.
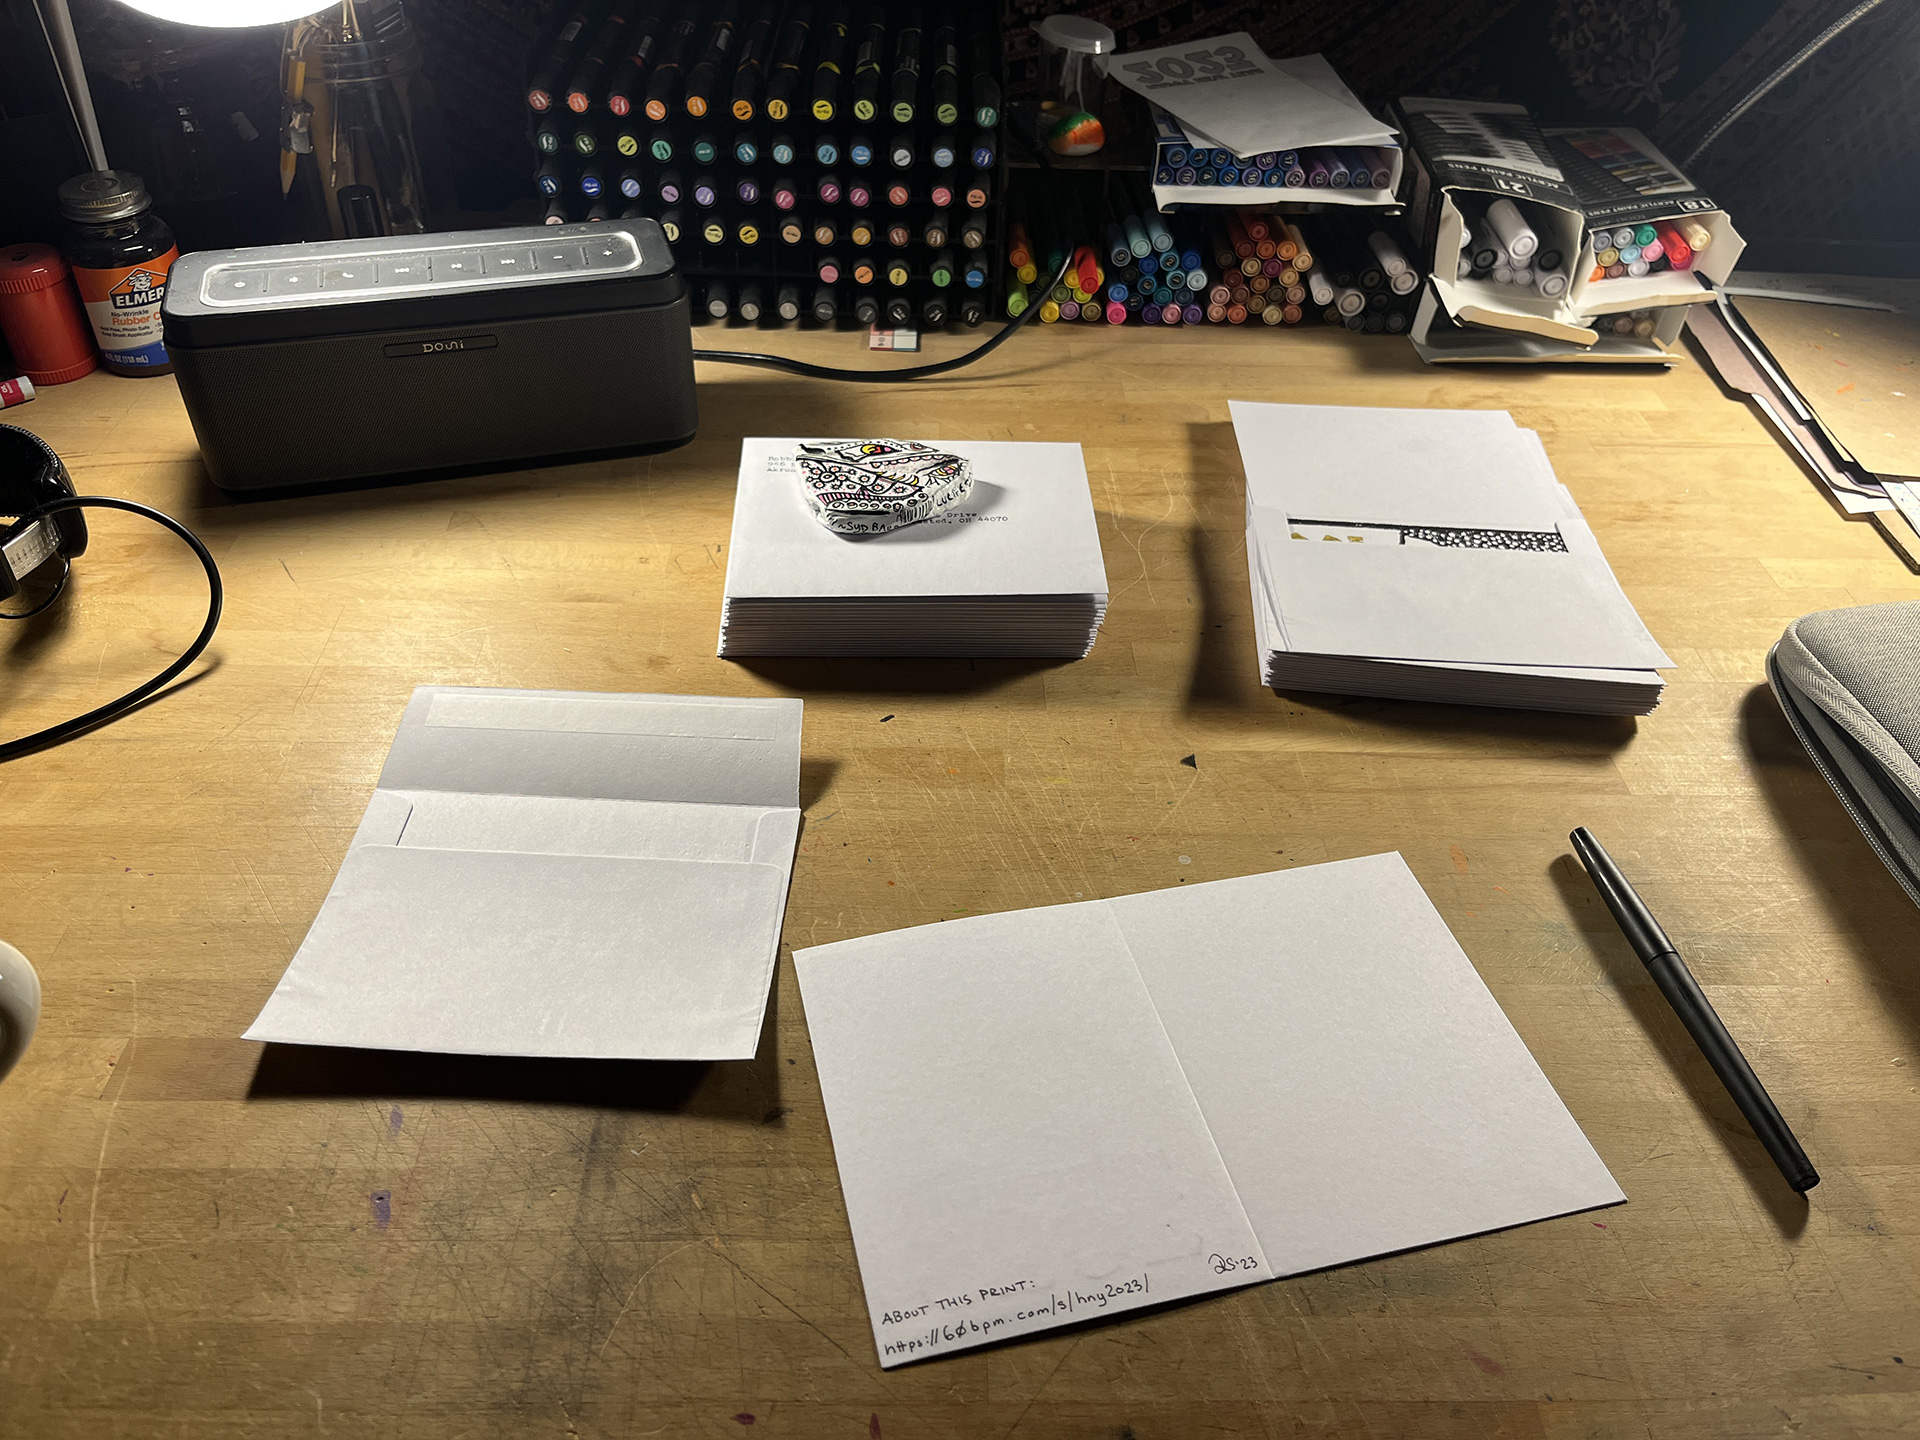
- Engraving and Packaging Final step is engraving and packaging each card. Had a few left over.
© 2026 60bpm