Linocut Printmaking: Happy Birthday 2024
January 29, 2024
View the Gallery entry for this print to view different variations.
First of all, apologies too all of the January birthdays that are once again belated this year because I procrastinated so long getting around to this print. Then again, despite the fact that my cards are finished and ready to go by the end of January, I still usually end-up sending-out these cards after the recipient’s birthday has already passed. In which case, I’ll just make this a blanket apology, but know that I actually spend days thinking about your card and stressing-out about not sending it on time, so ultimately I think about you much more than if I’d sent the card on time to begin with!
Anyway, this one took a while to finish because I couldn’t decide what I wanted to do. If you’re concerned at all with doing something different, birthday cards are difficult things to design, at least when it comes to something that can be executed as a linocut print with my skills in the medium. When it comes to birthday imagery, you have birthday cakes and balloons and wrapped-up presents… the words “Happy Birthday”… what else? There really isn’t that much to choose from. My excitement around how my Happy New Year 2024 print came out motivated me to do something completely original for this card, but, again… what?!?
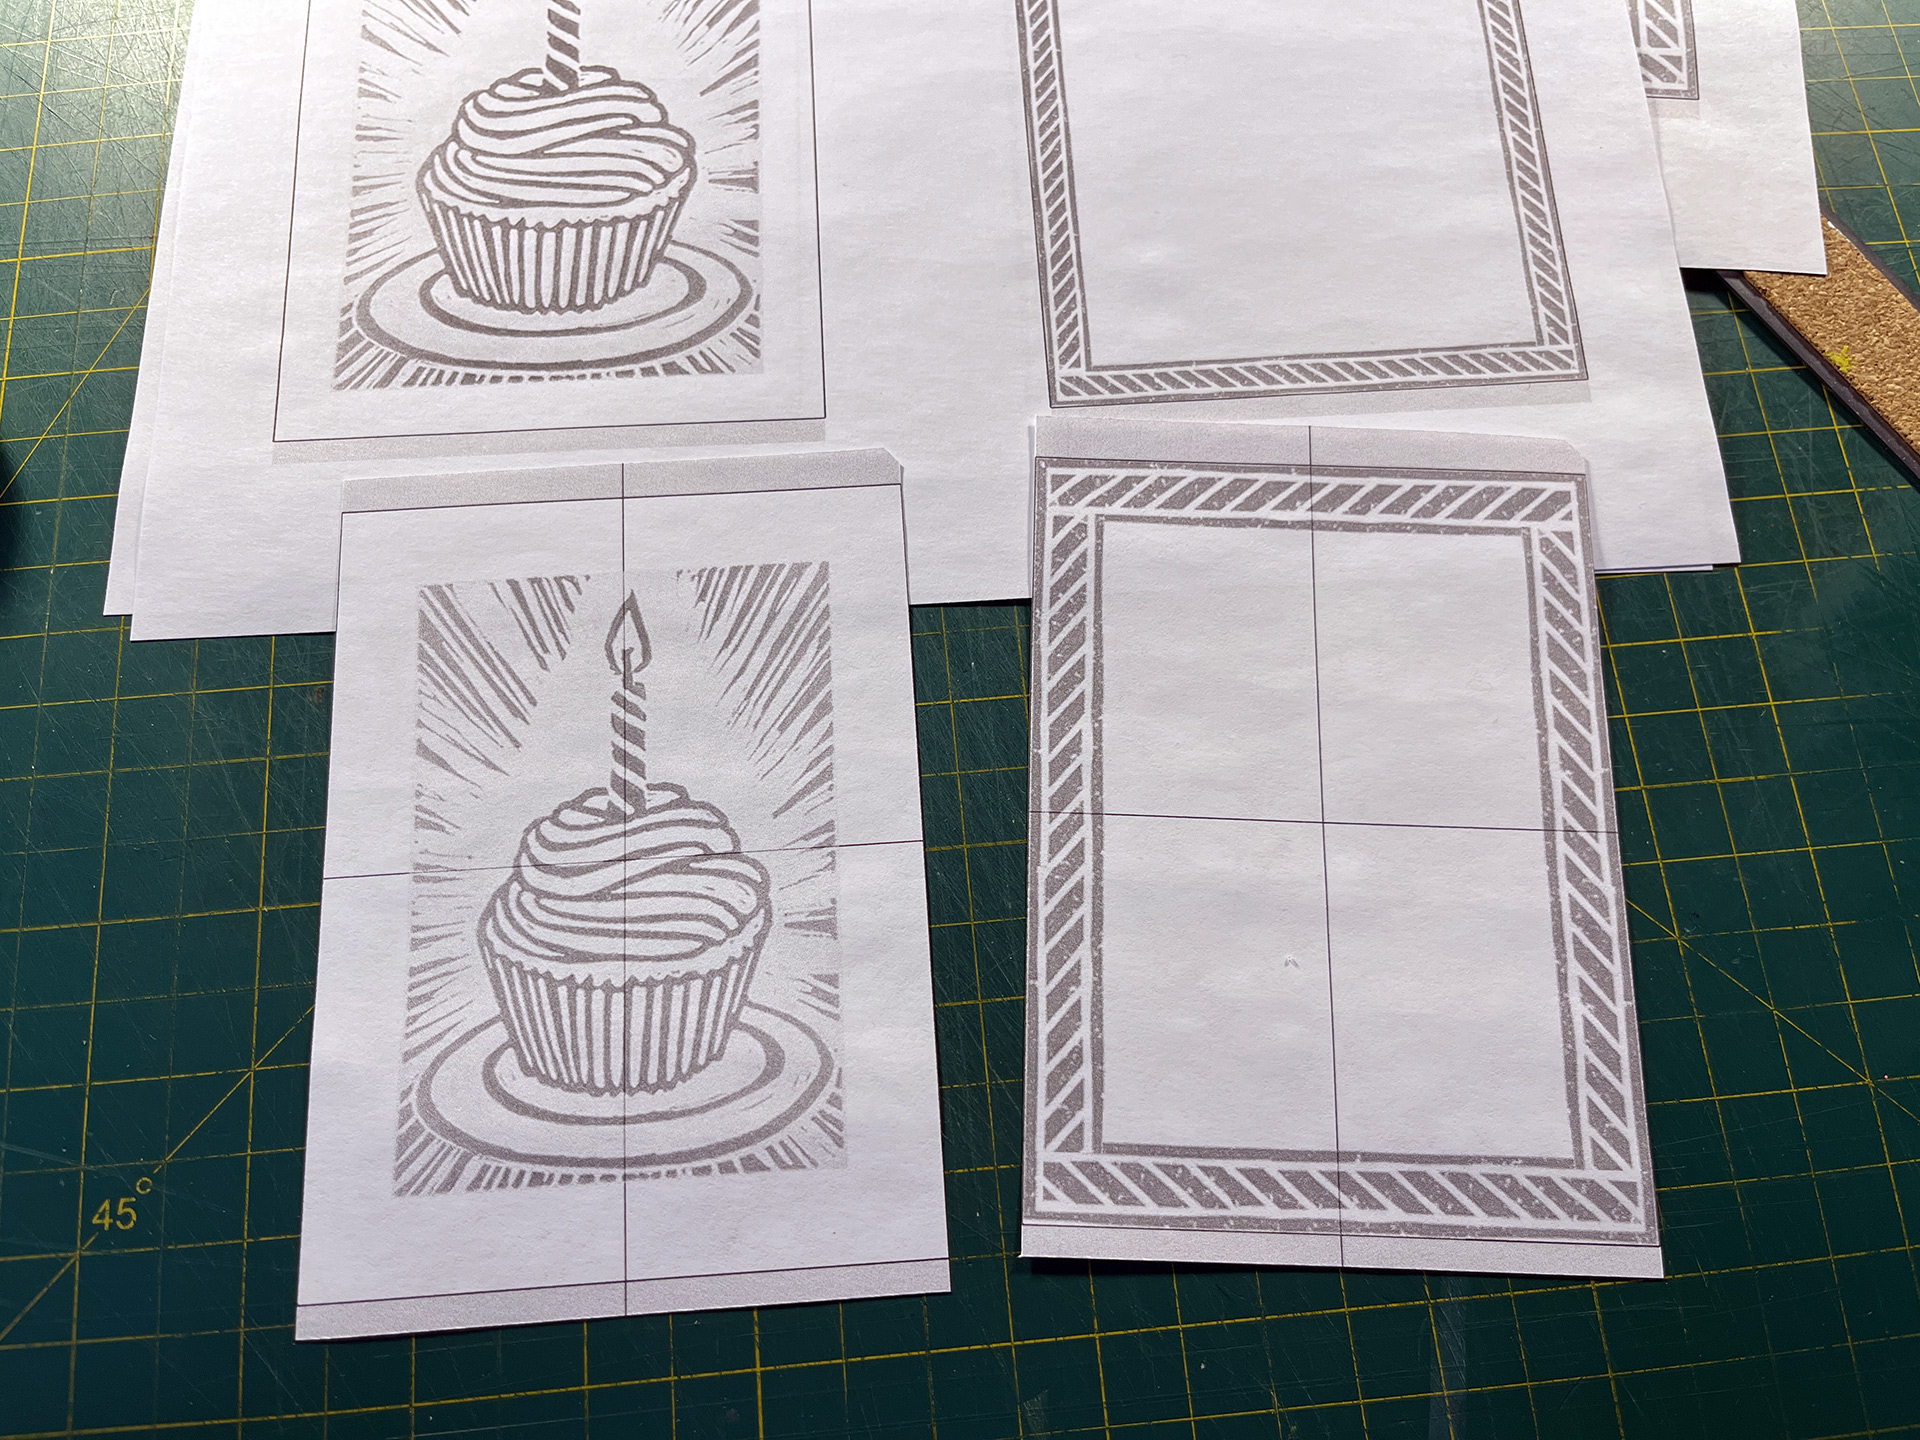
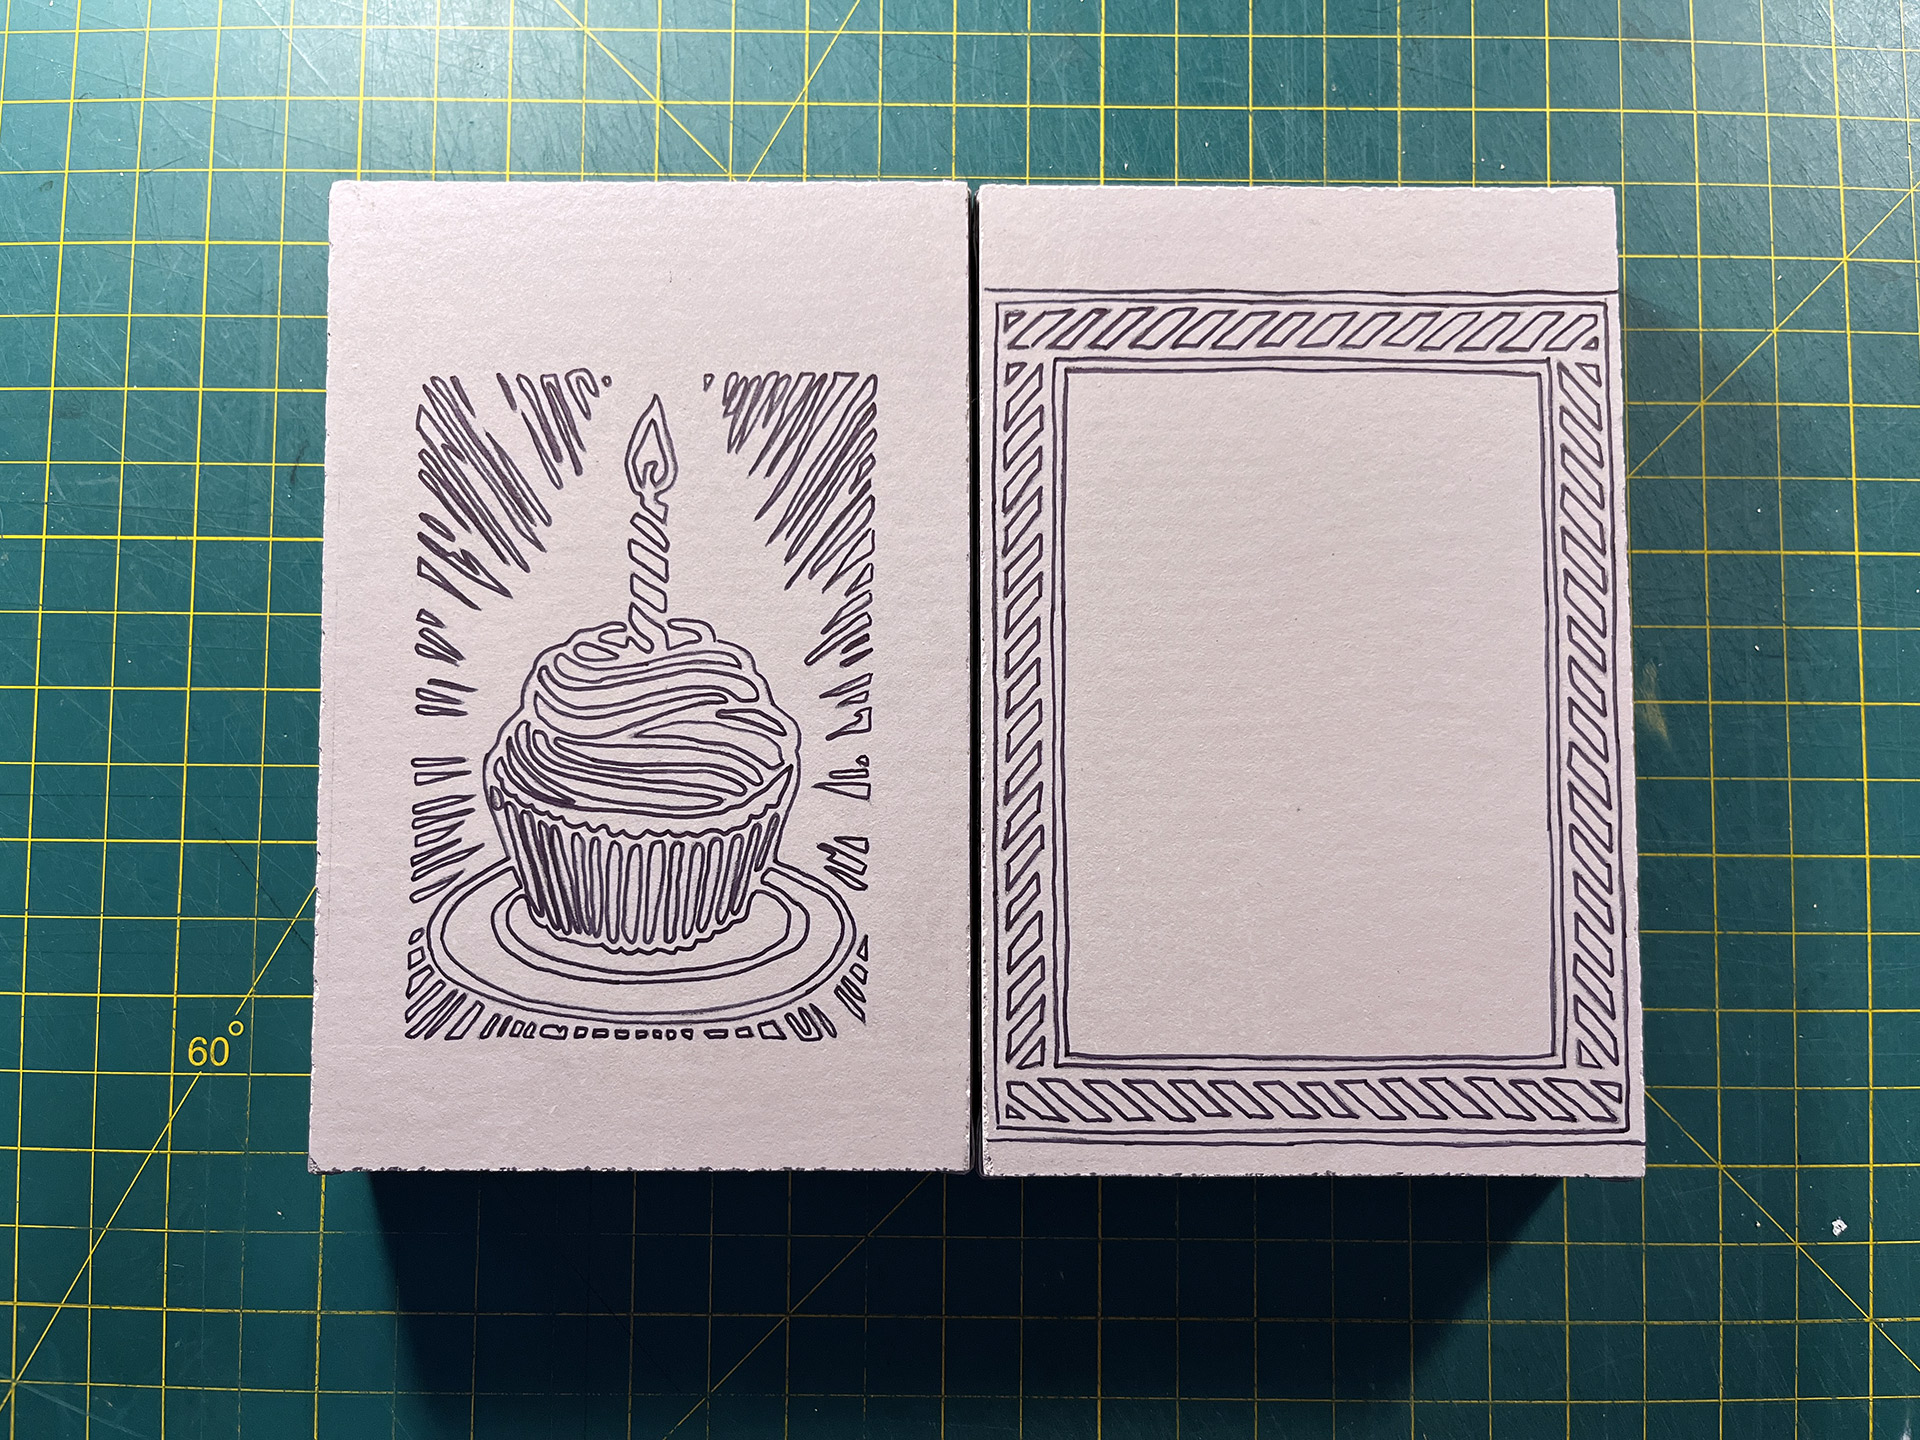
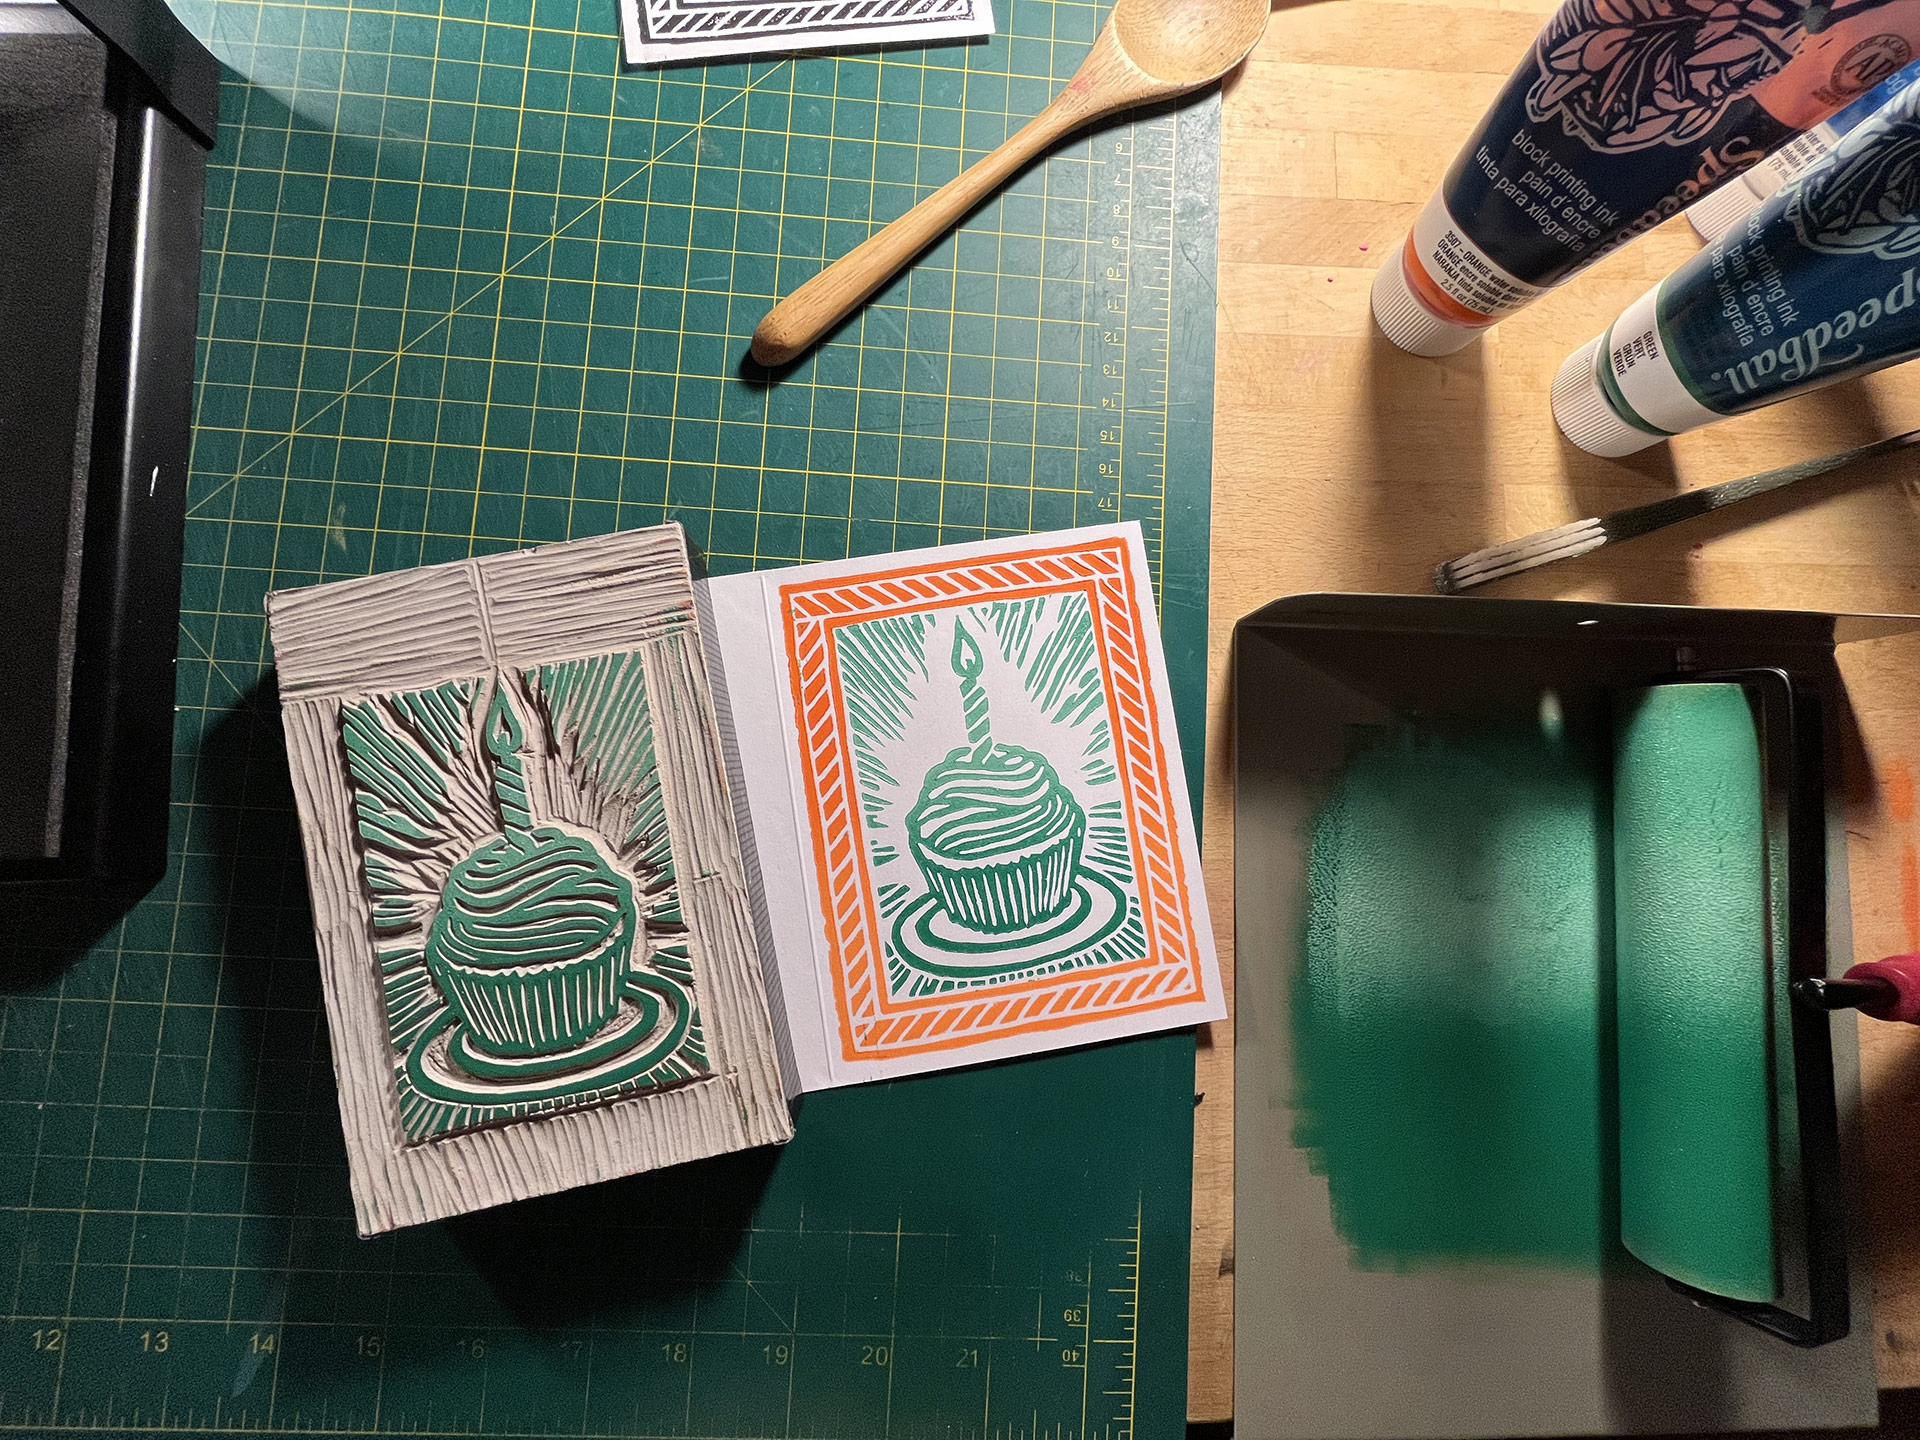
Unfortunately, the anxiety built-up to a point where I felt I just needed to get something done or forego the print altogether, so I wimped-out and put together a sort of compilation when it came to the final design. The design of the cupcake was found on a site selling a card that seemed simple enough. This was combined with a border example I found somewhere else and then managed to manipulate around the cupcake design. The original attempt featured a larger cupcake, but this resulted in a much too intricate border, which forced me to shrink the cupcake a bit.
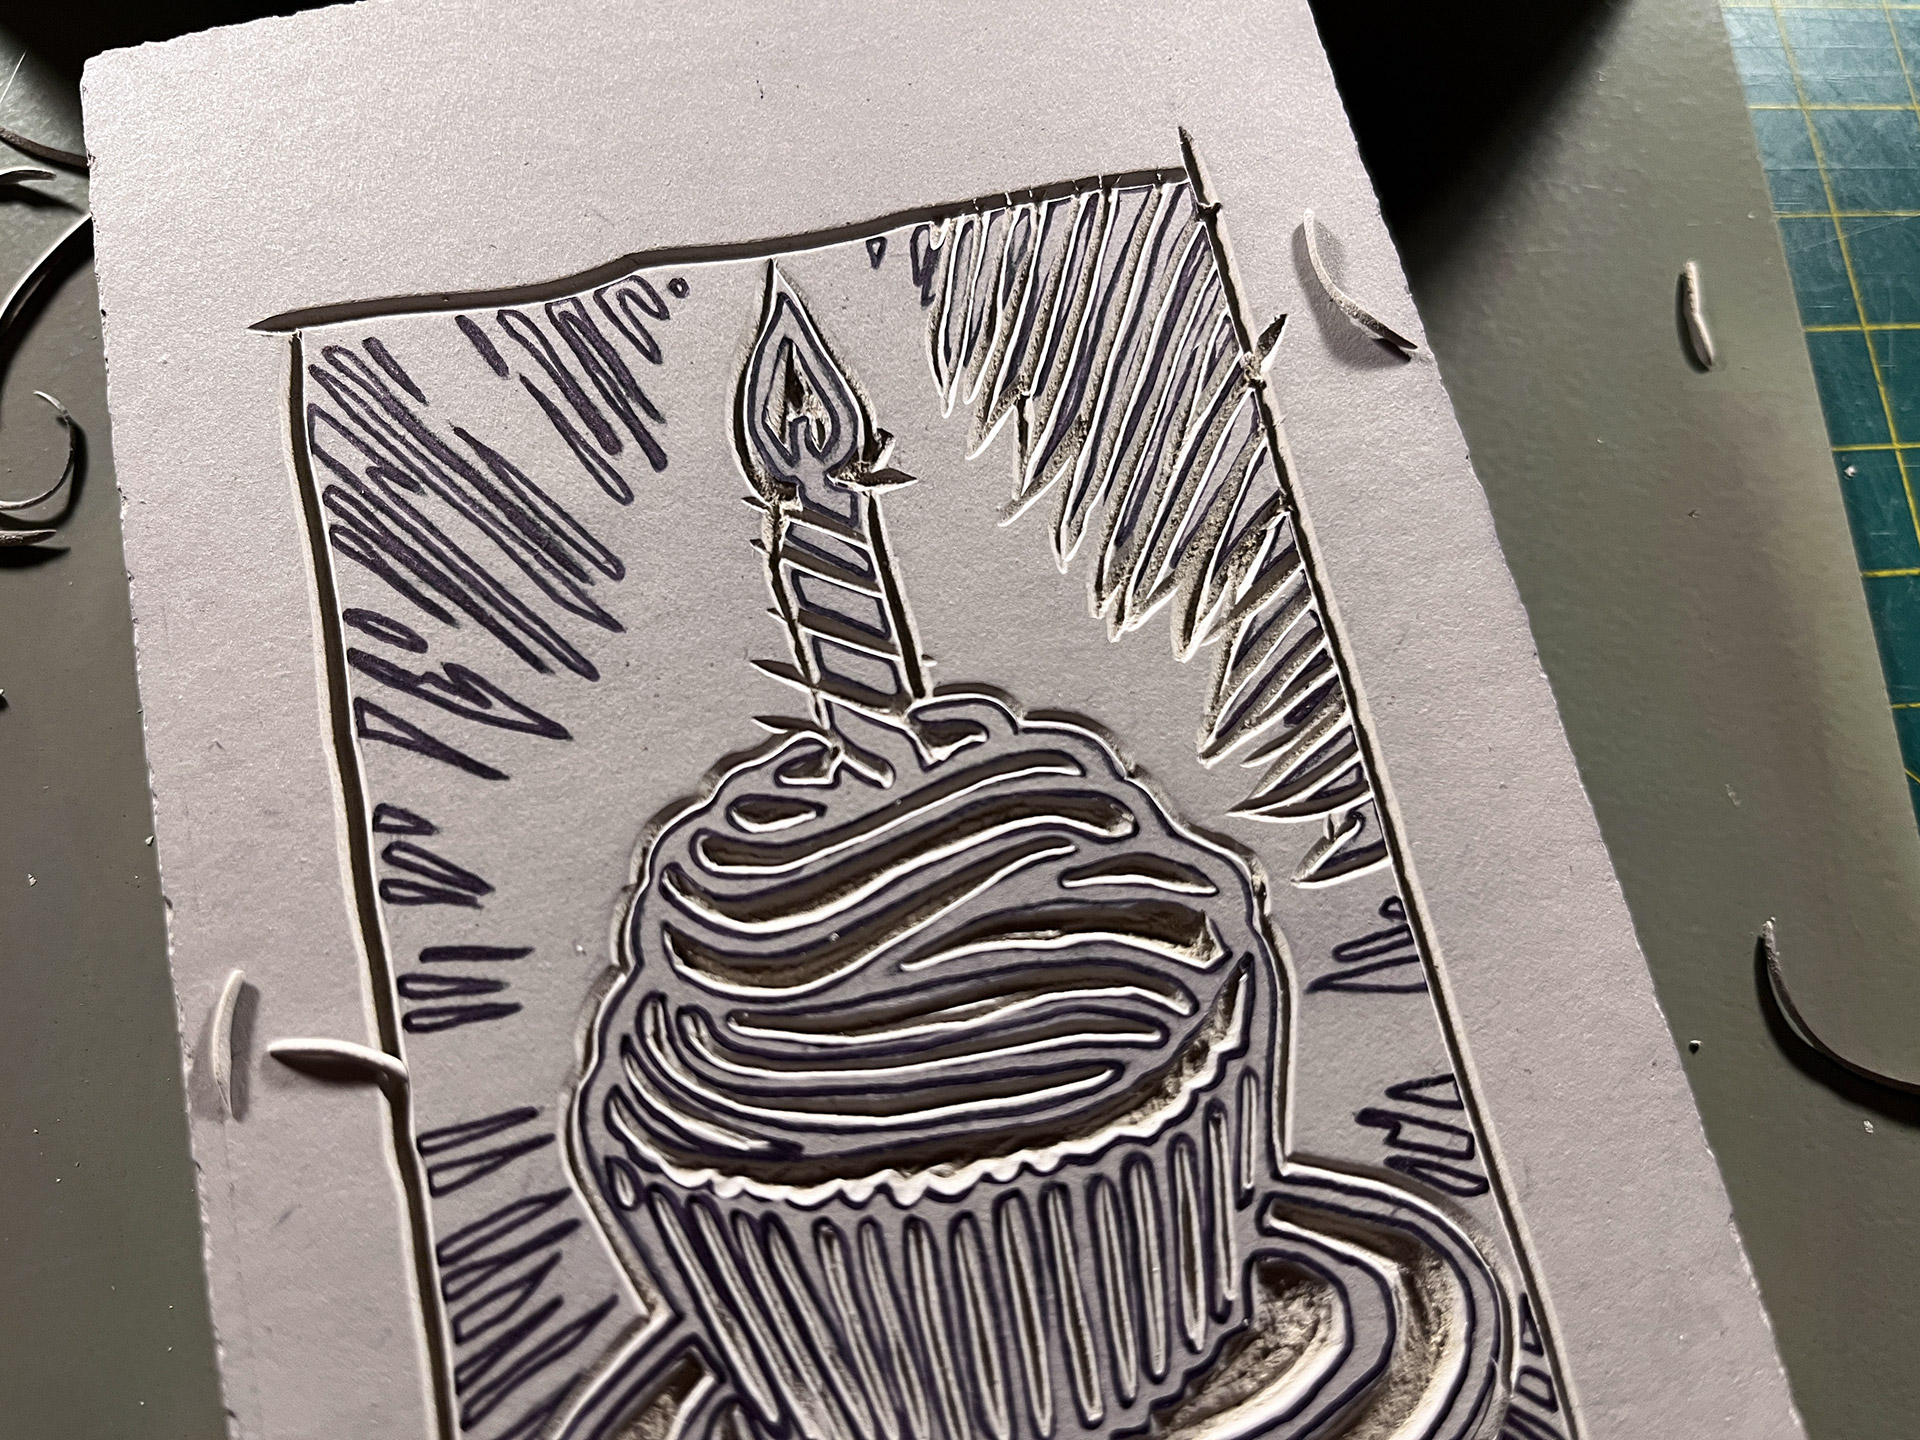
As usual, upon printing-out the guides for the linoleum blocks, I discovered that the designs would be much more difficult than I’d thought they would be to execute, which forced me to put-off the actually carving of the blocks for about a week. This was misguided because the two blocks ended-up only requiring a total of about three hours to complete on a single night! It was the second plate of the cupcake that taught me that I’d been digging much too deep on my previous plates, and, as long as I don’t add too much ink to them, the cutting doesn’t have to be that deep. This will be a valuable lesson going forward.
The printing process went smoothly as well. Neither of the plates needed any extra work and I was able to print the first plate on a Friday night and the second on the following night. This allowed me to scan and log the cards on Sunday. The final step of inscribing the cards with a URL and signature was improved upon by printing them out and pasting them inside, rather than doing it all by hand, which was a horribly tedious exercise.
And, that’s about all I’ve got for you today. The first four cards were sent-out in the mail today and here I am finishing-up the blog post. See you next year!
Image Gallery
- Printed Guides You can see the first versions above the final versions. Enlarging the border would make the border easier, but the cupcake more difficult.
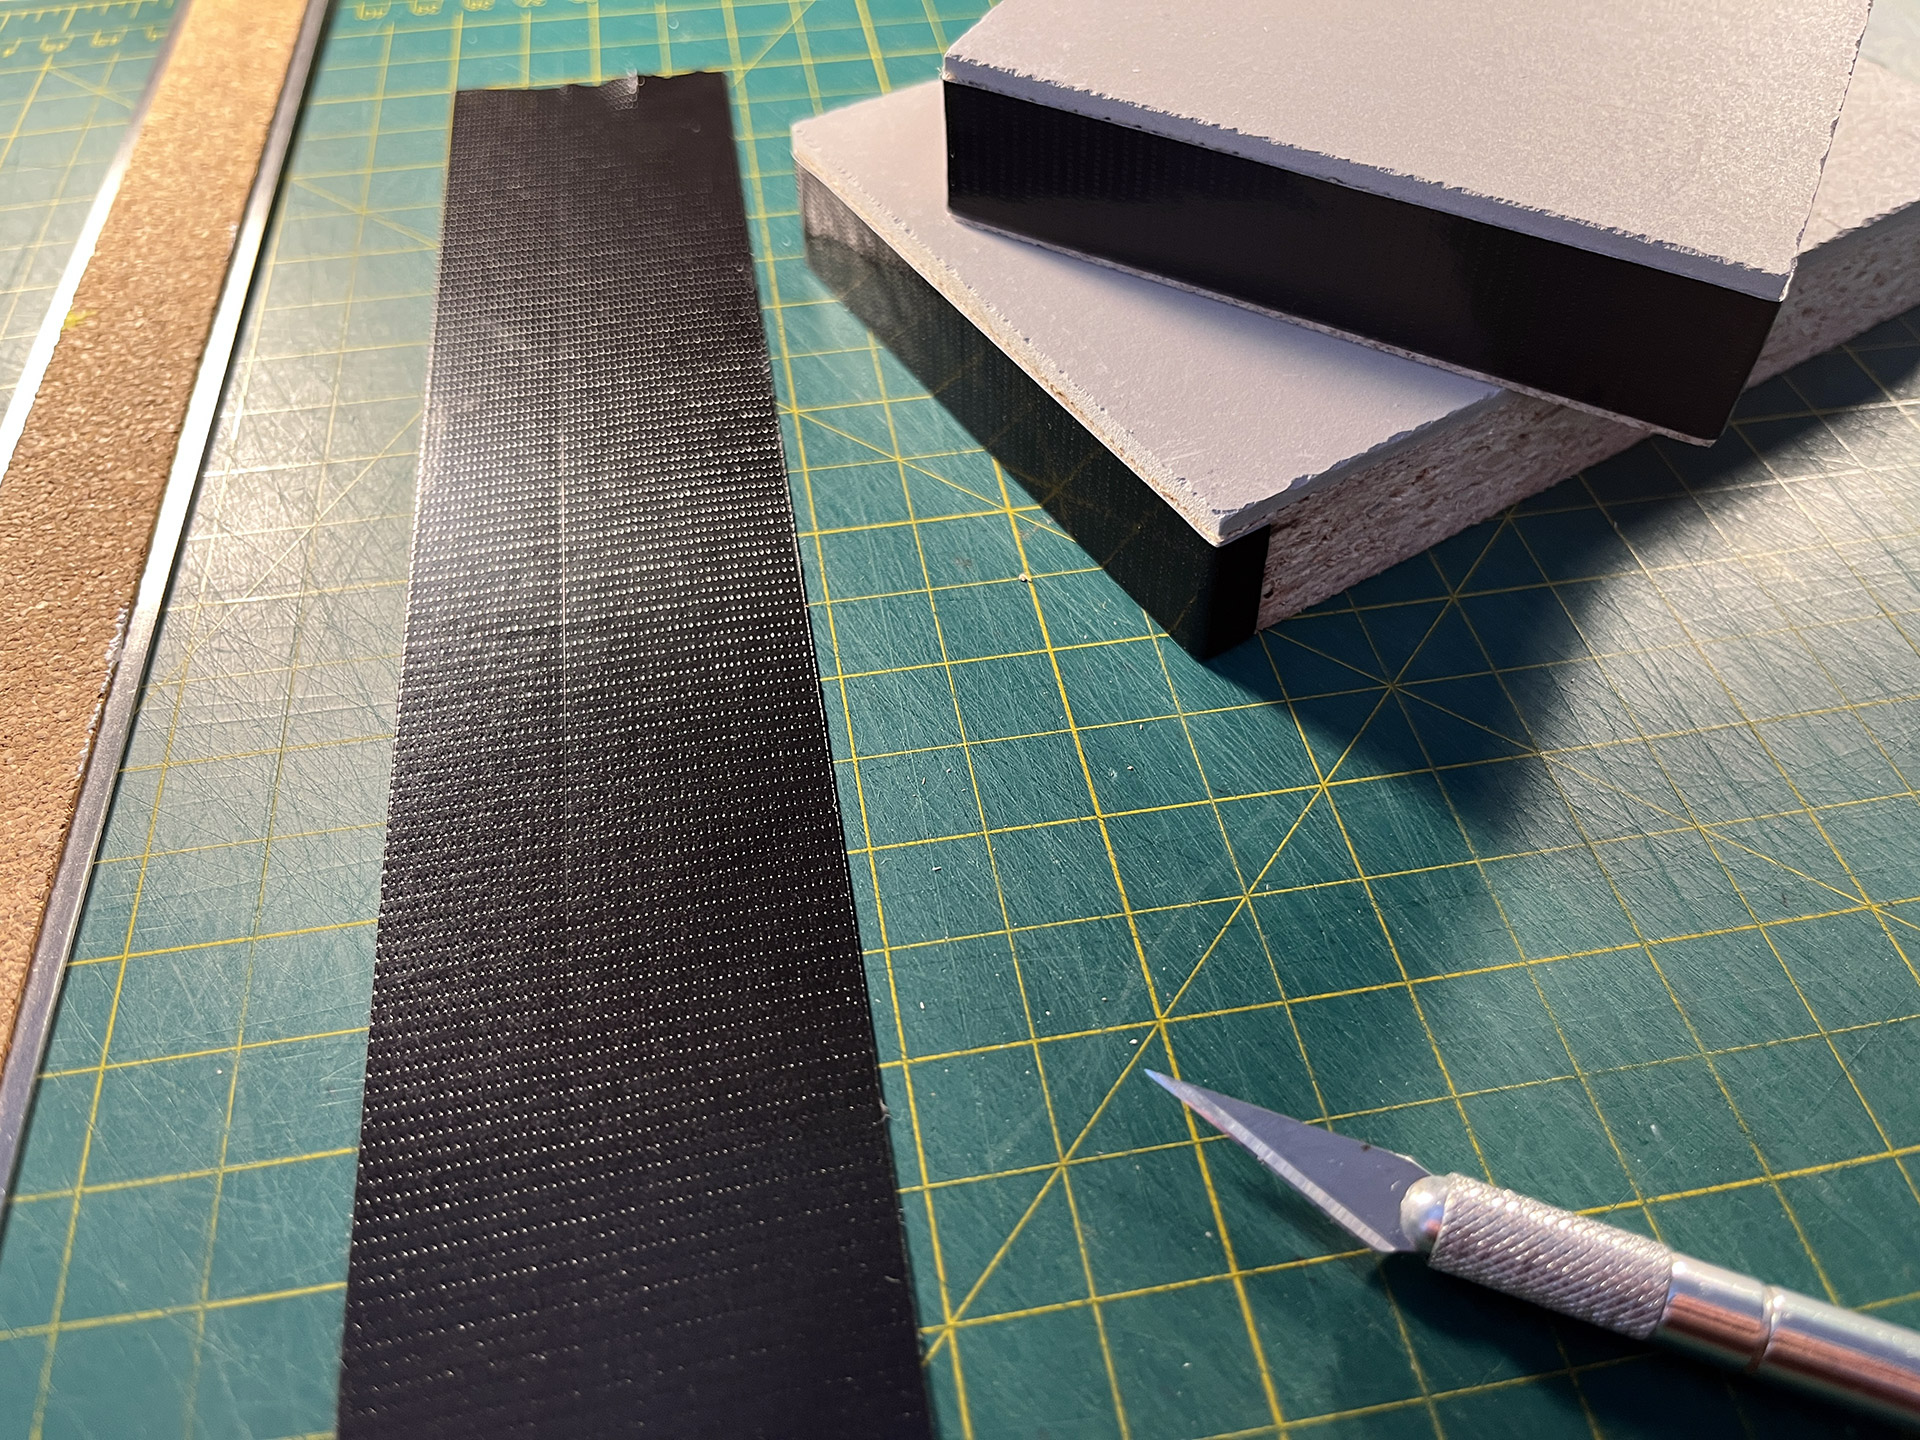
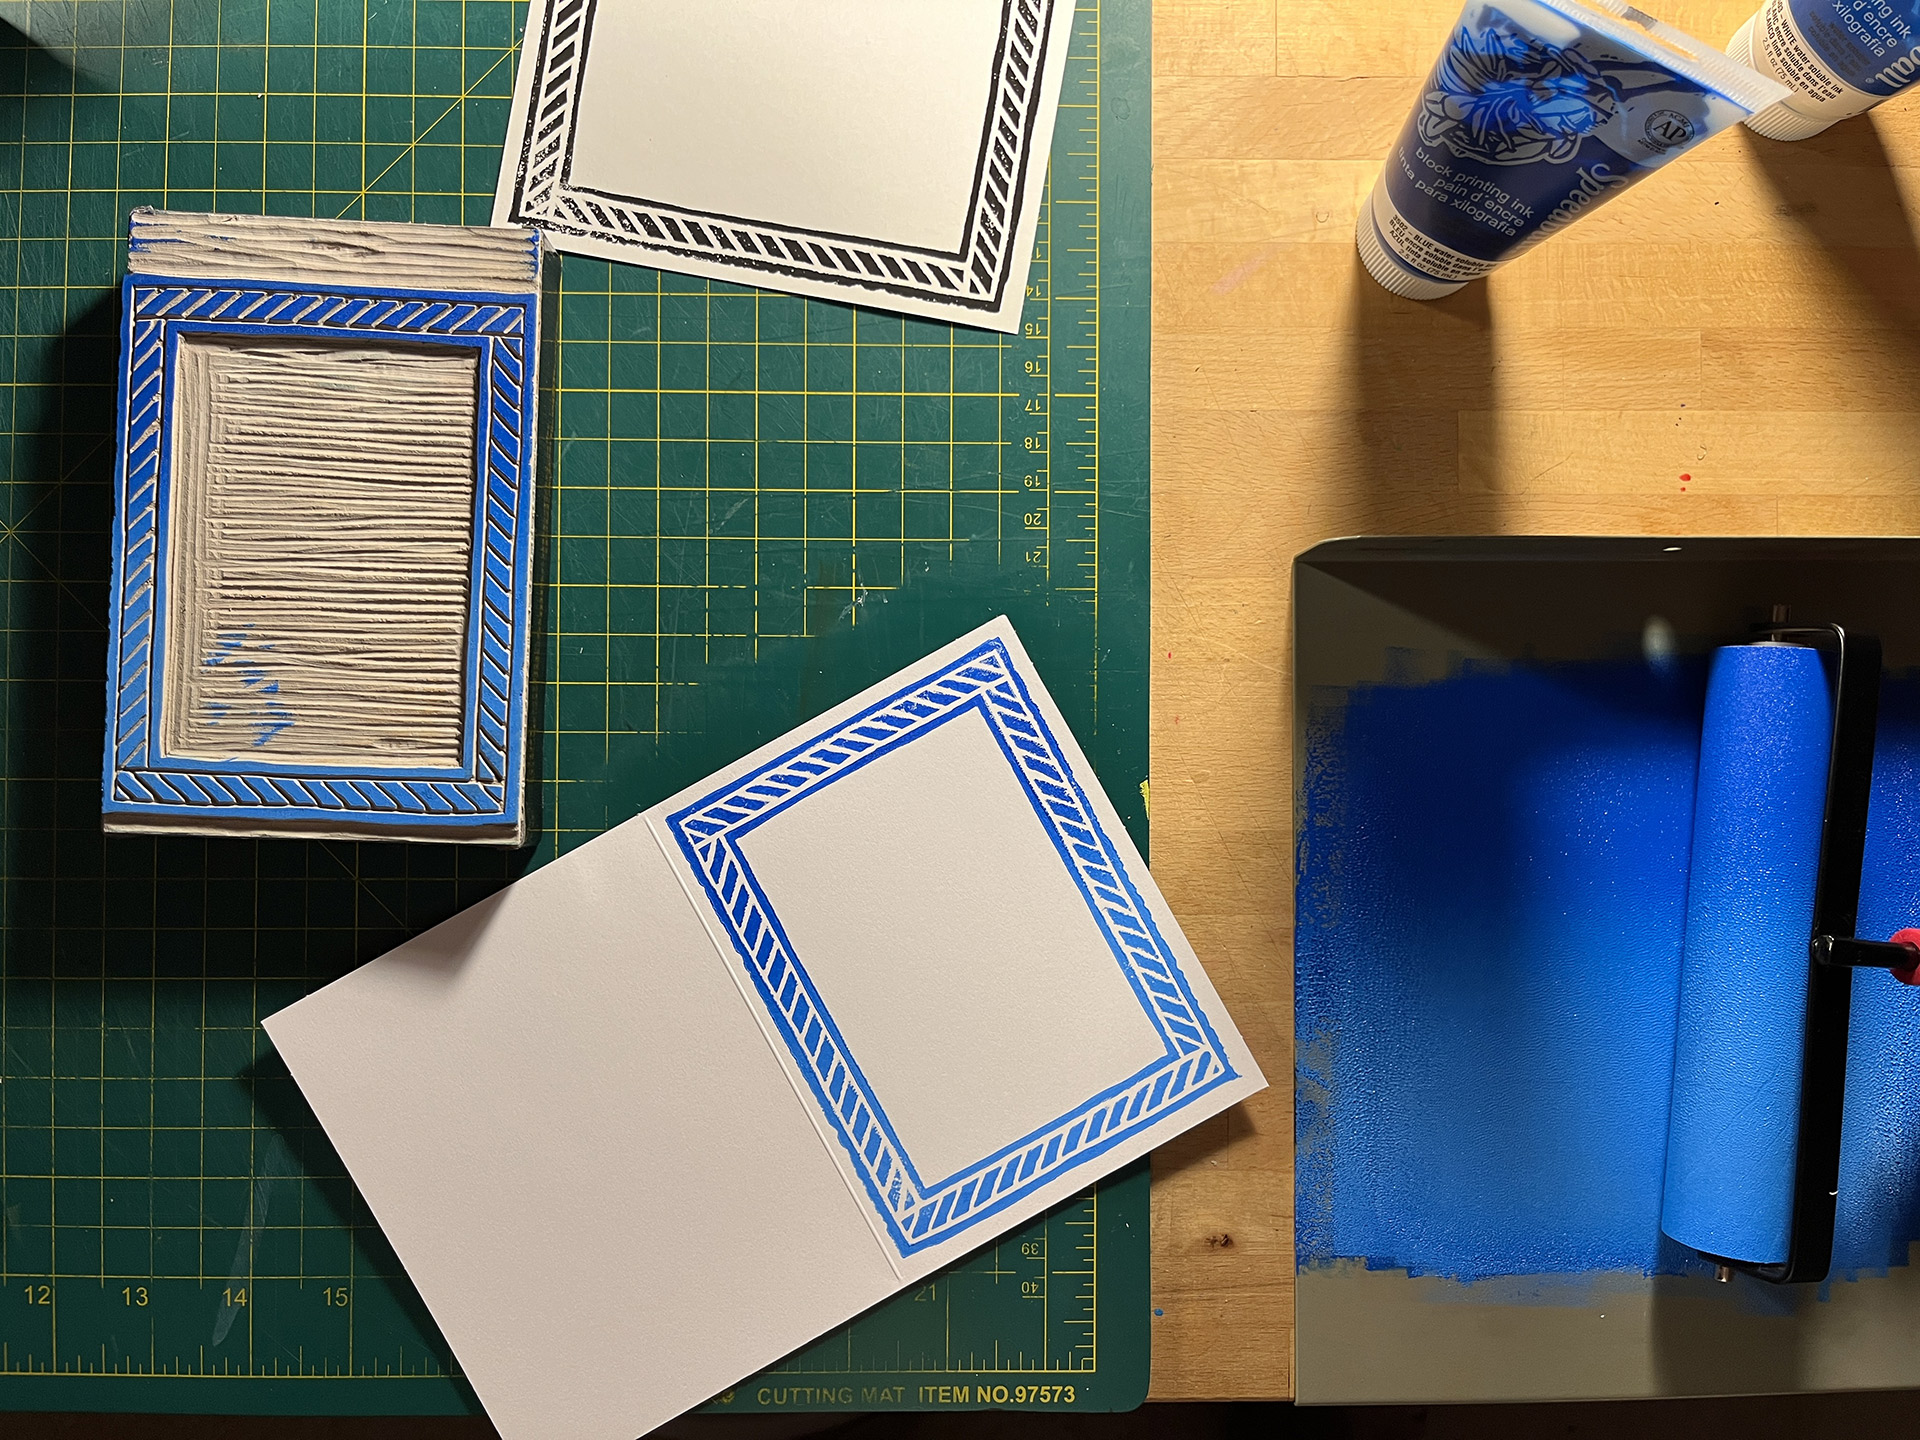
- Wrapping The Blocks The plates have to be washed between each color change and these are mounted on particle board, which disintegrates and/or separates from the linoleum during washing. So I decided to try wrapping these in gorilla tape to make them last. It helped.
- Plate #1 Ready For Ink The first step is transferring the design to the linoleum block using carbon paper
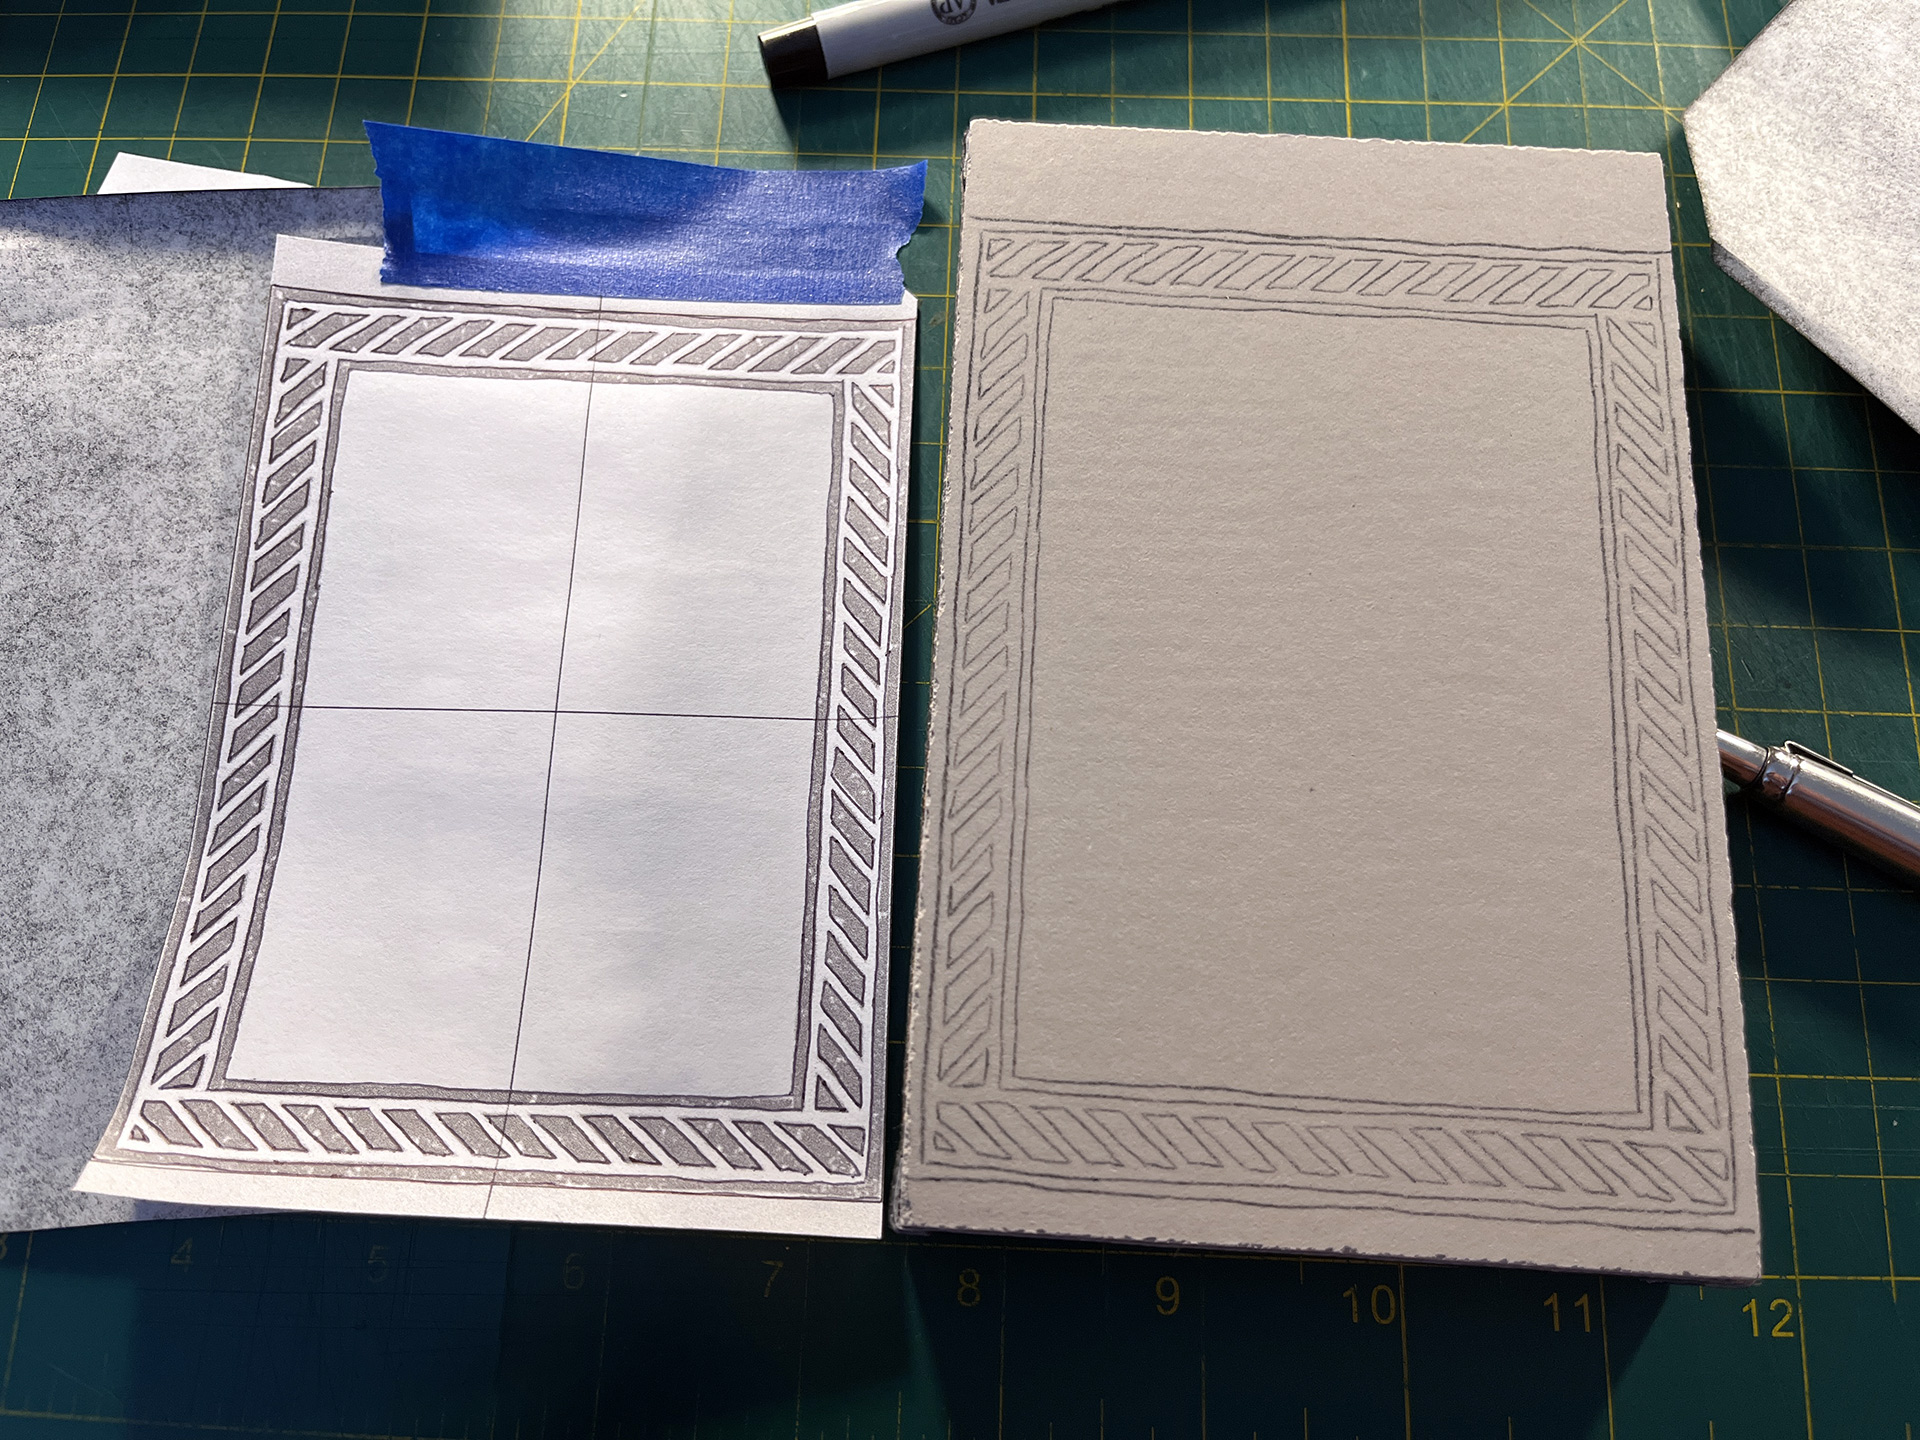
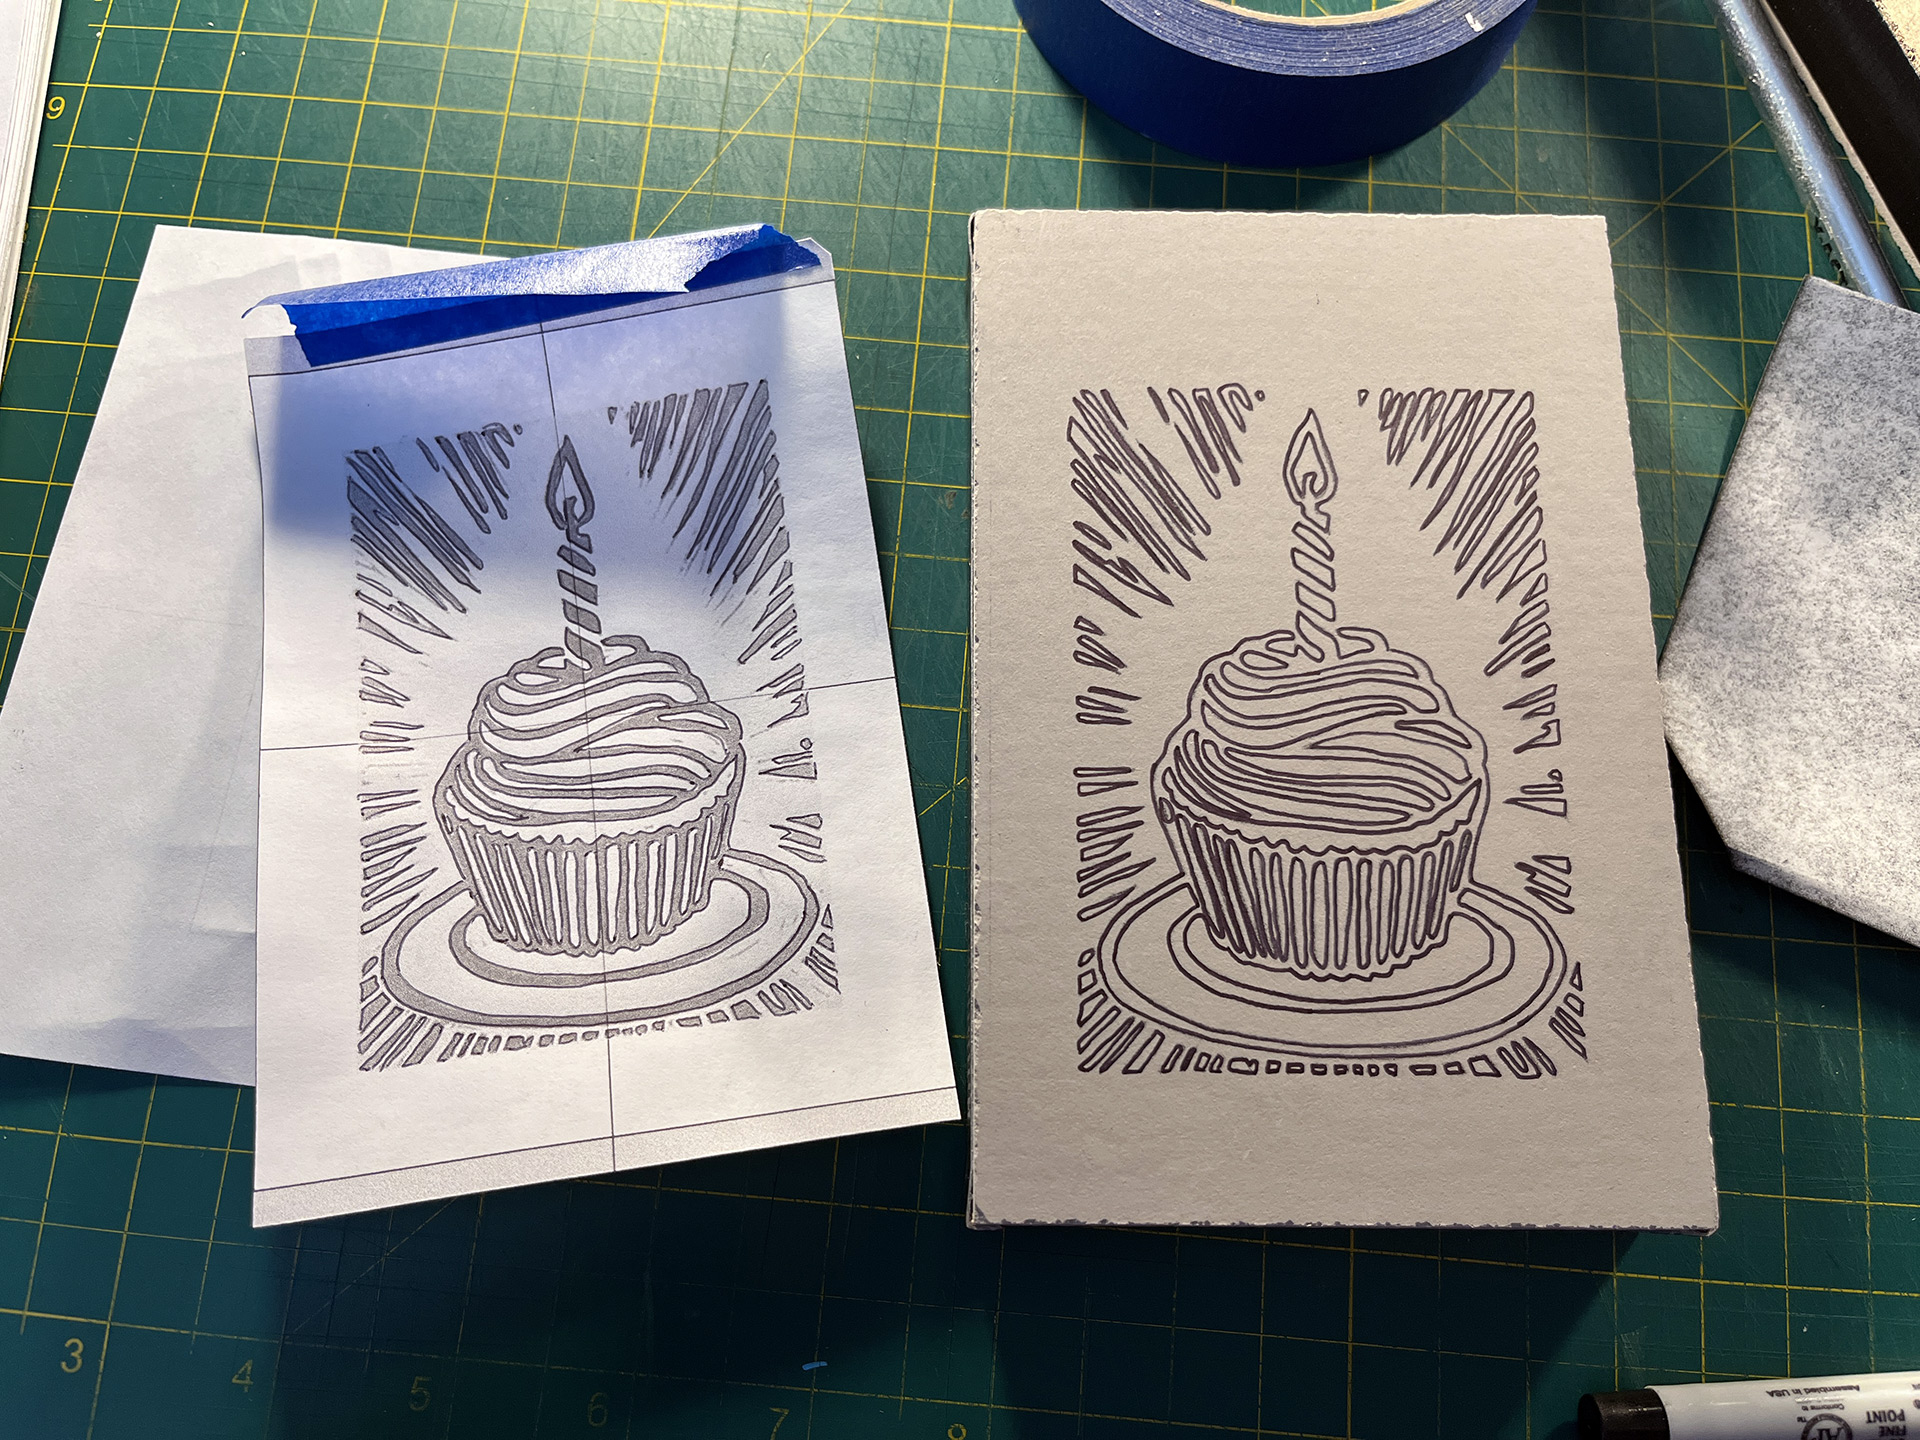
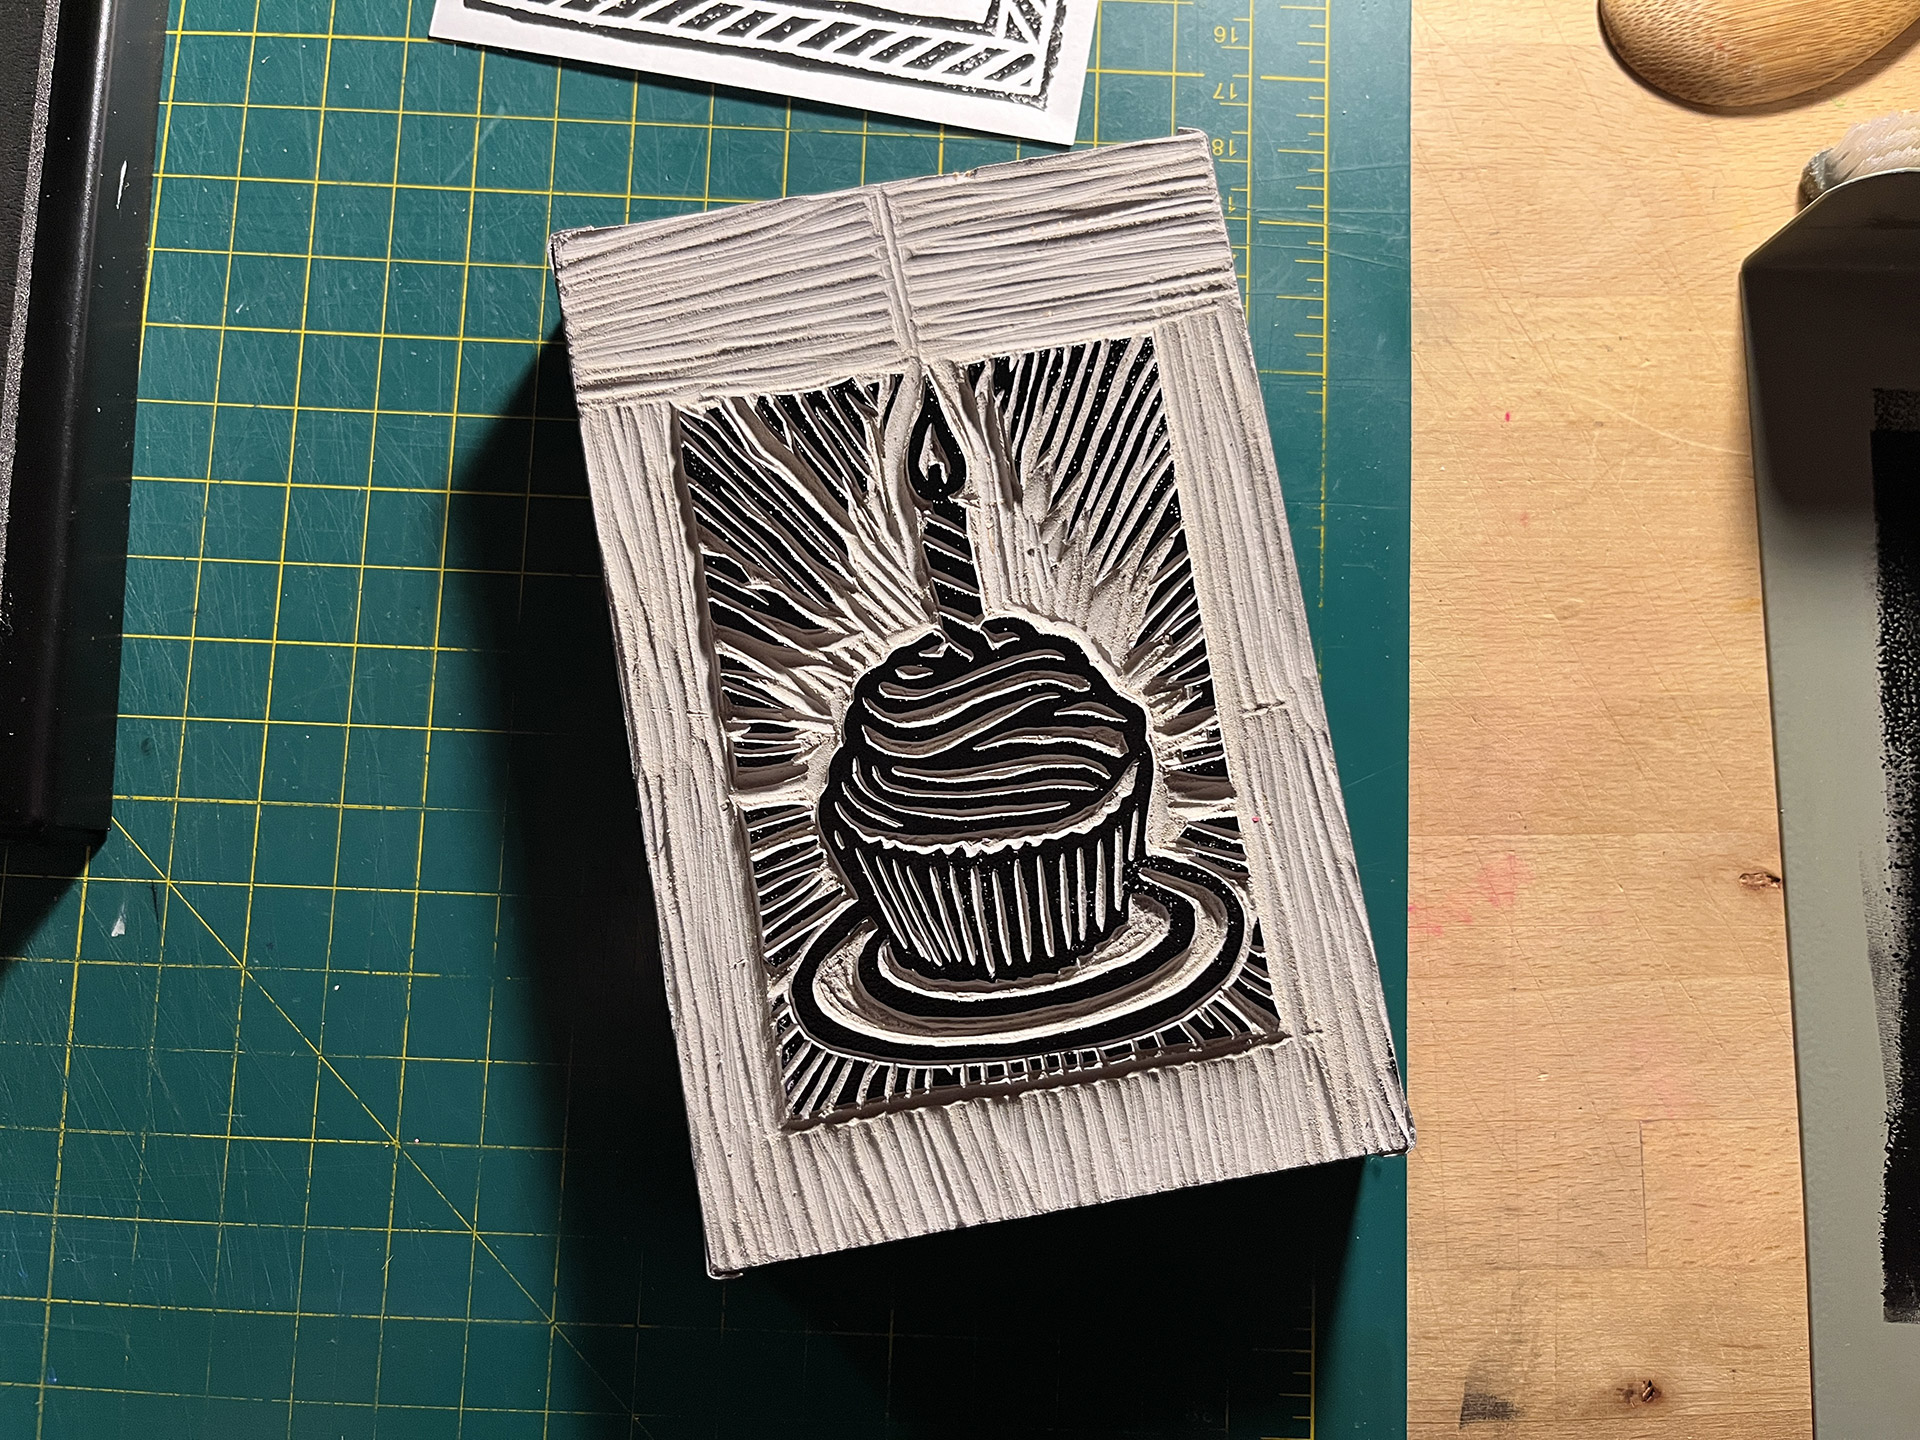
- Plate #2 Inked-Up The carbon transfer needs to be made permanent so it doesn't smudge away during cutting. This was when I realized how difficult this design was going to be.
- Plates Ready For Cutting
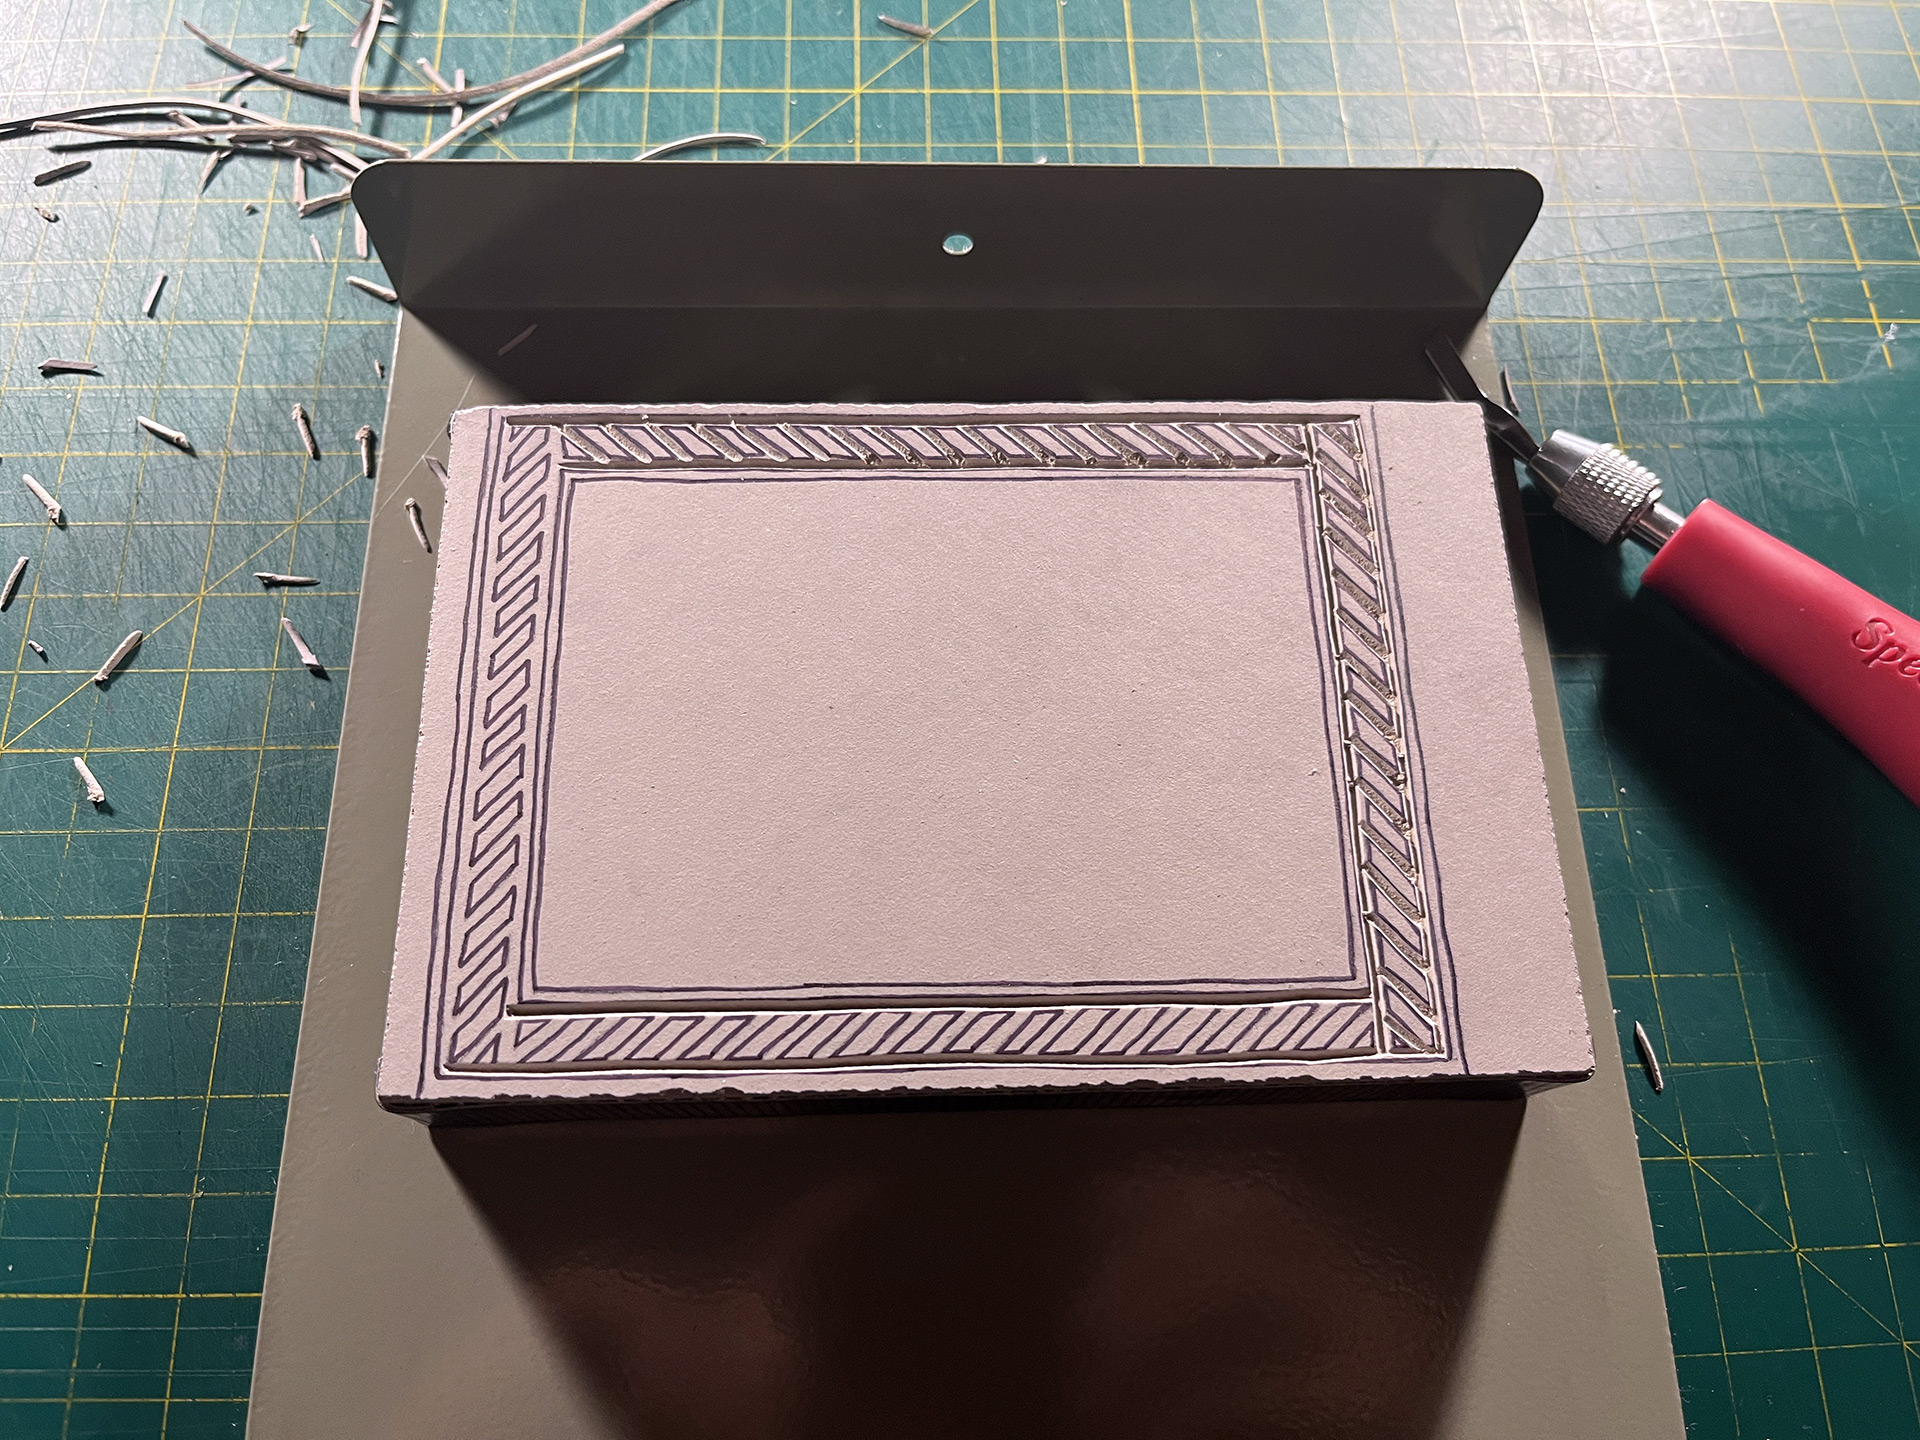
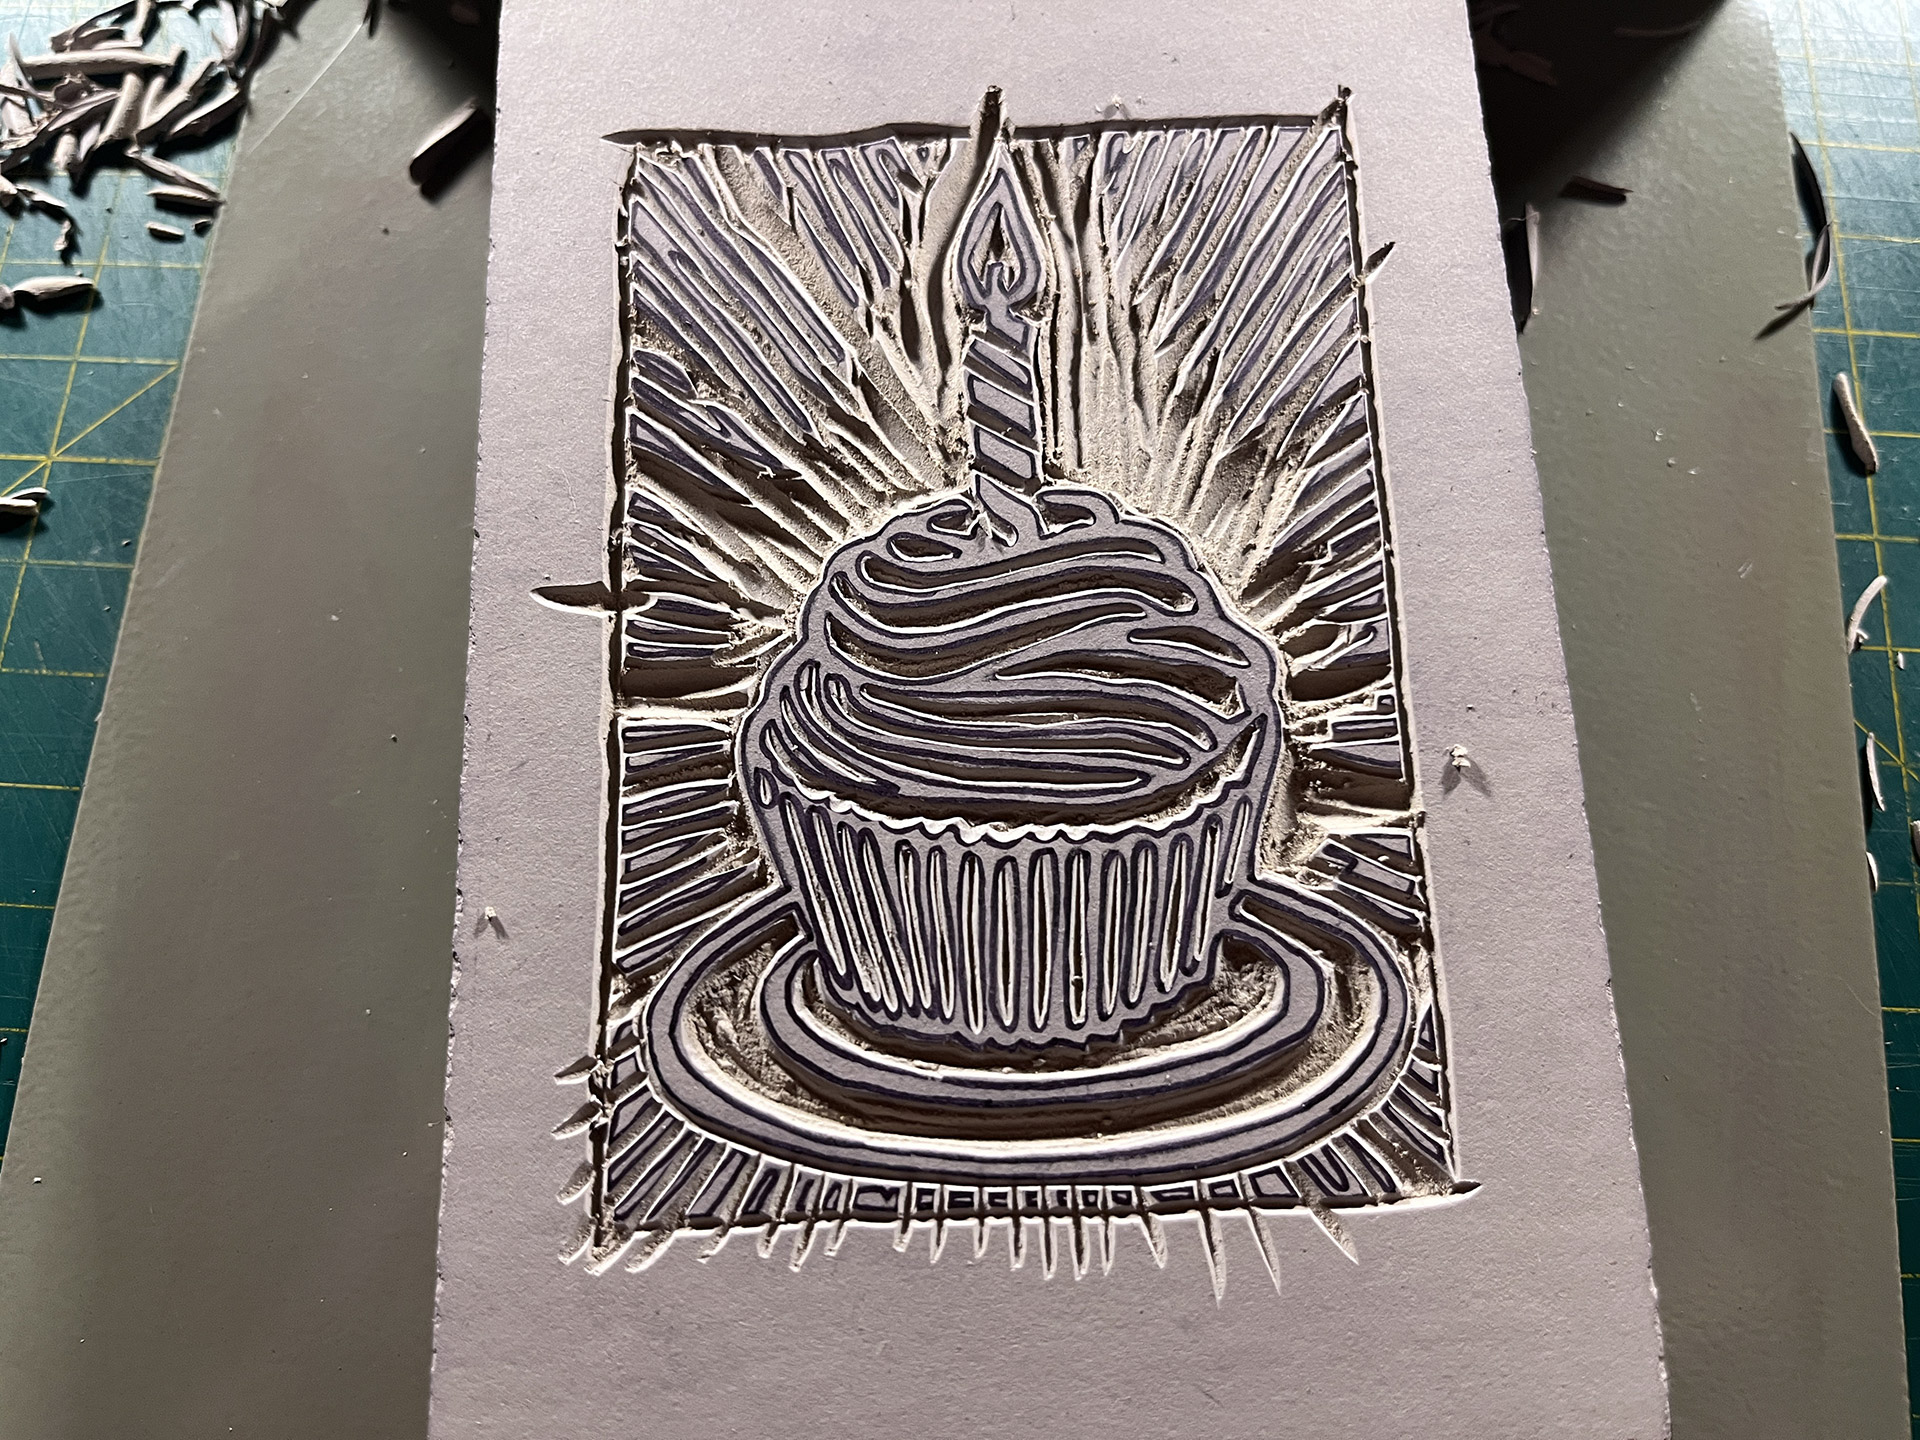
- Beginning Plate #1 It took some time to figure-out the best approach here. Linoleum tends to tear where you have sharp corners, so the order in which they were executed was important.
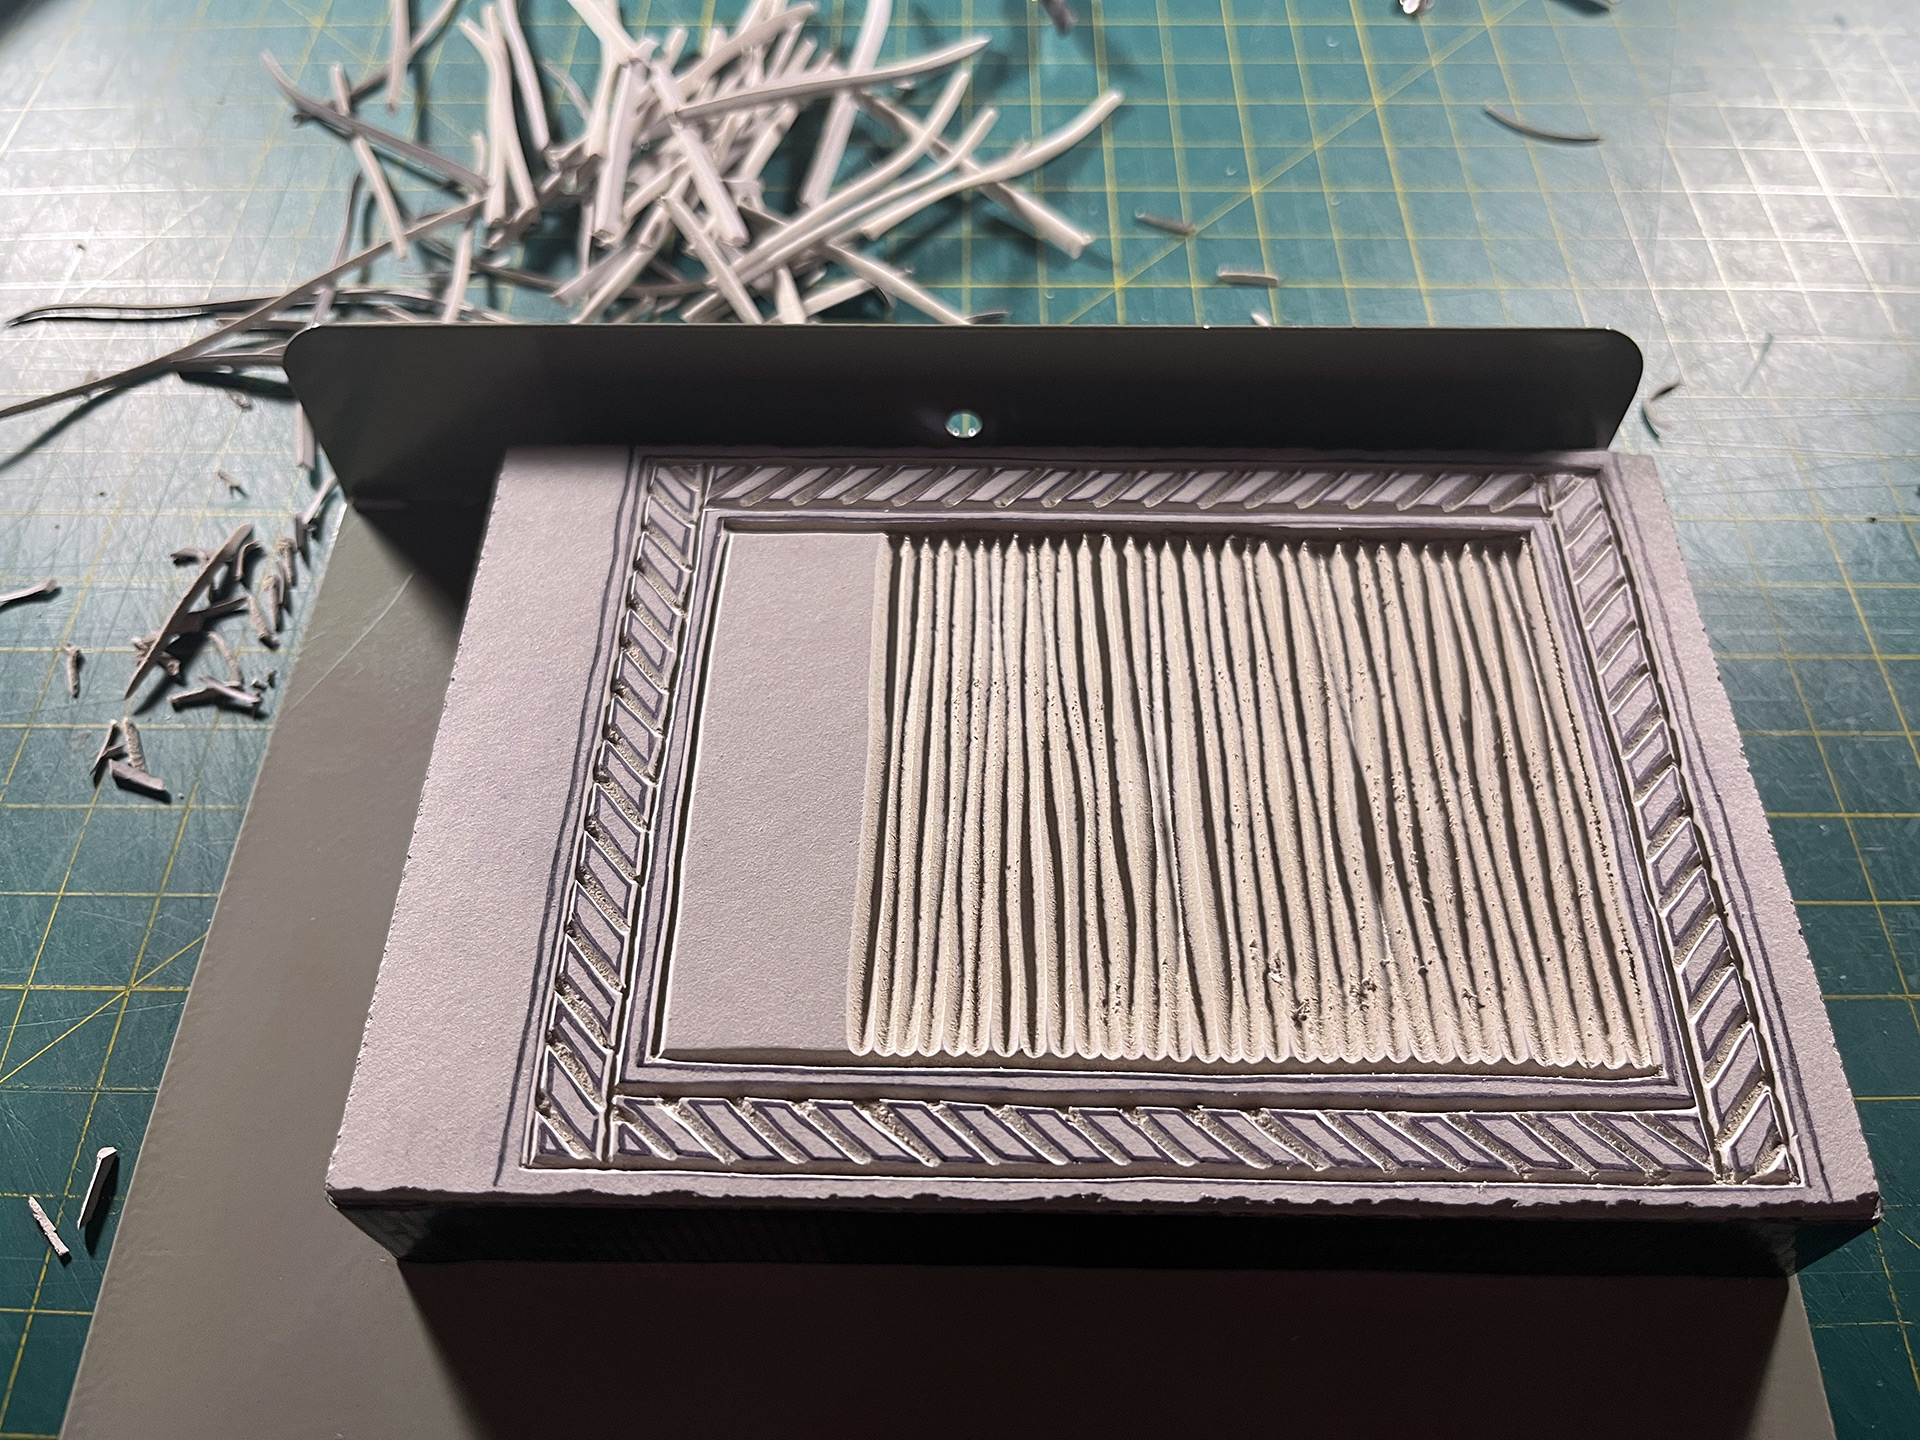
- Satisfying Haven't ever had a chance to clear-out a section like this.
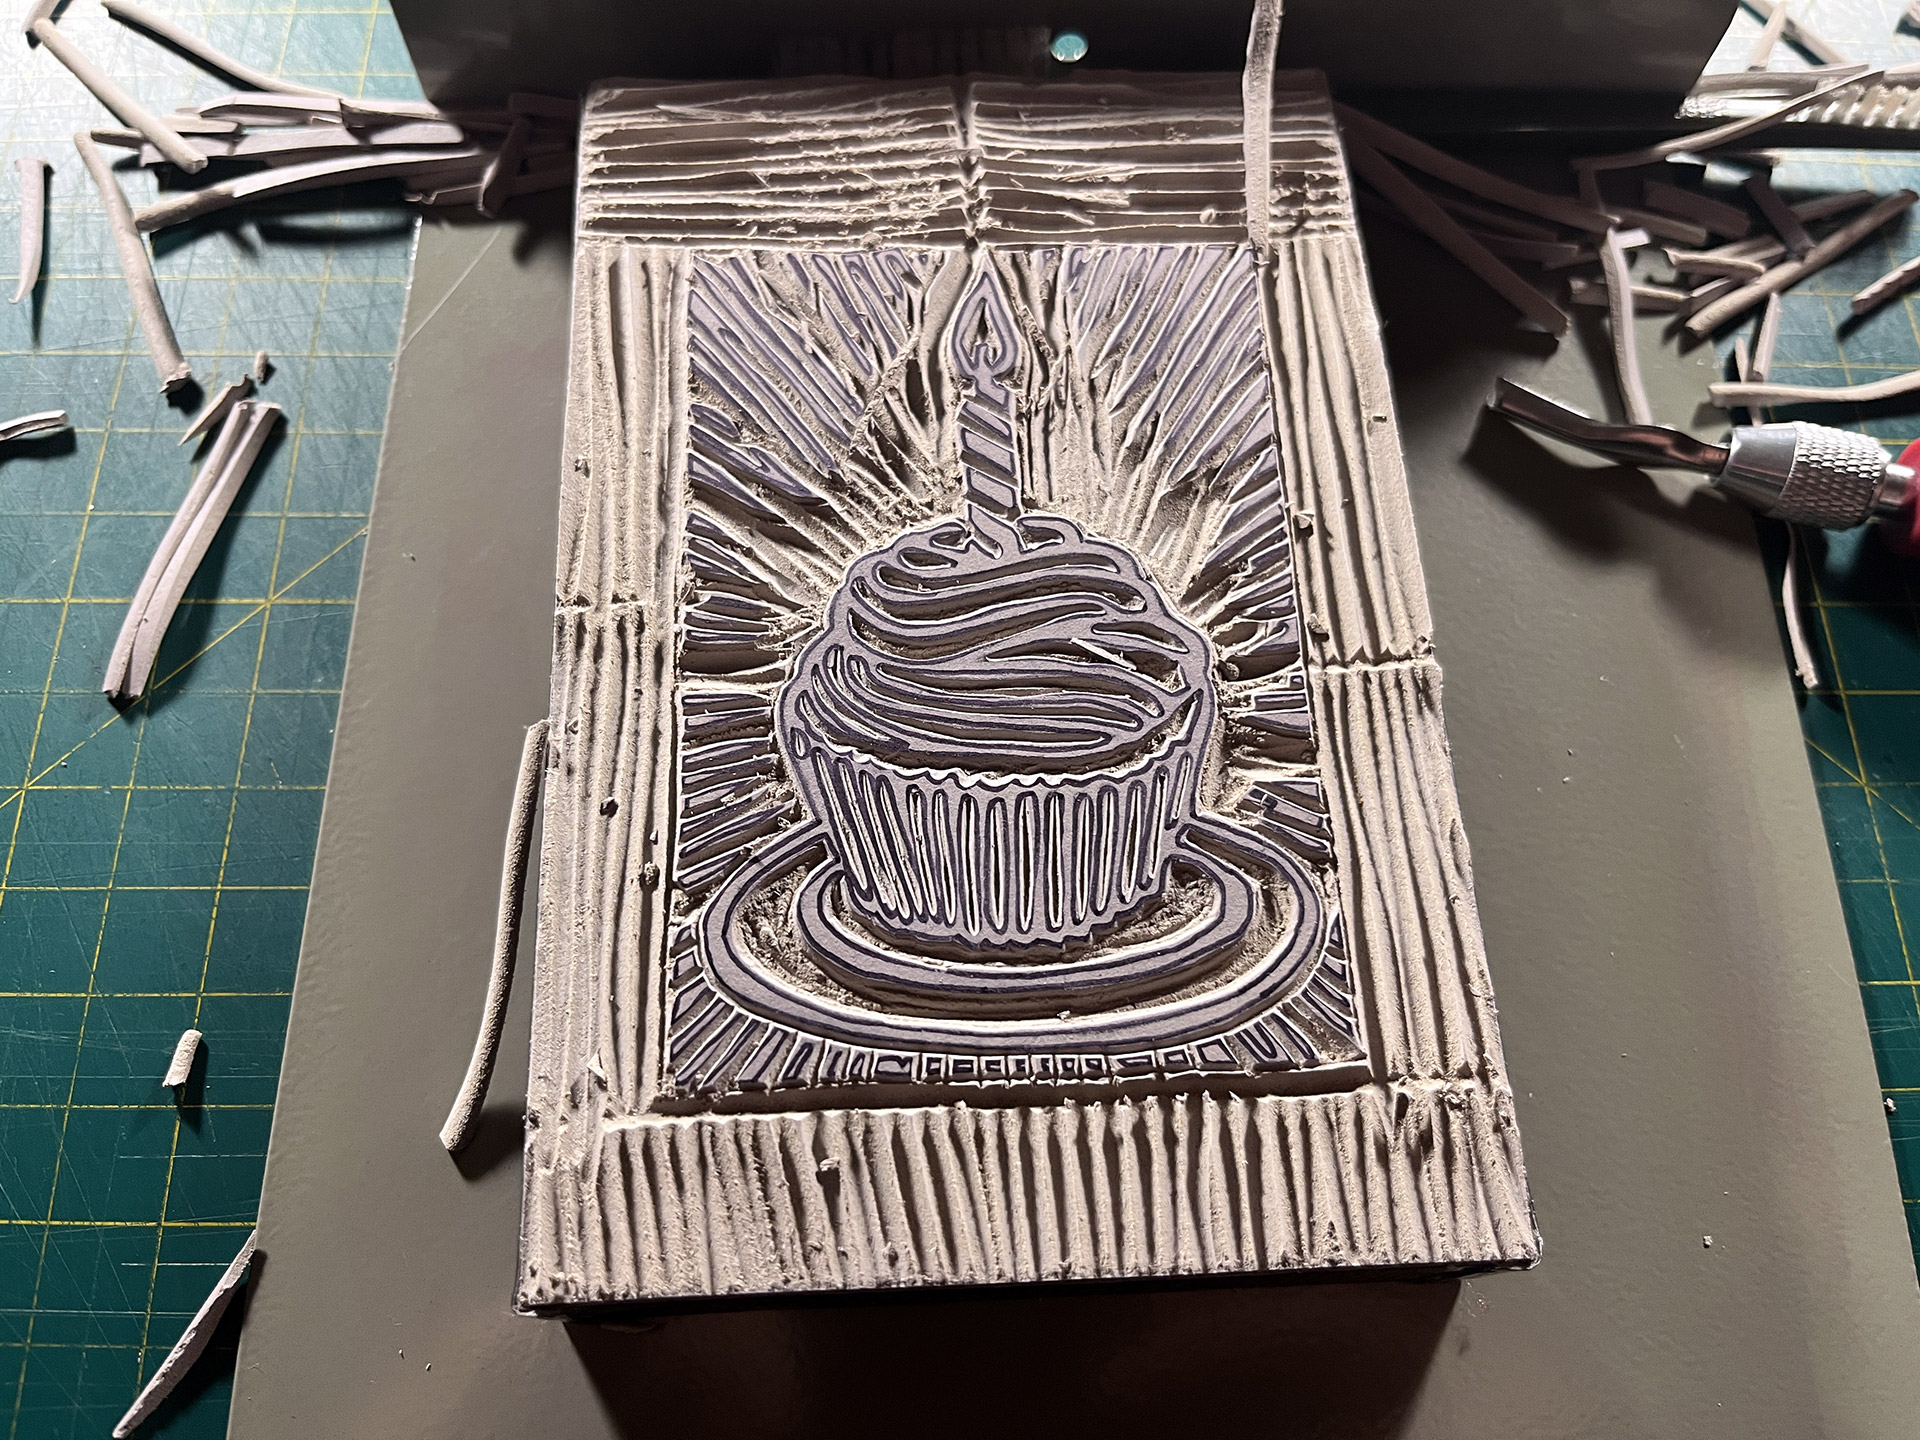
- Plate #1: Finished
- Beginning Plate #2 The difficulty with this plate were the fine lines.
- Plate #2 Progress Pretty much there, just need to clear the rest out.
- Plate #2 Progress
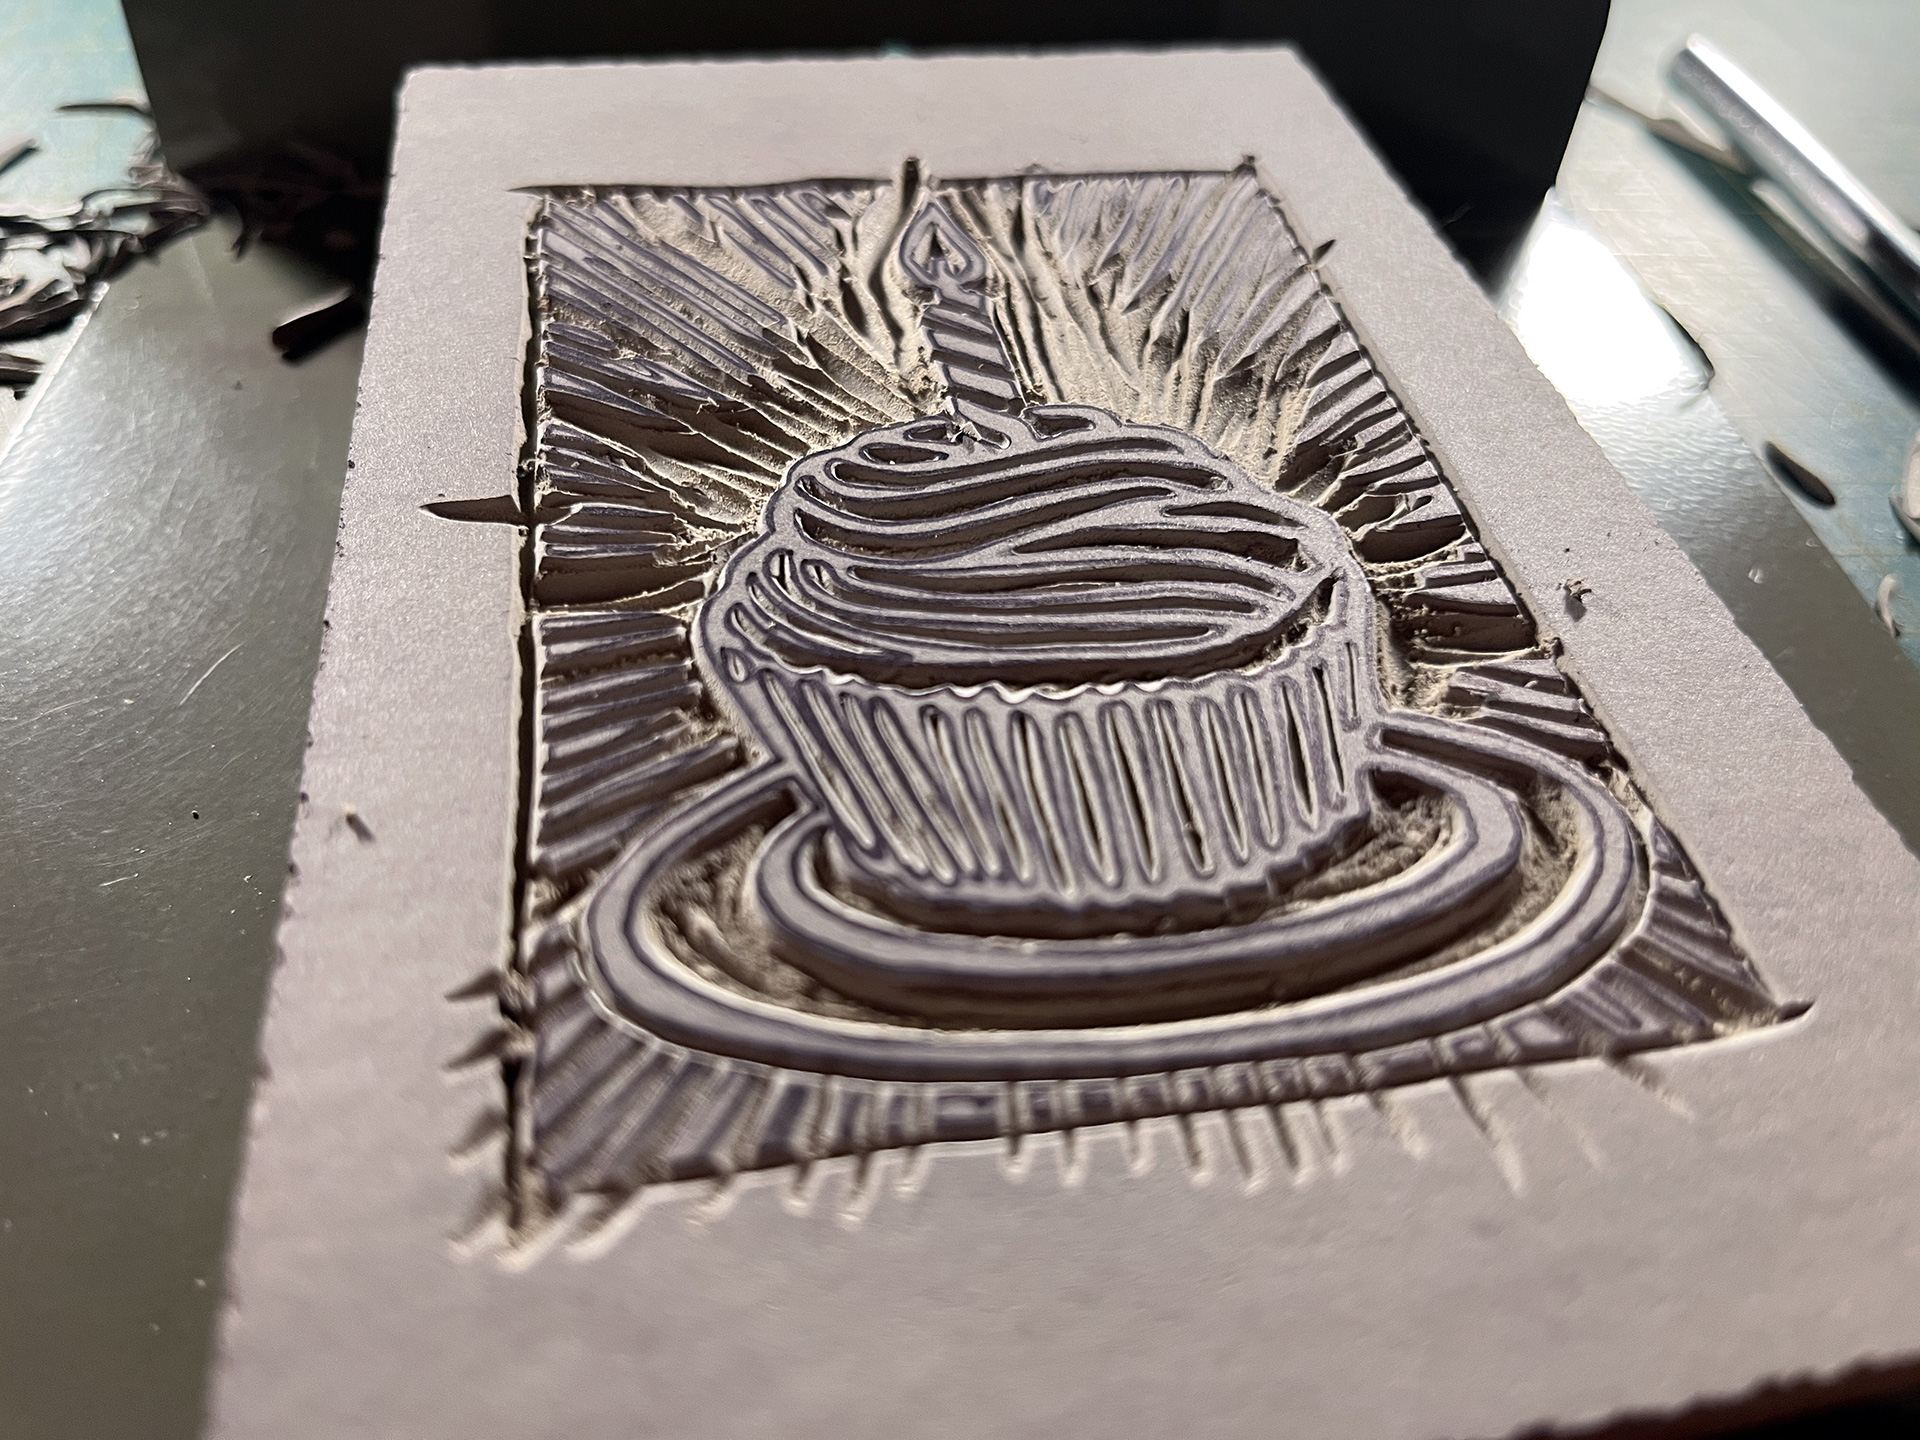
- Plate #2: Almost There At this point, I just needed to clear-out the ridges surrounding the important stuff.
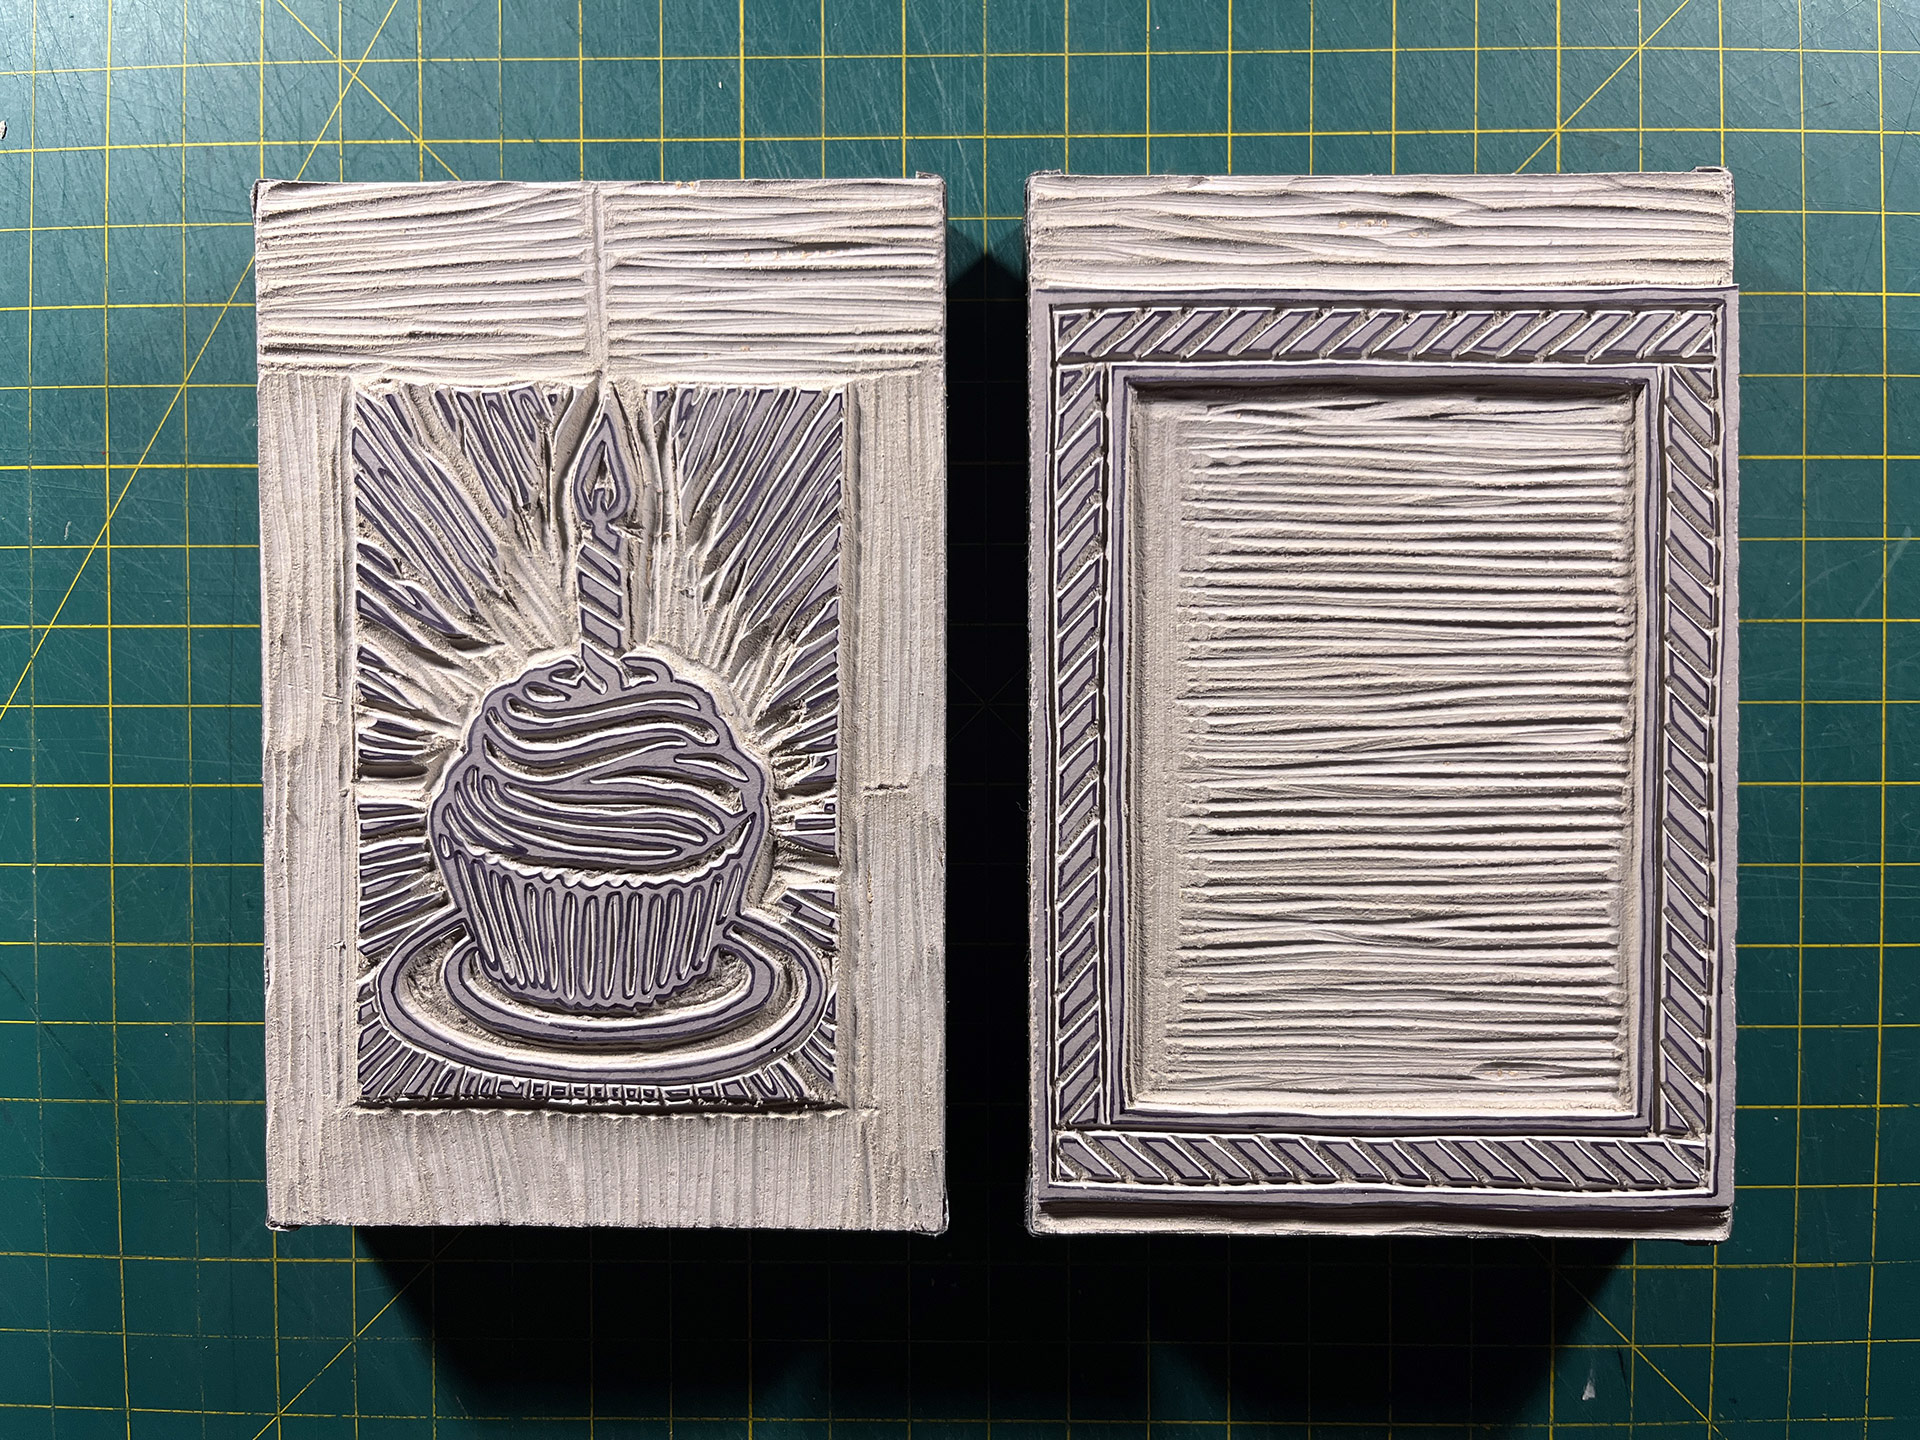
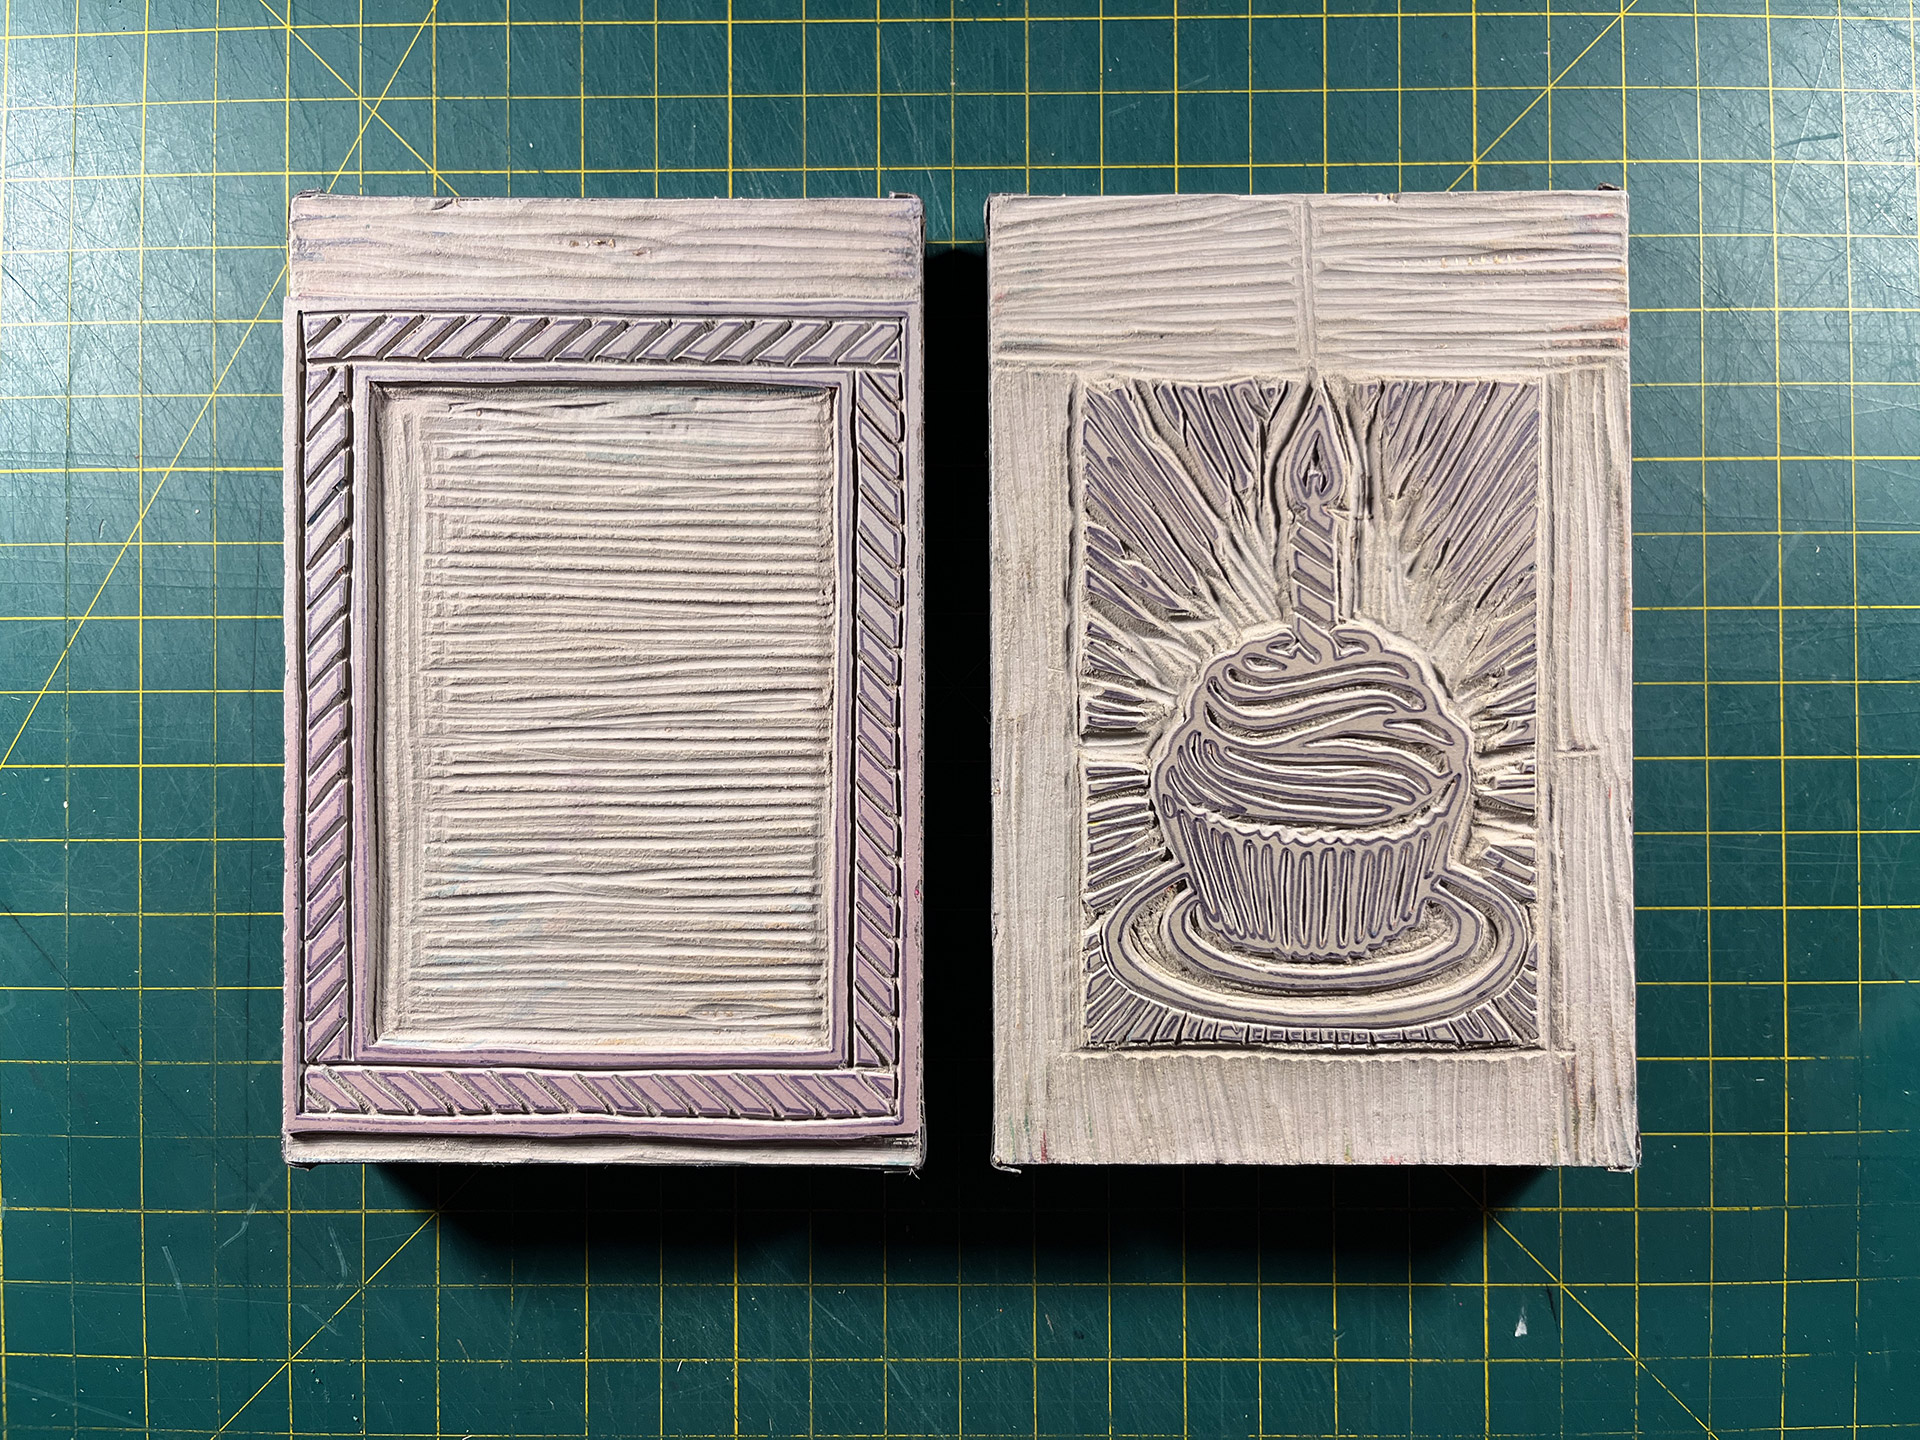
- Plates Finished
- Plate #1 Example Really happy with how this turned-out. I didn't need to do any clean-up. But I did have a bit of trouble covering the surface. There's something about that big empty space, especially for the gradients which require you to only go in one direction.
- Plate #1 Finished Feeling great about this right now! But, wow, that's a lot of cards.
- Plate #2 Inked-Up Looking good!
- Finished Print Example Don't have any complaints at this point. This print was easy to position, didn't have much overlapping or high ridges where I didn't want them.
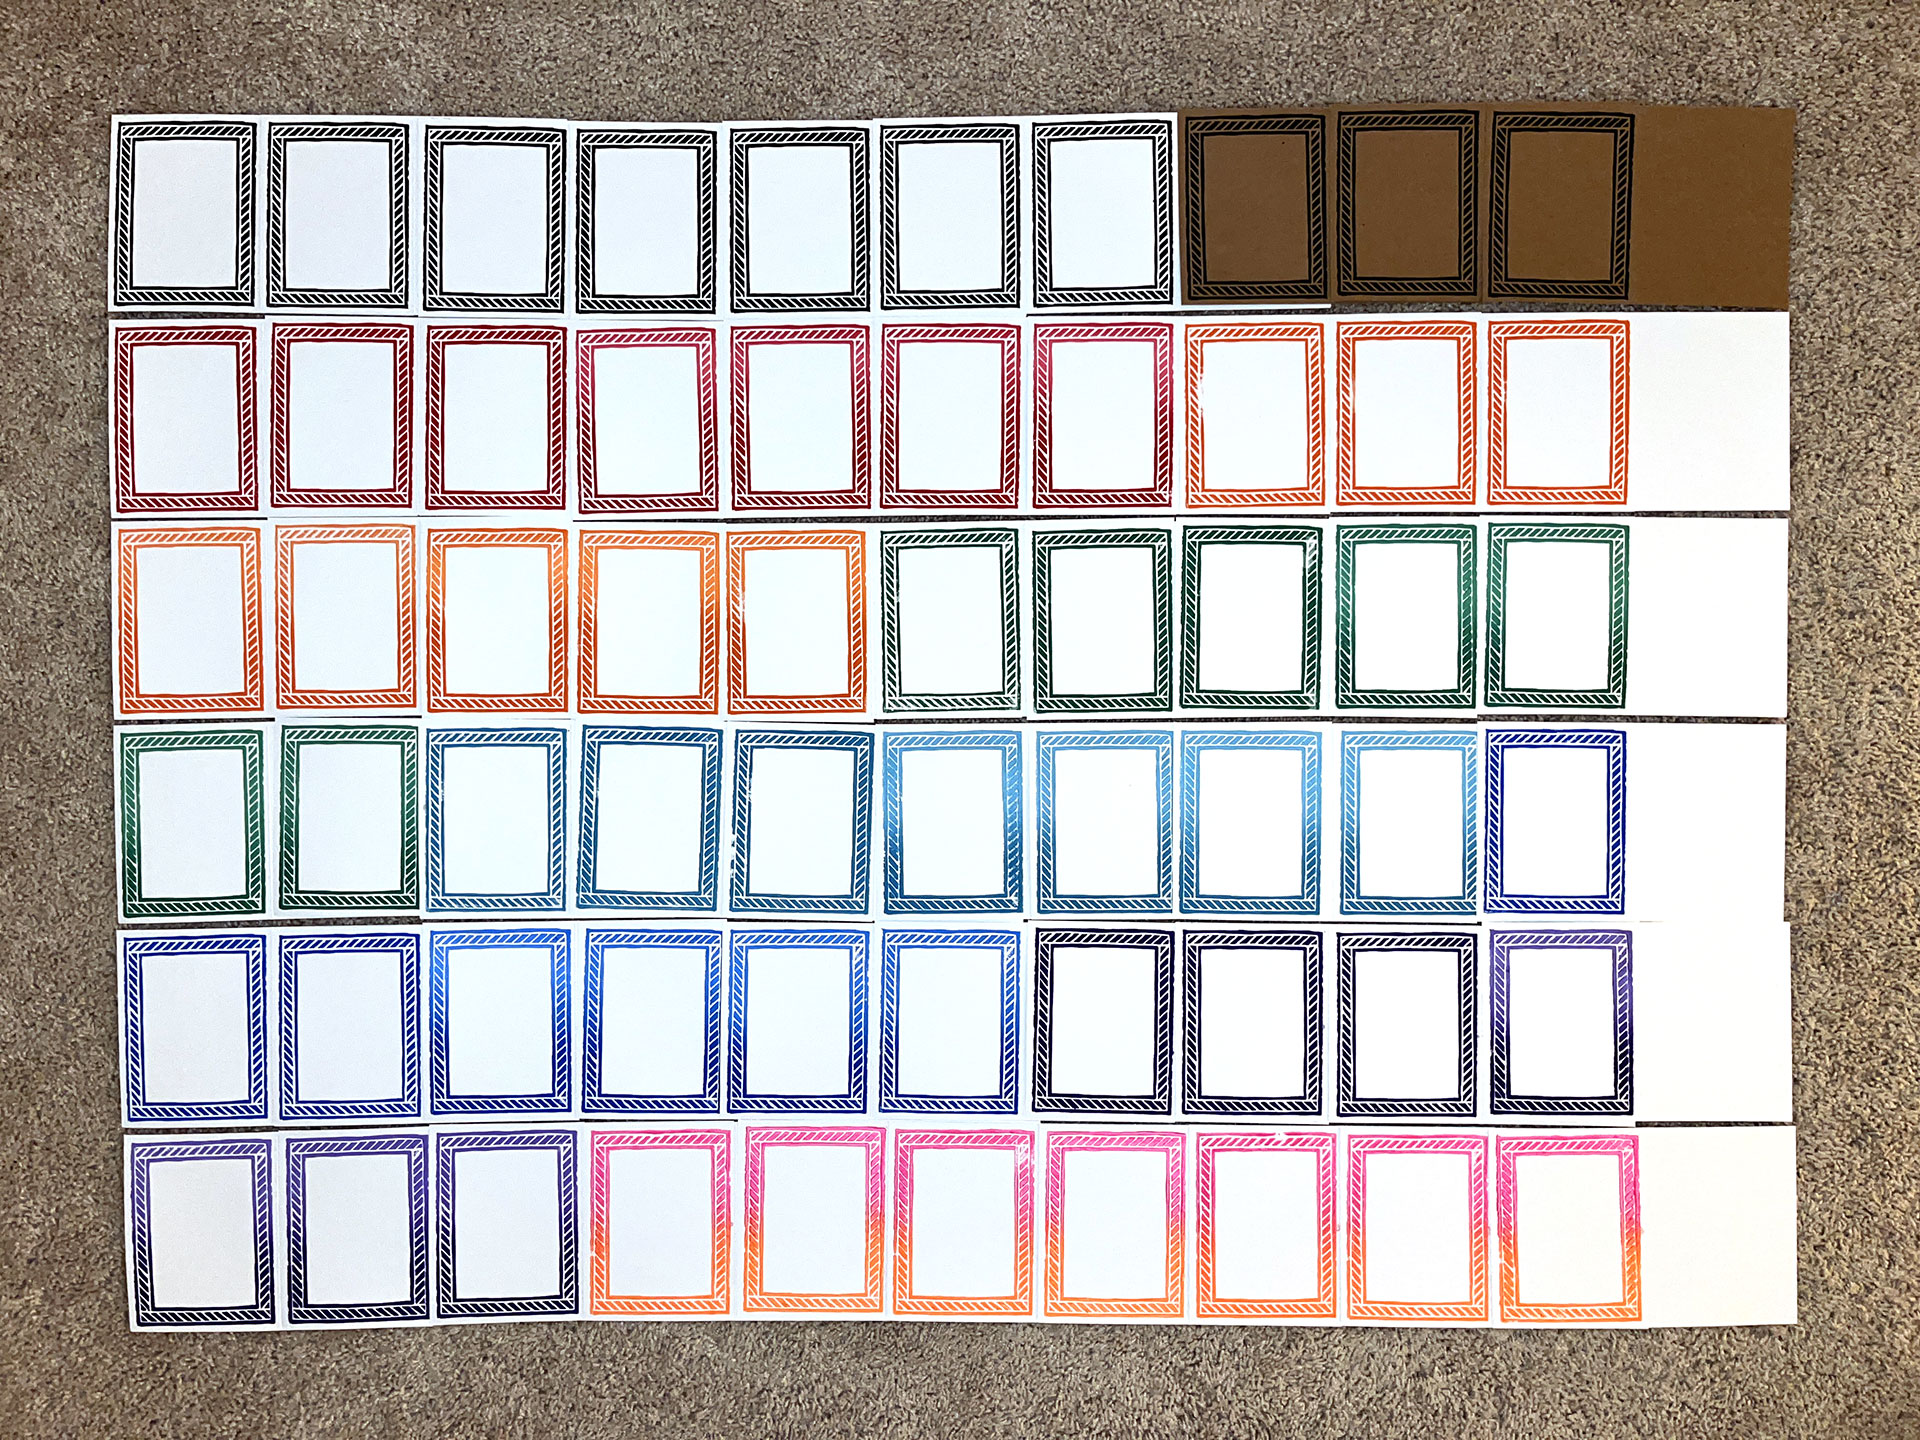
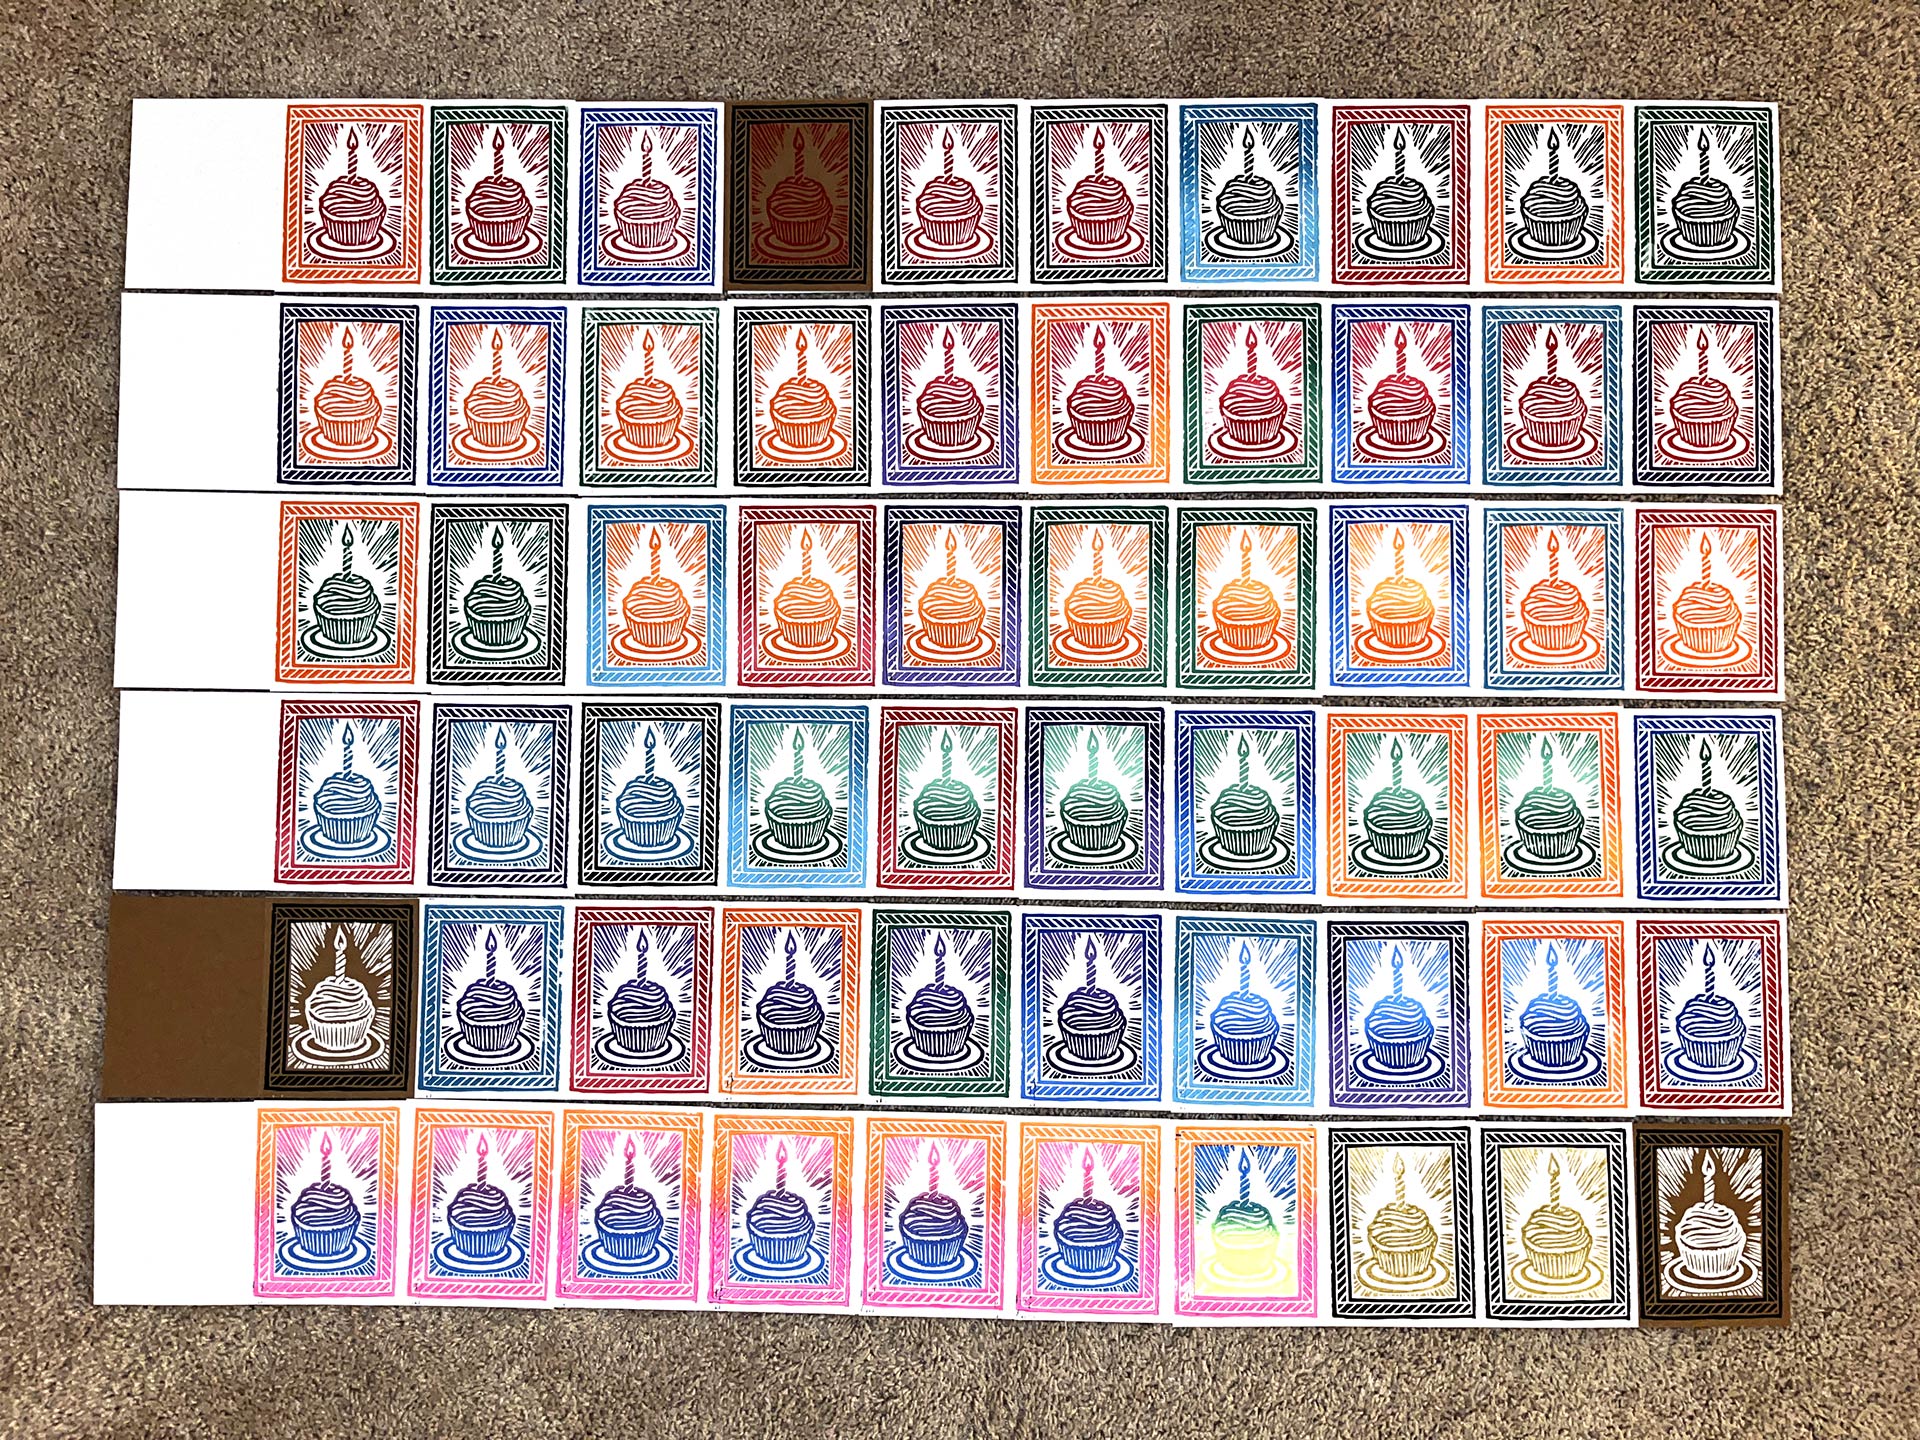
- Finished! Ended-up with 60 usable prints (only one bad example... fourth from the right, bottom row).
- Weathered Plates These take a beating over the course of their short lifespan.
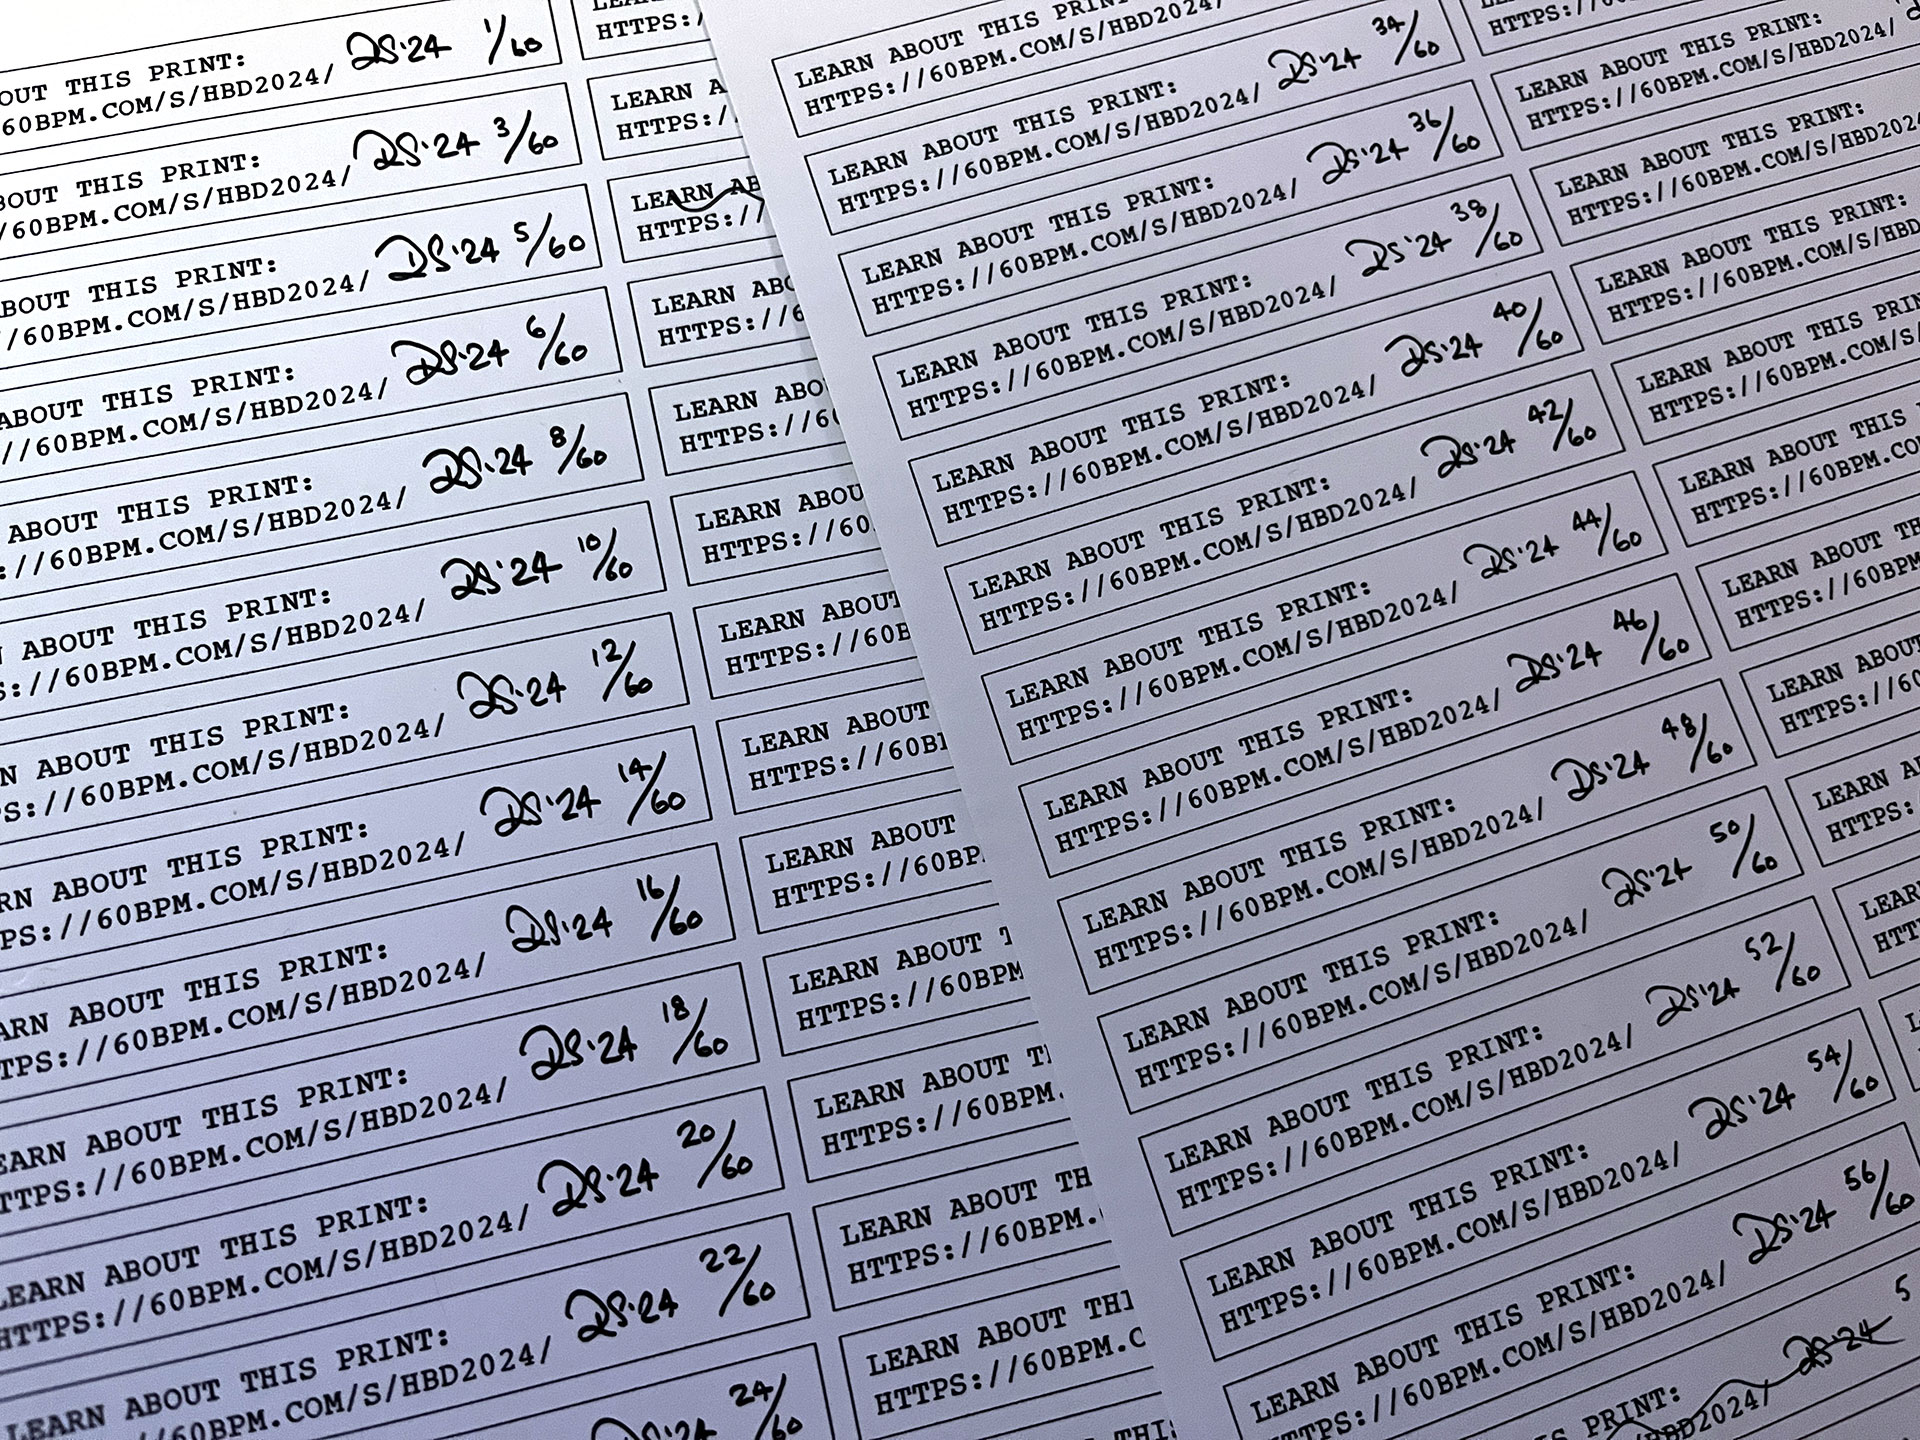
- Innovation! Decided to print-out the messaging for the inside of the cards this time around. Now, I don't have to worry about the legibility of the URL or inconsistency of my signatures.
© 2026 60bpm